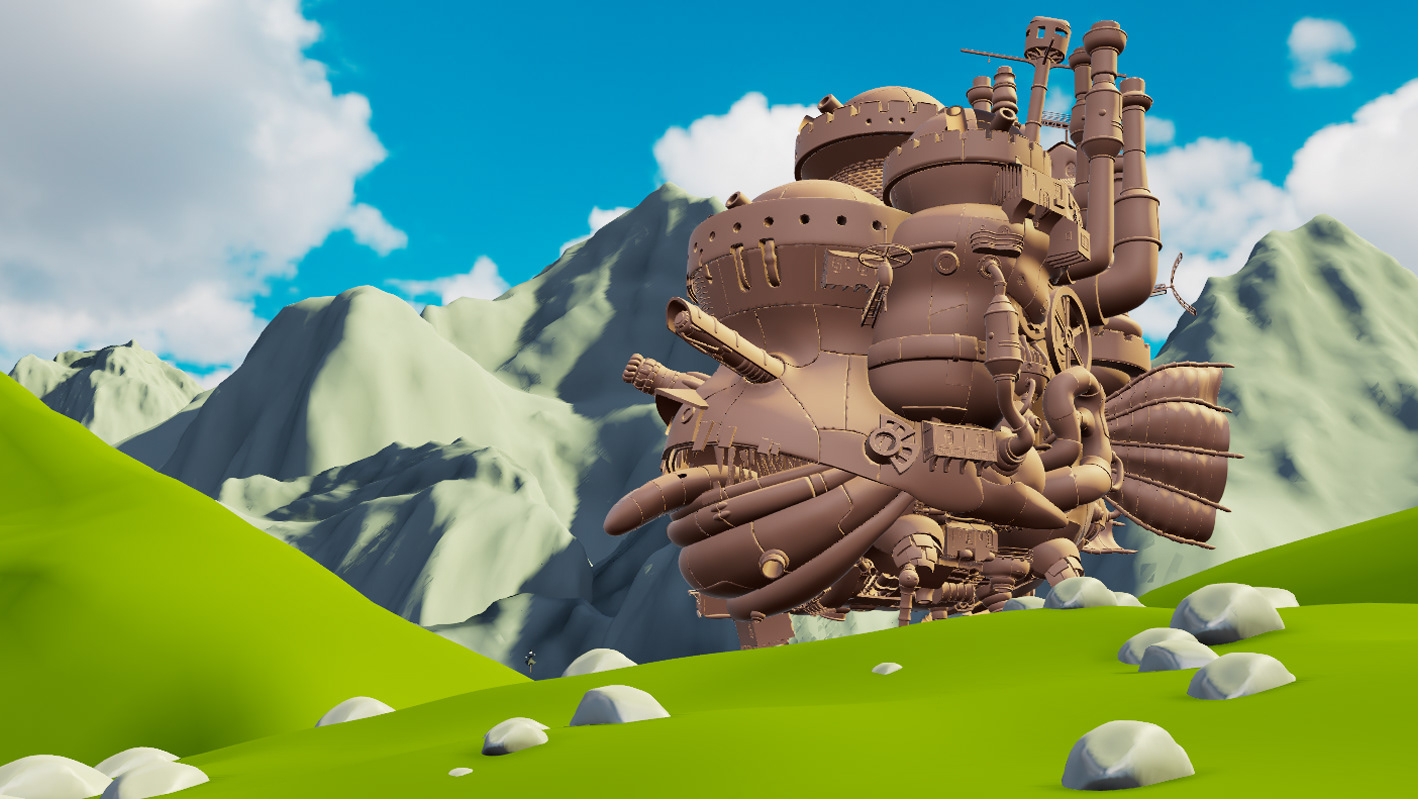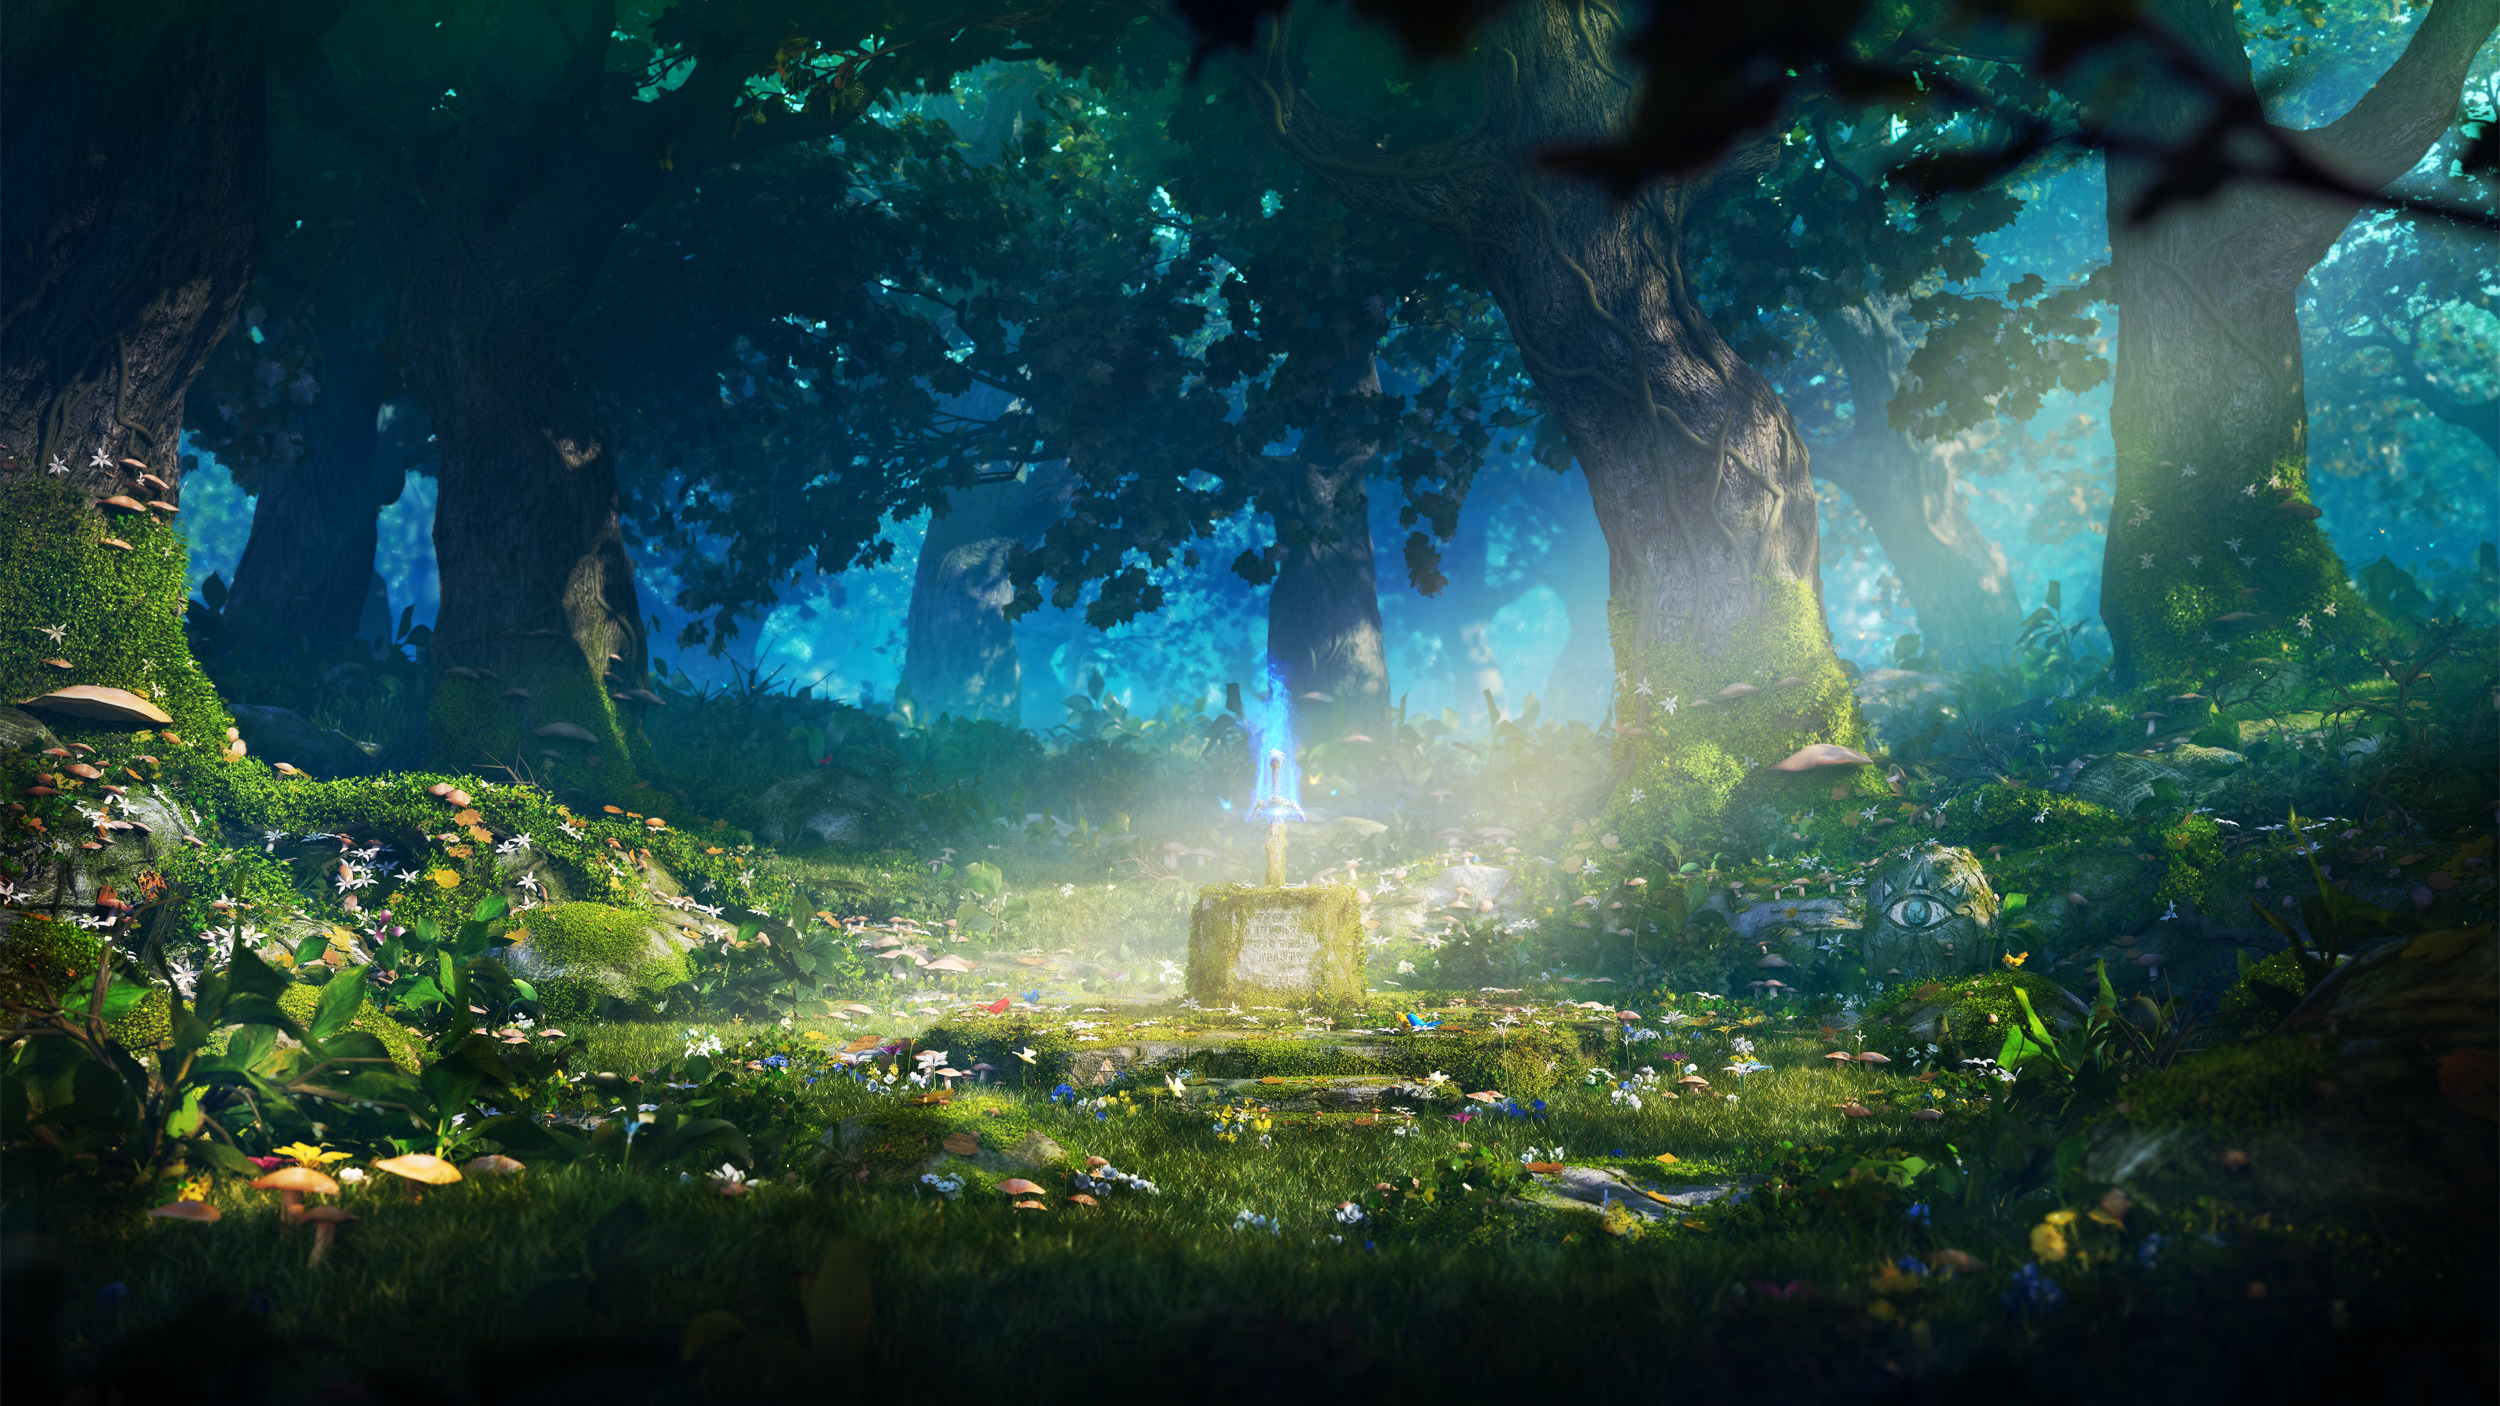
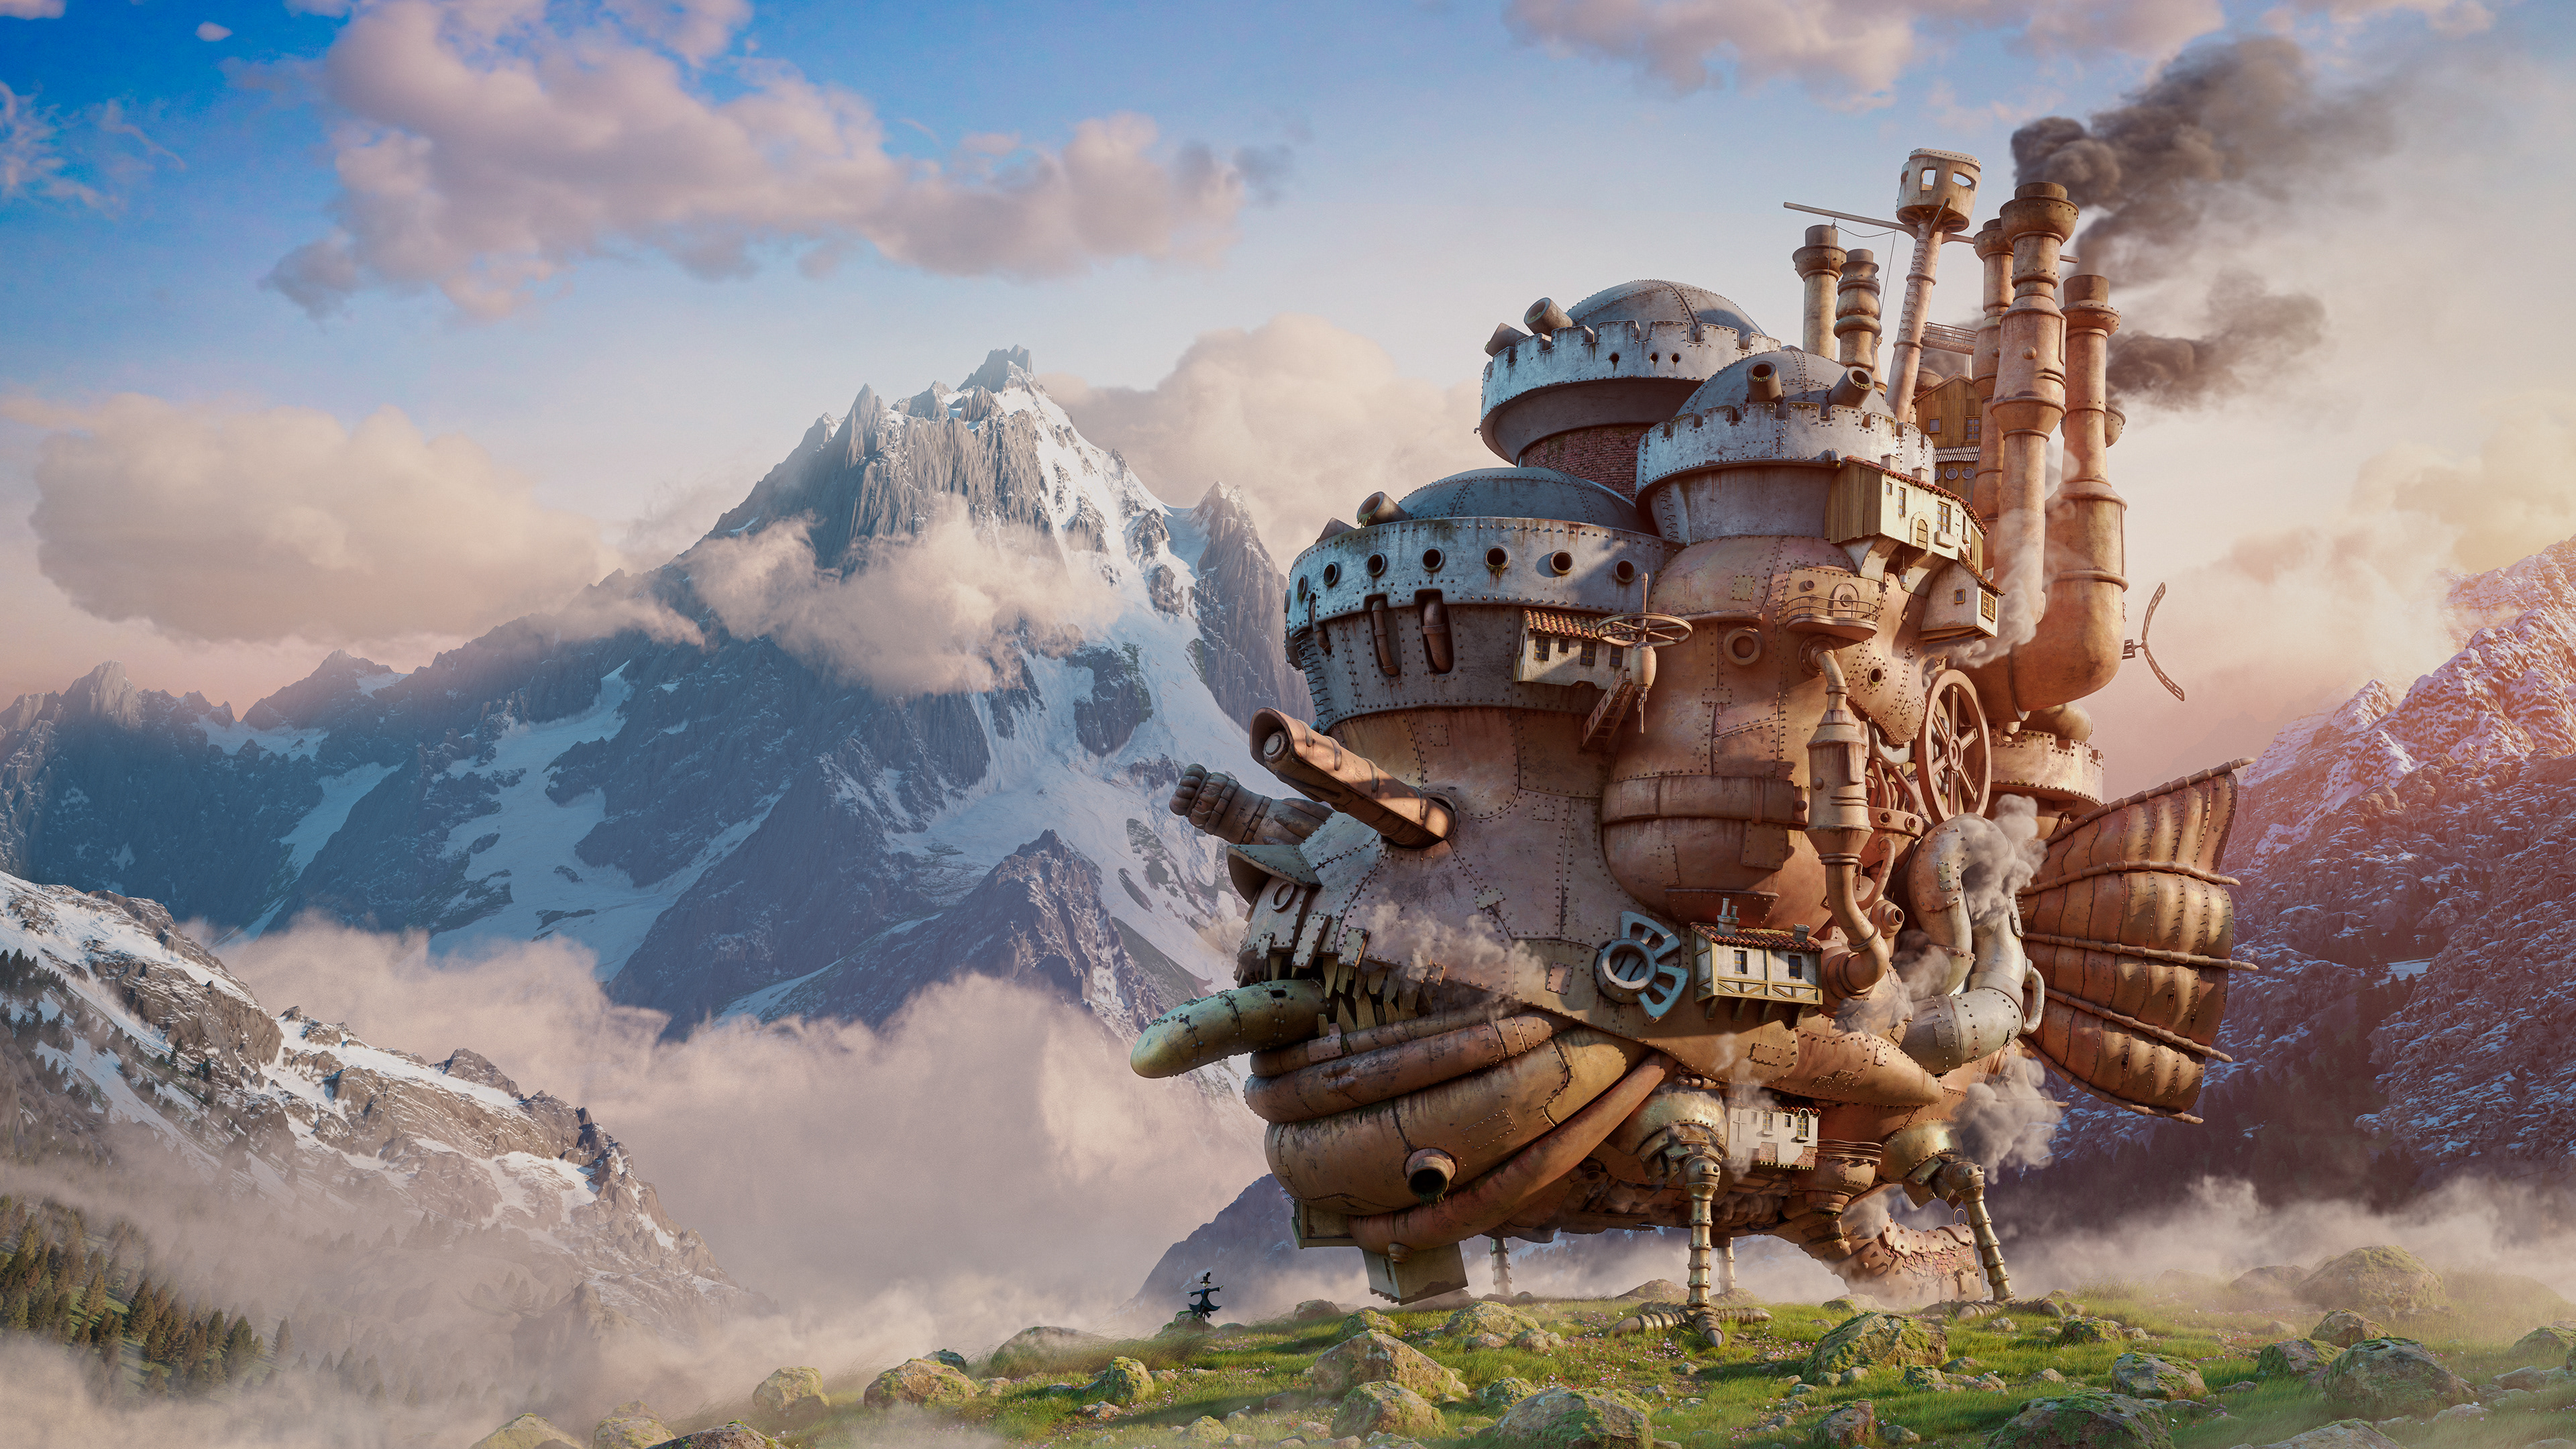
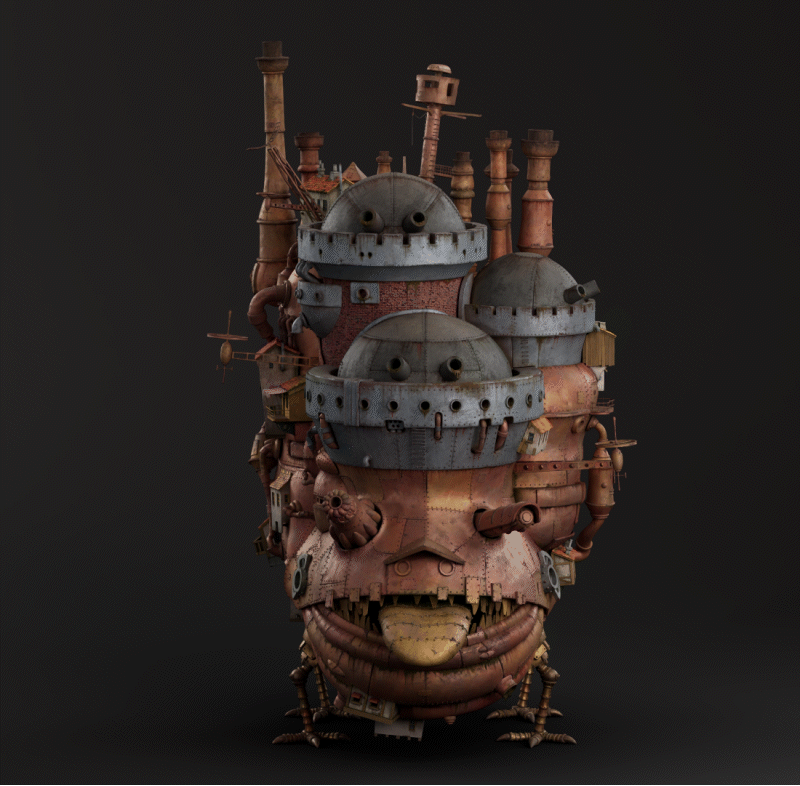
This personal project is a tribute to Howl’s Moving Castle, one of my all-time favorite Ghibli films (though it’s always hard to pick just one 😅). I had previously created a piece inspired by Castle in the Sky, and I still have plans to work on many others — Nausicaä of the Valley of the Wind is definitely on my list. I had the amazing opportunity to visit both the Ghibli Park and Museum while I was living and working in Tokyo. It was a truly inspiring experience that reignited my passion for their art and storytelling. This Howl’s Moving Castle project had been sitting in my drawer for a while, and after returning from Japan — where I lived for a year and a half — I felt excited and motivated to finally bring it to life.
My personal projects are always driven by learning and fun — no pressure, just the joy of discovery. This one took much longer than I expected, not just because of its complexity, but because I kept experimenting and refining along the way. I did every part from scratch — the terrain, vegetation, clouds, and of course, the castle. My biggest challenge was blending procedural techniques with traditional modeling in a cohesive and efficient way. I leveraged Maya’s modeling tools, which I’m very comfortable with, and incorporated new techniques I’ve learned from Houdini to improve the workflow. One of my goals for the look was to find a balance between stylized and realistic, inspired by Pixar films.
Between studio projects and freelance work, I always try to use my available time to stay sharp and apply the new things I’ve learned. This project challenged me technically and creatively — but above all, it reminded me why I love doing this: the fun of exploring ideas and pushing my skills further.
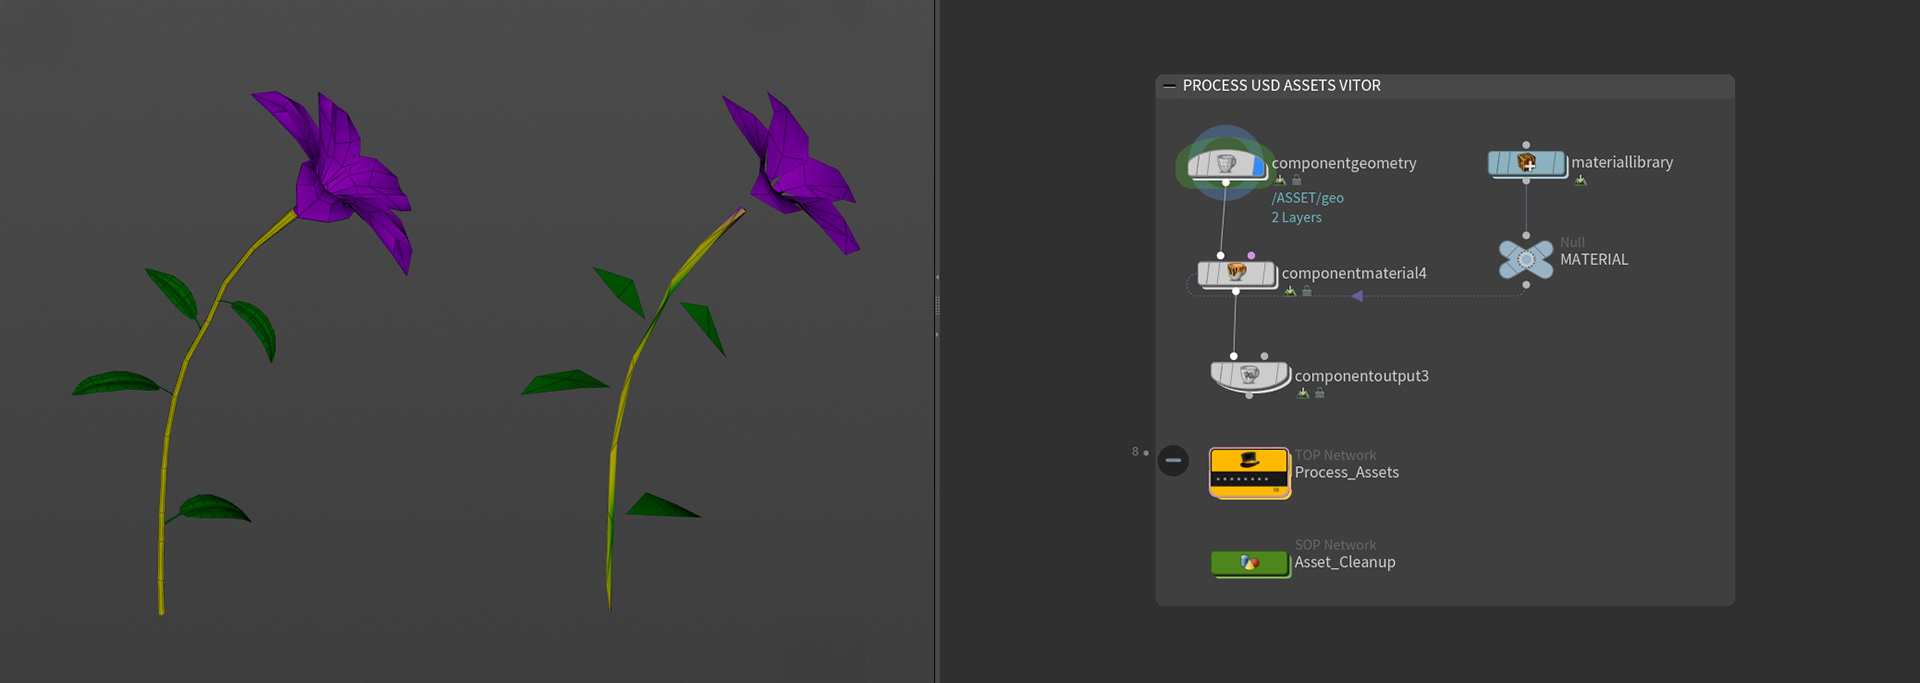
I used Maya and ZBrush for modeling, Mari for texturing, Gaia for terrain creation, and Houdini. The entire scene was rendered using both Arnold and Karma. I converted all my assets to USD, did the assembly and scattering in Solaris, and used layers to organize my workflow. Working this way gave me full control over environment elements.
Thanks for stopping by and checking out my work — I really appreciate it!
Below is a full breakdown of the entire process, from early modeling to final render. Hope you enjoy it!
Below is a full breakdown of the entire process, from early modeling to final render. Hope you enjoy it!
Modeling
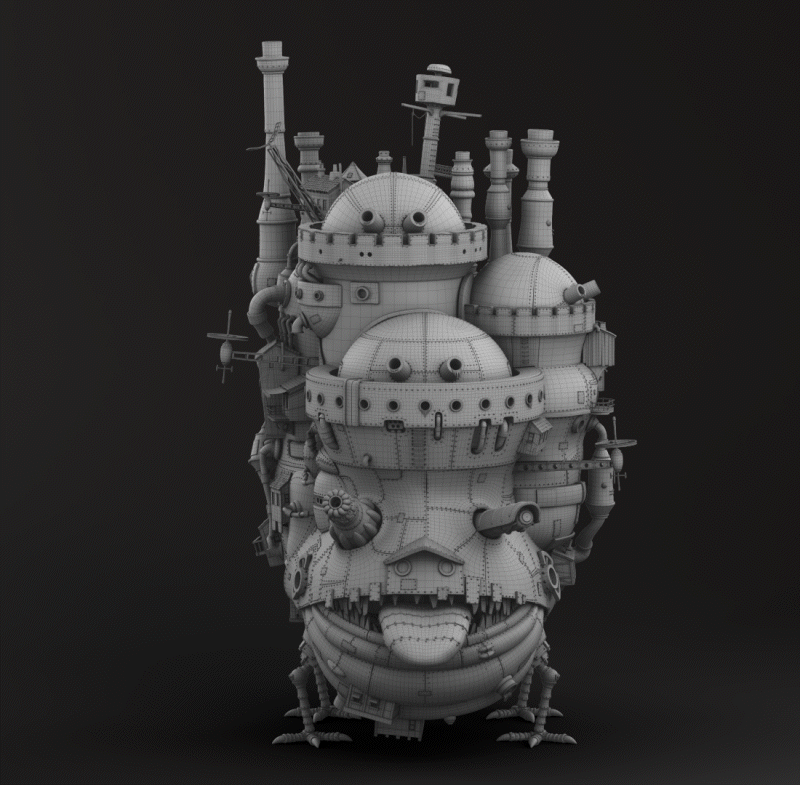
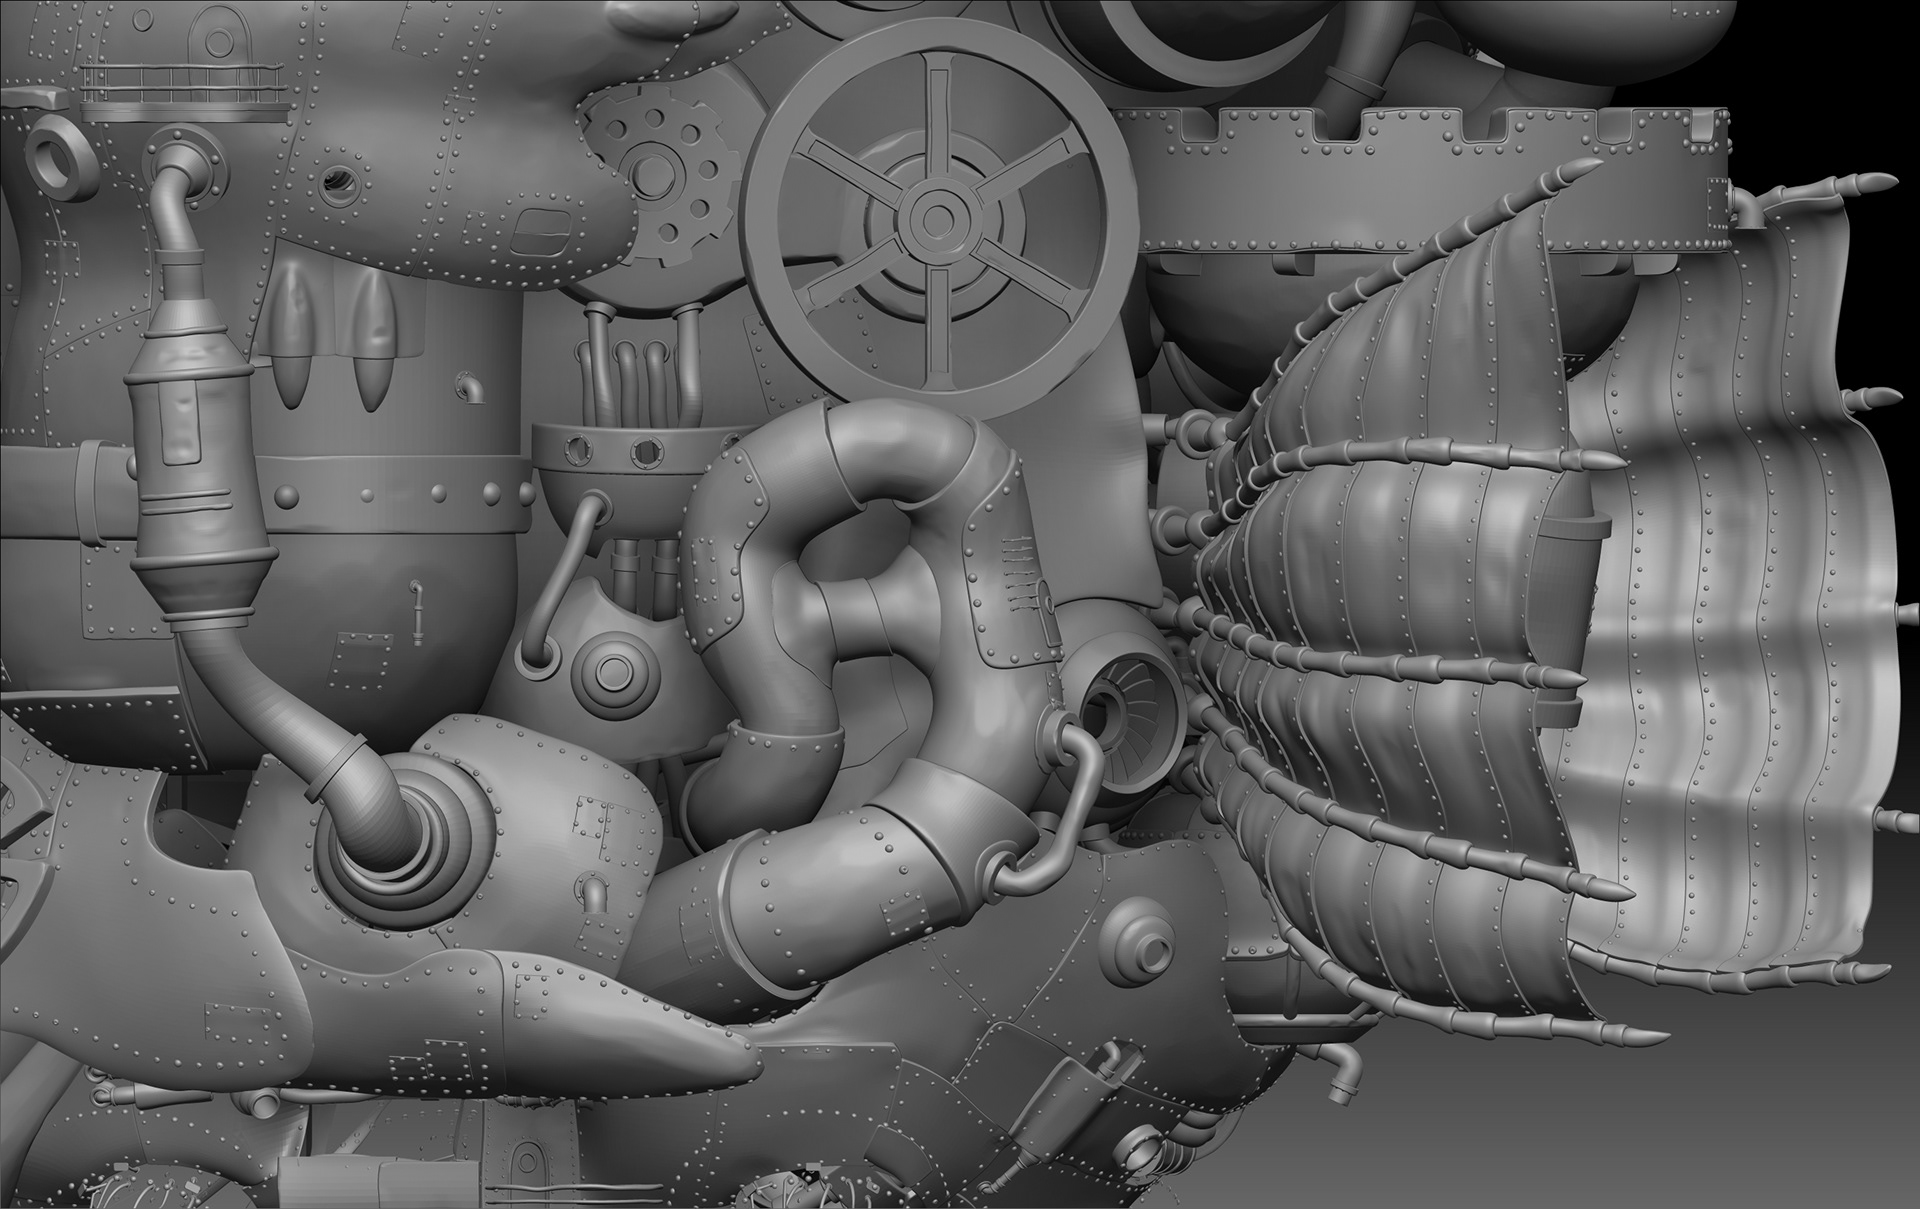
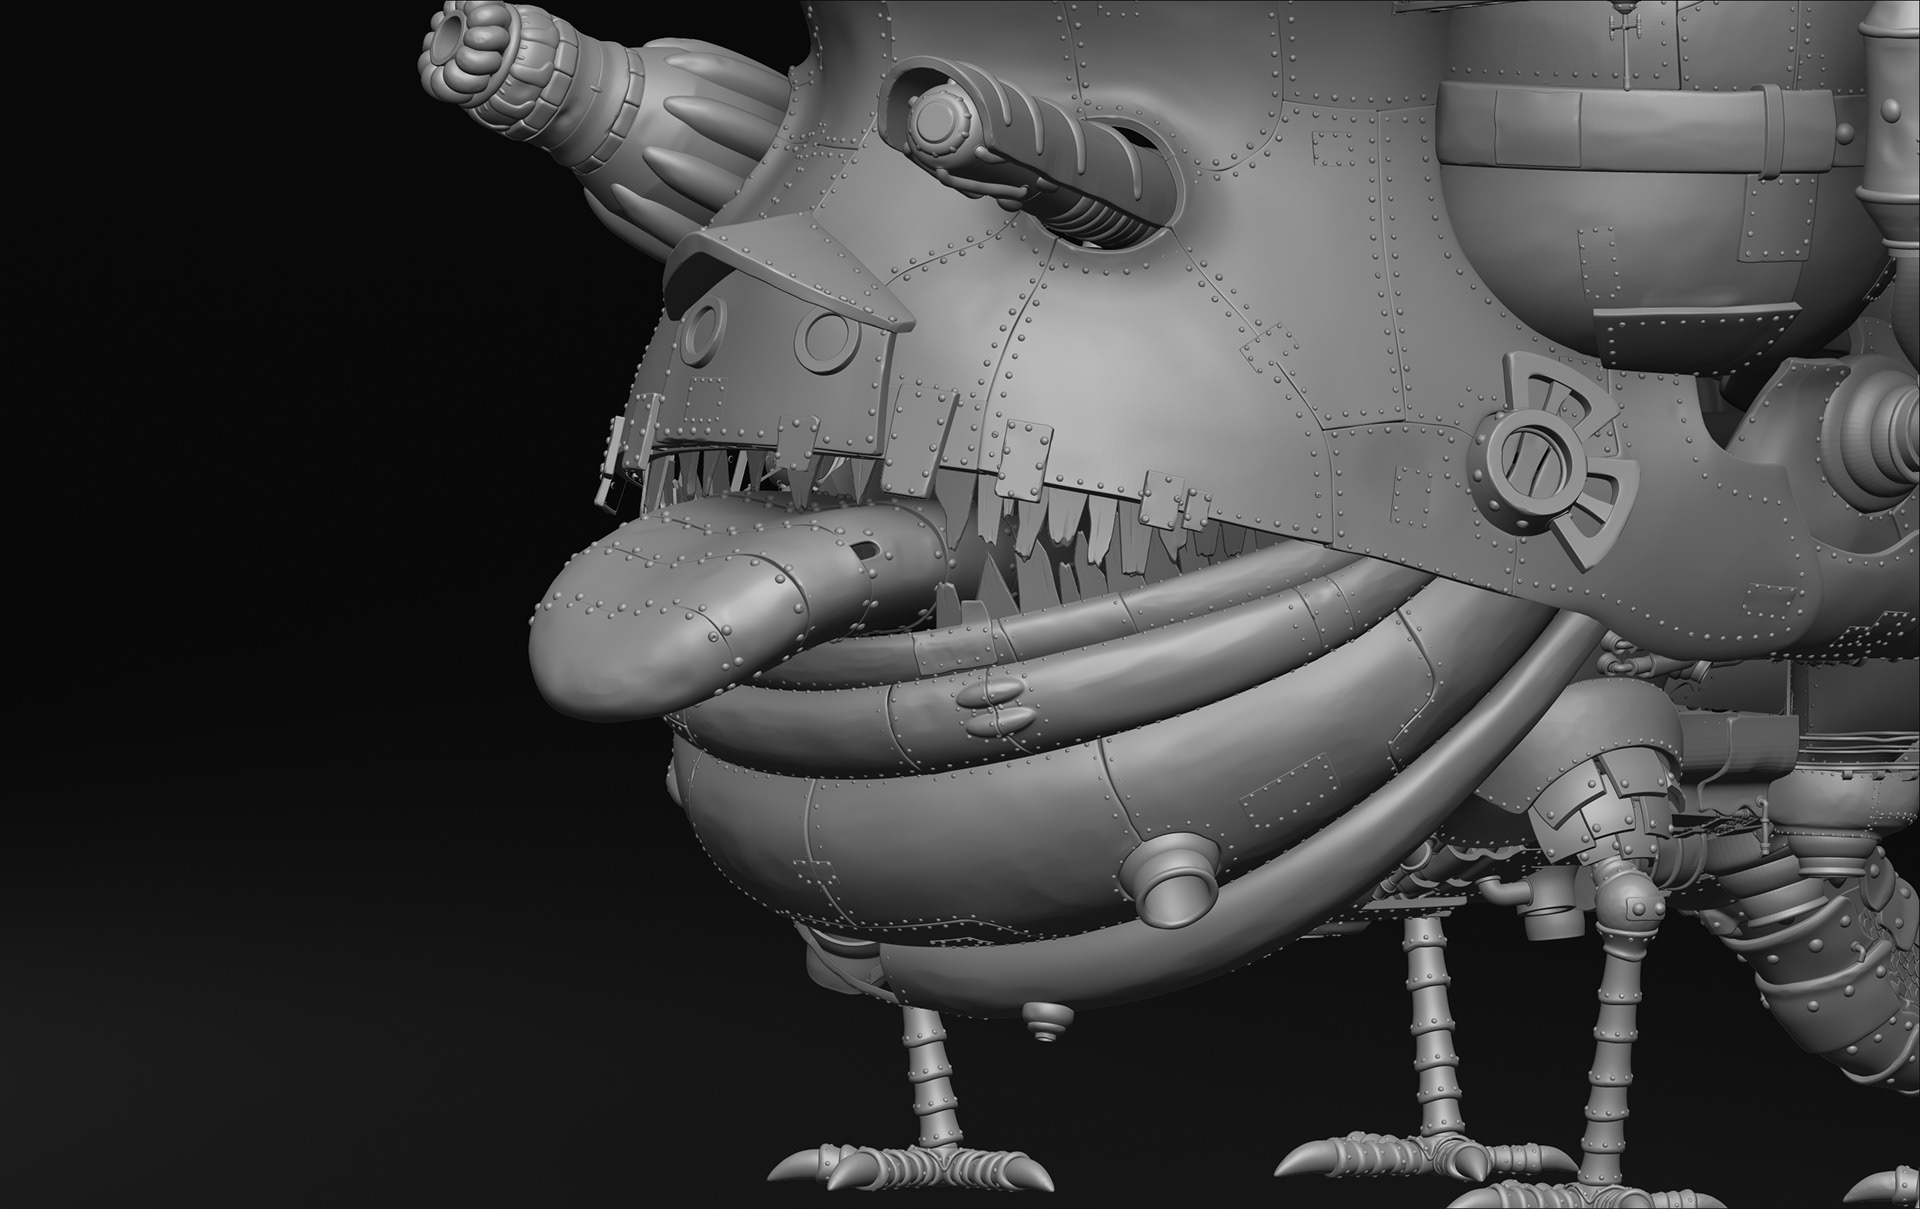
The castle model itself went through several iterations. I kept redesigning parts during the process, which is why I structured the pipeline to be as non-destructive and flexible as possible. I wanted to be able to make big changes at any stage without breaking everything else — and that approach really paid off.
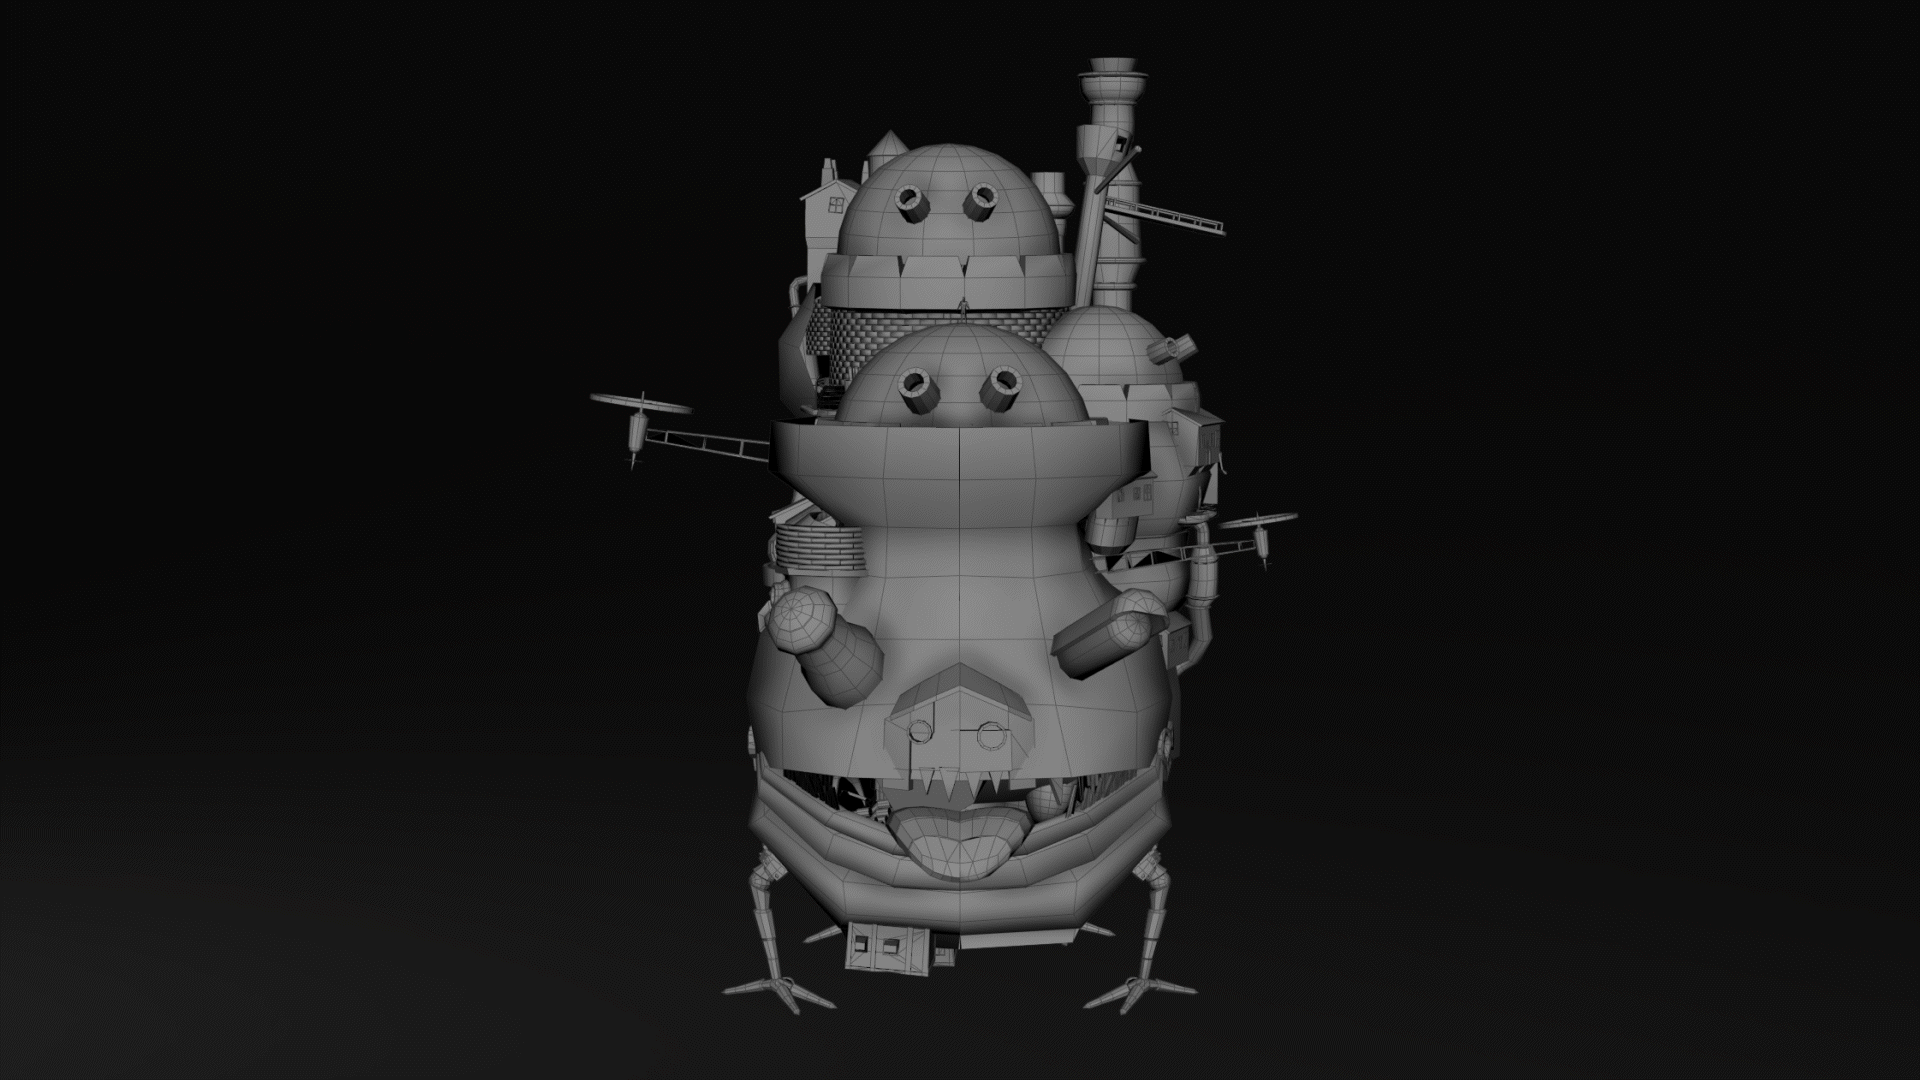
Reference blockout modeled in Maya
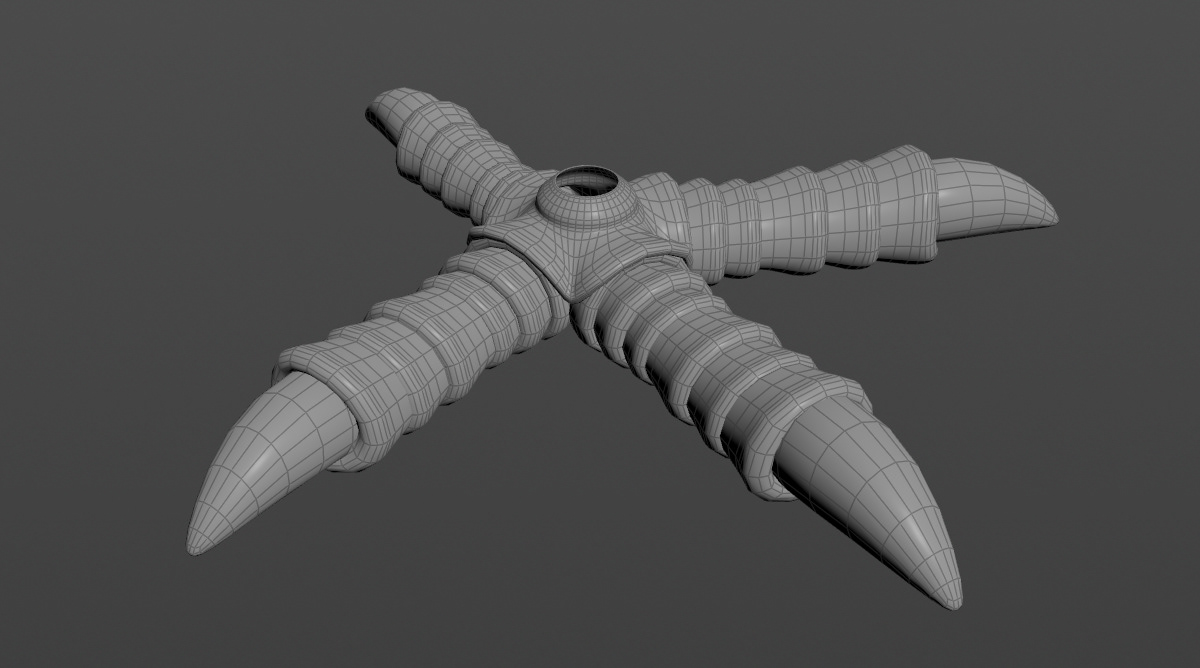
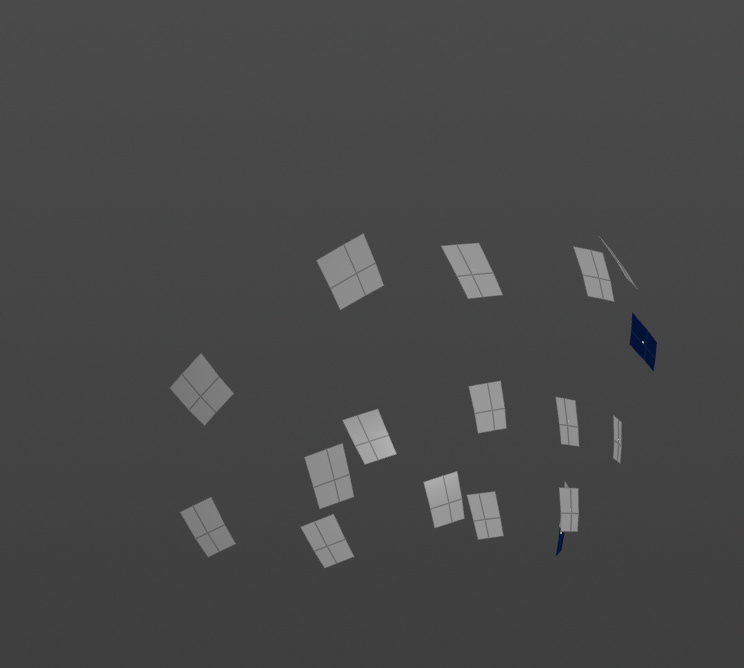
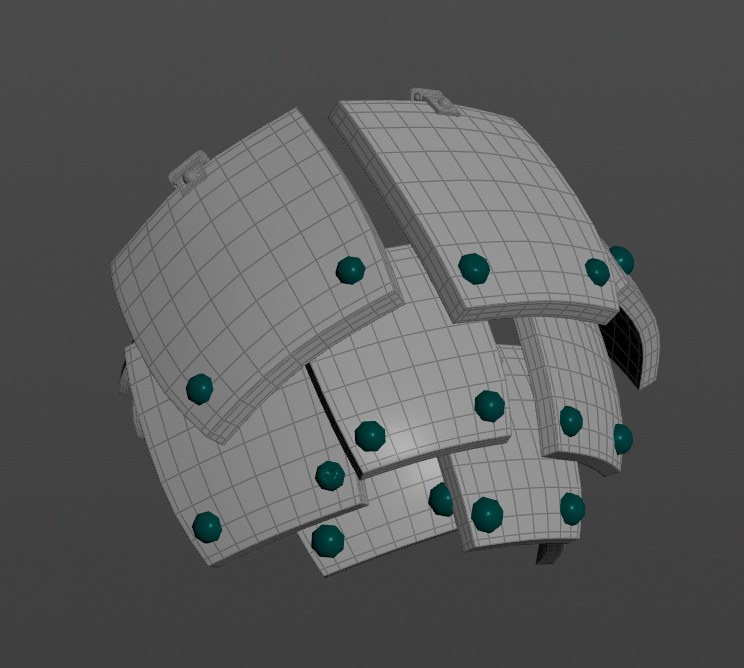
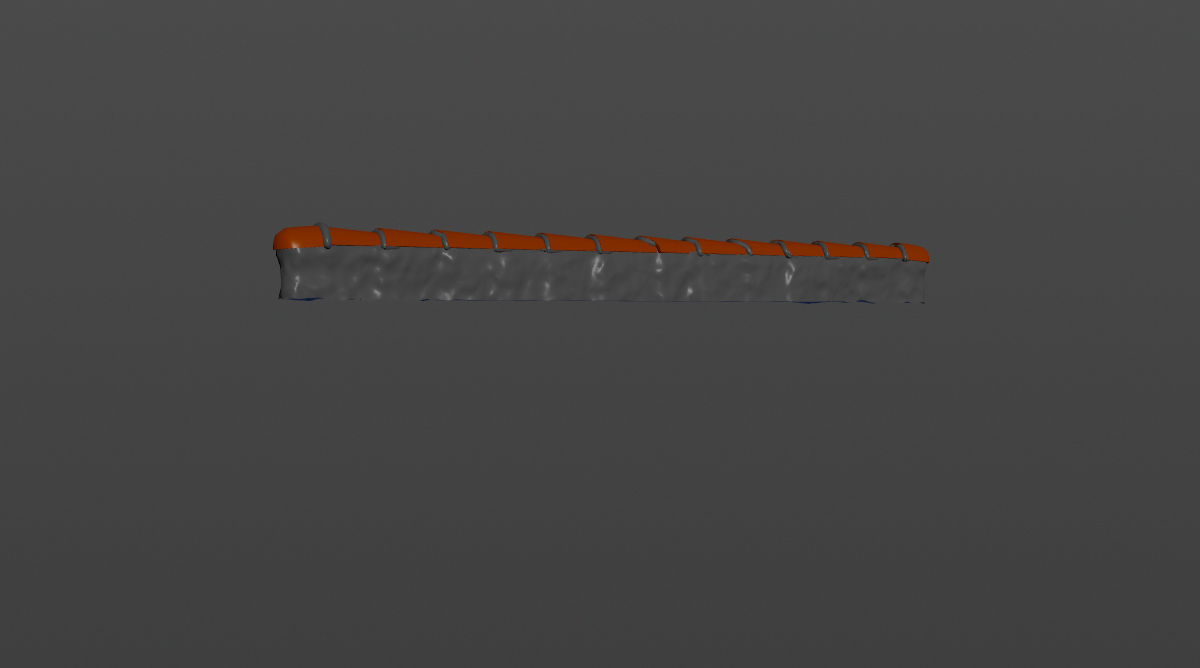
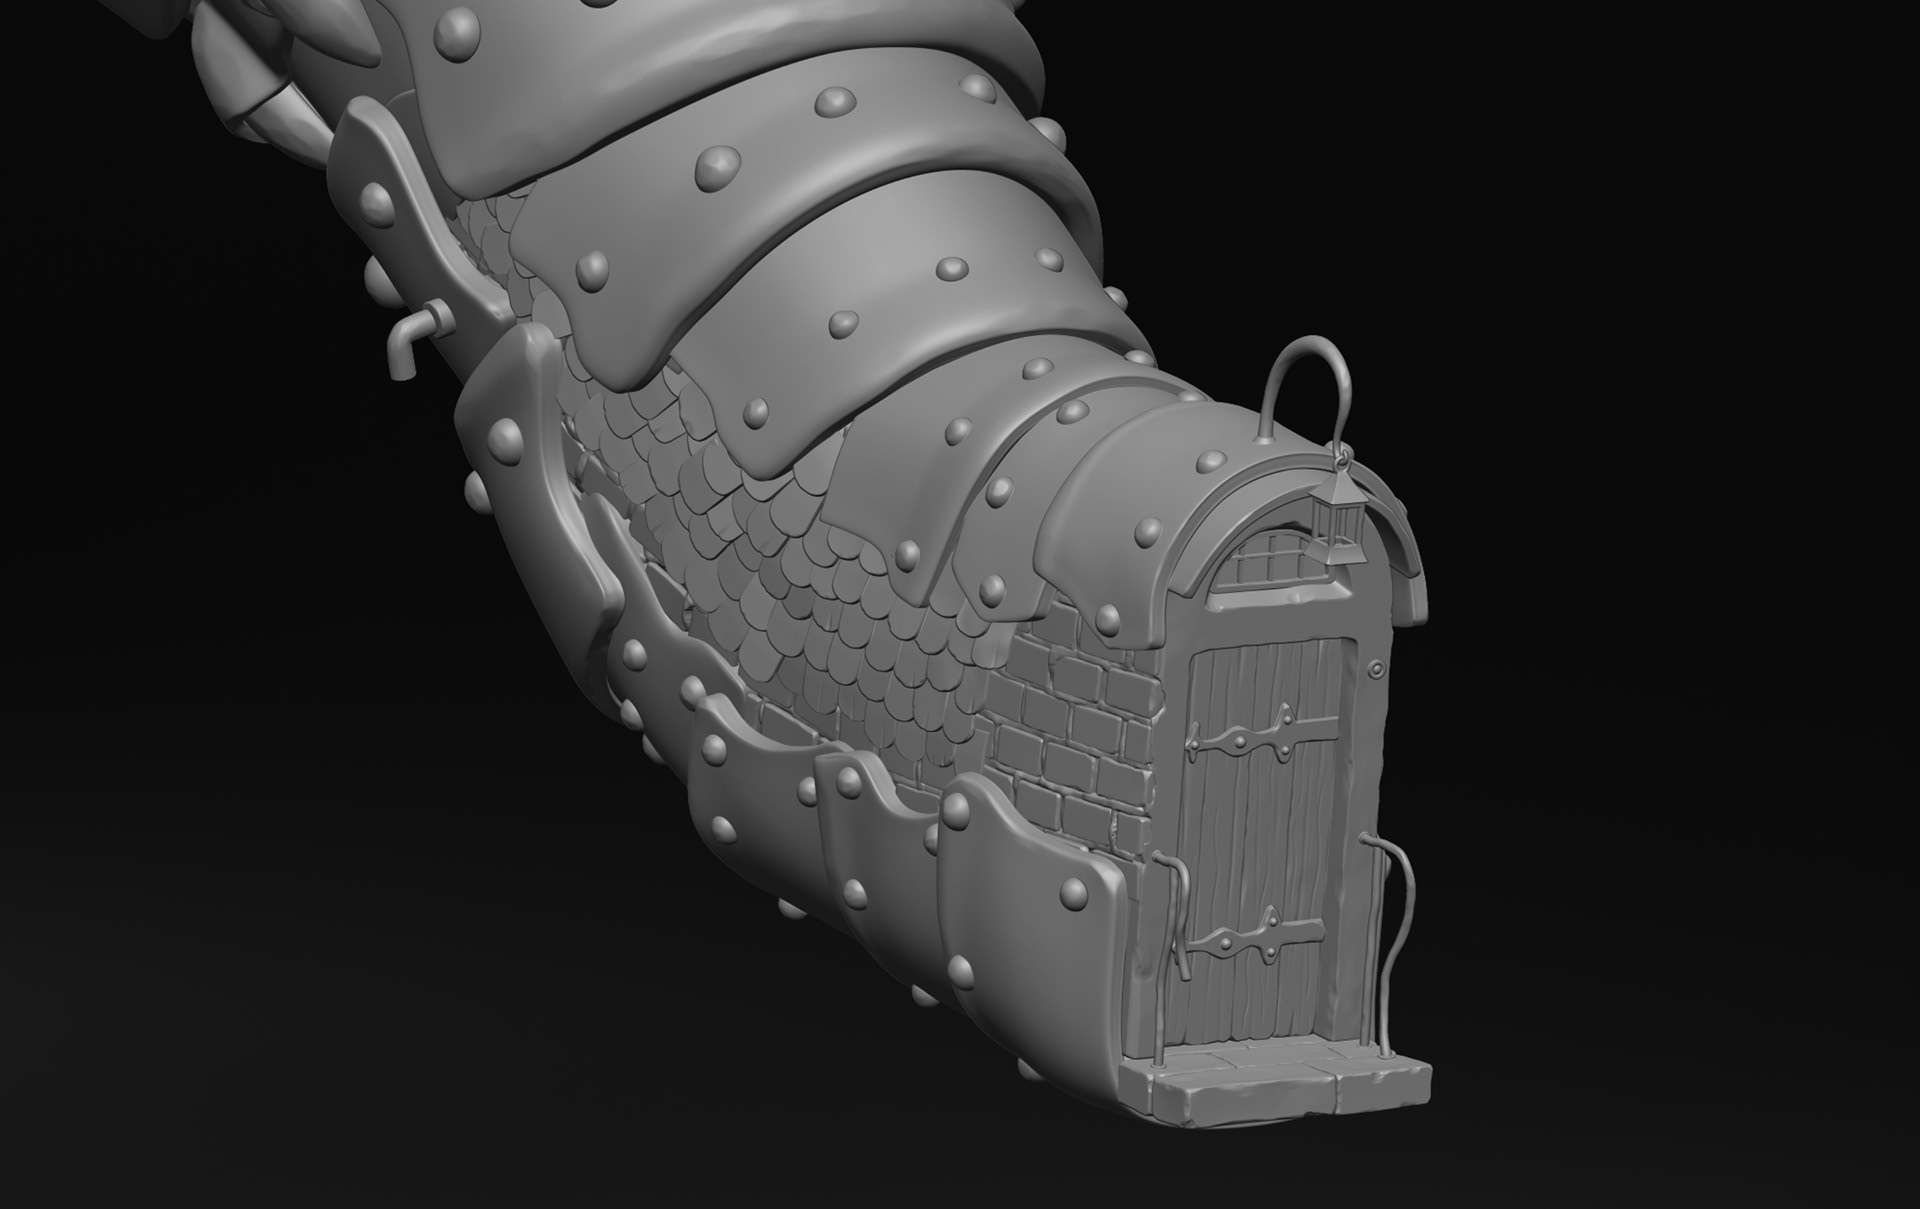
The rivets were created using the edges of the geometries, by isolating the boundary borders with a node and converting them into groups and then into splines. After that, I scattered the rivet models along those splines.
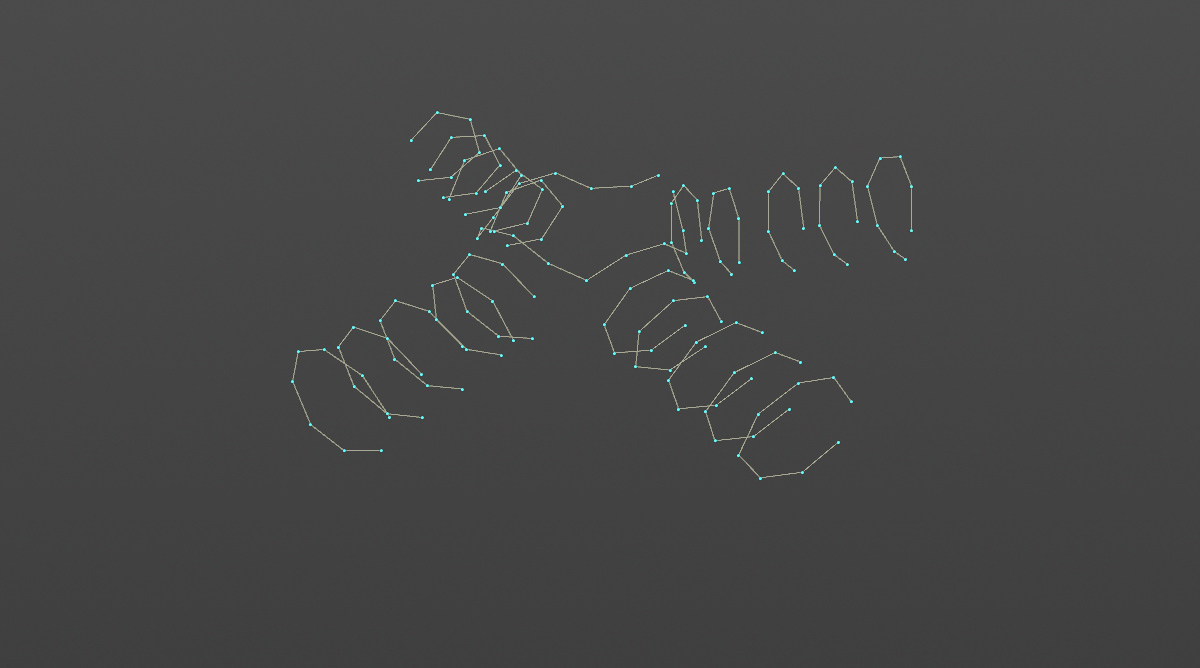
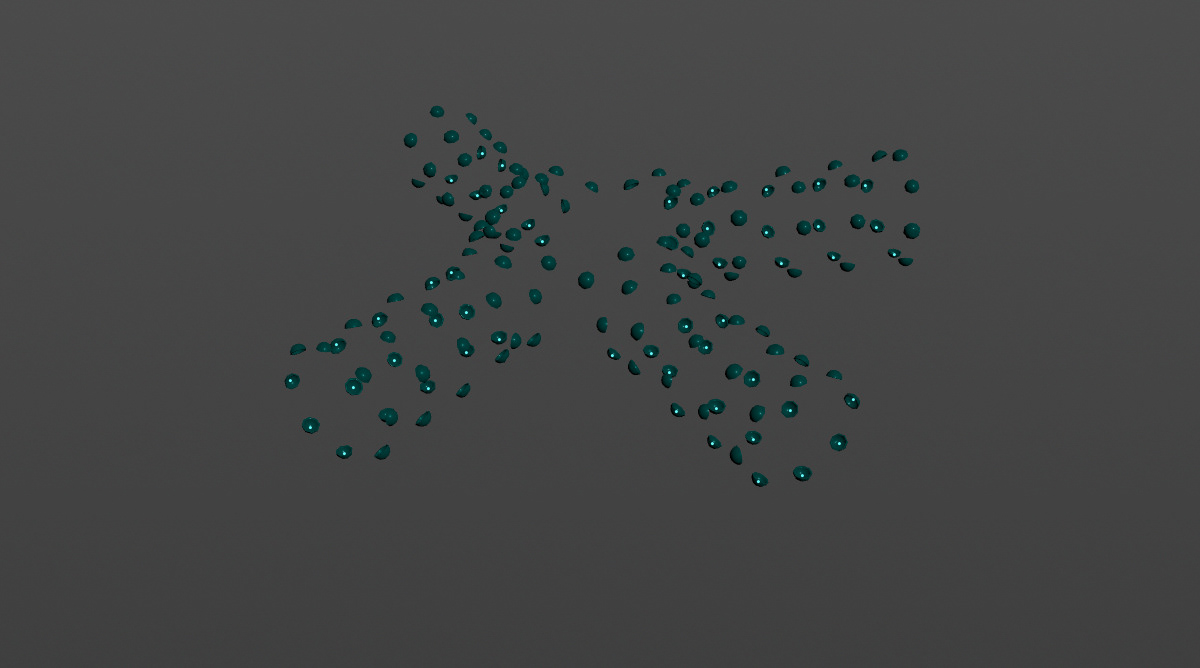
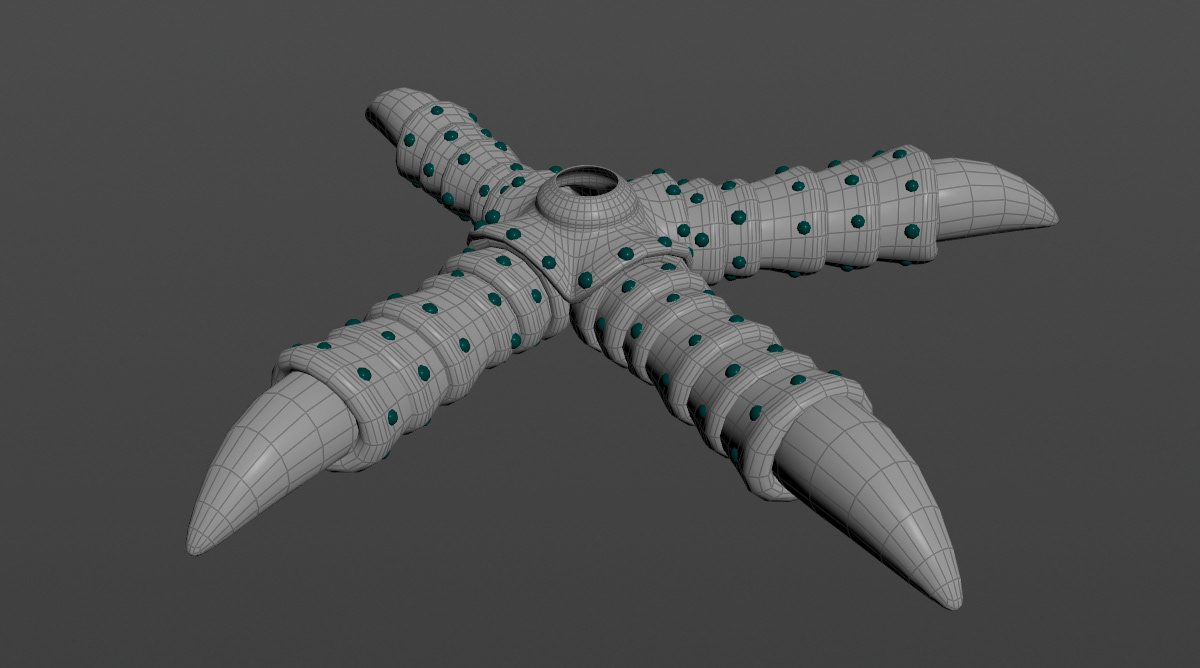
In other areas, like the shoulders, I assigned a material to the faces in Maya to isolate them later in Houdini. Then I added center points to each object to use them for scattering.
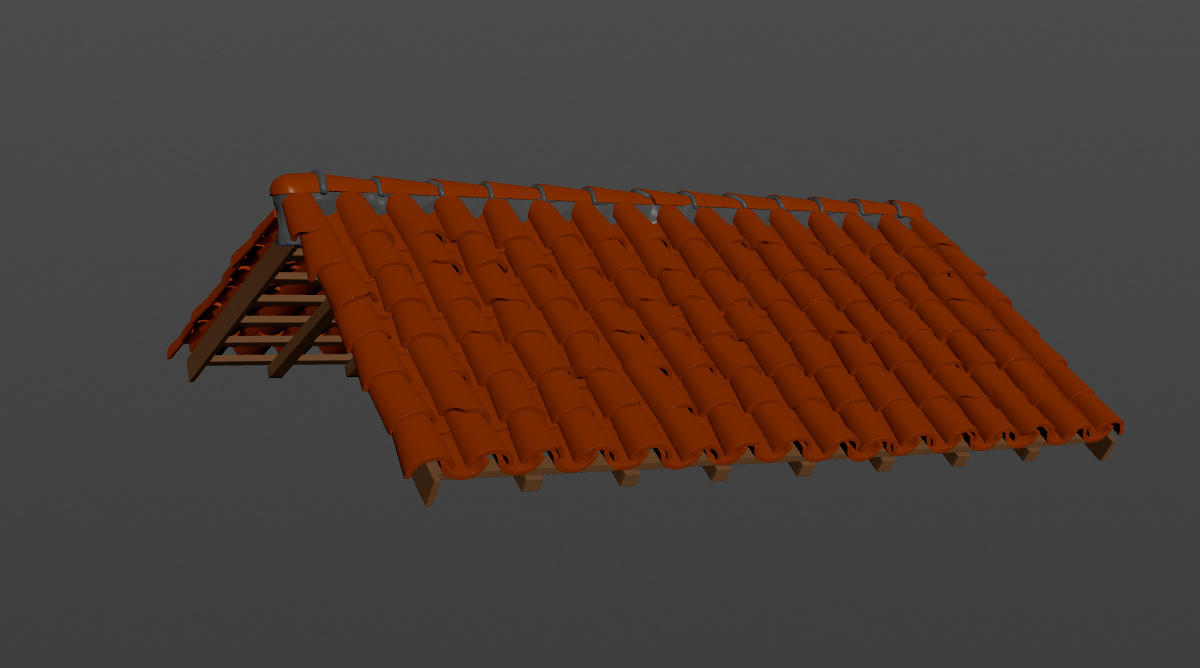
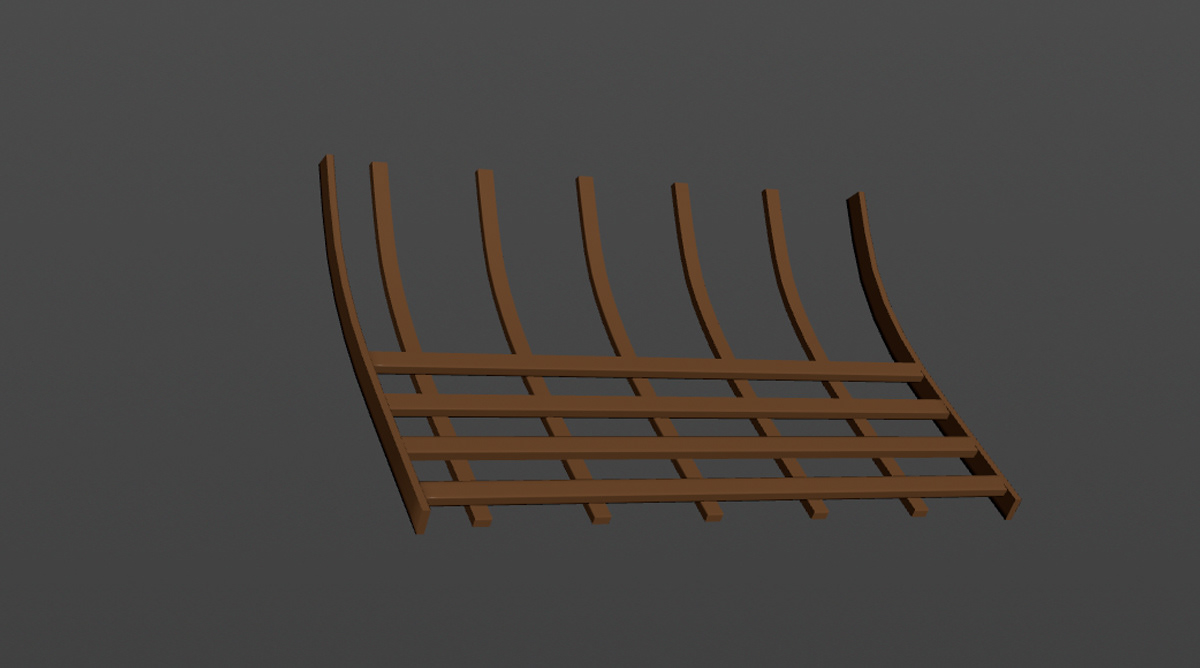
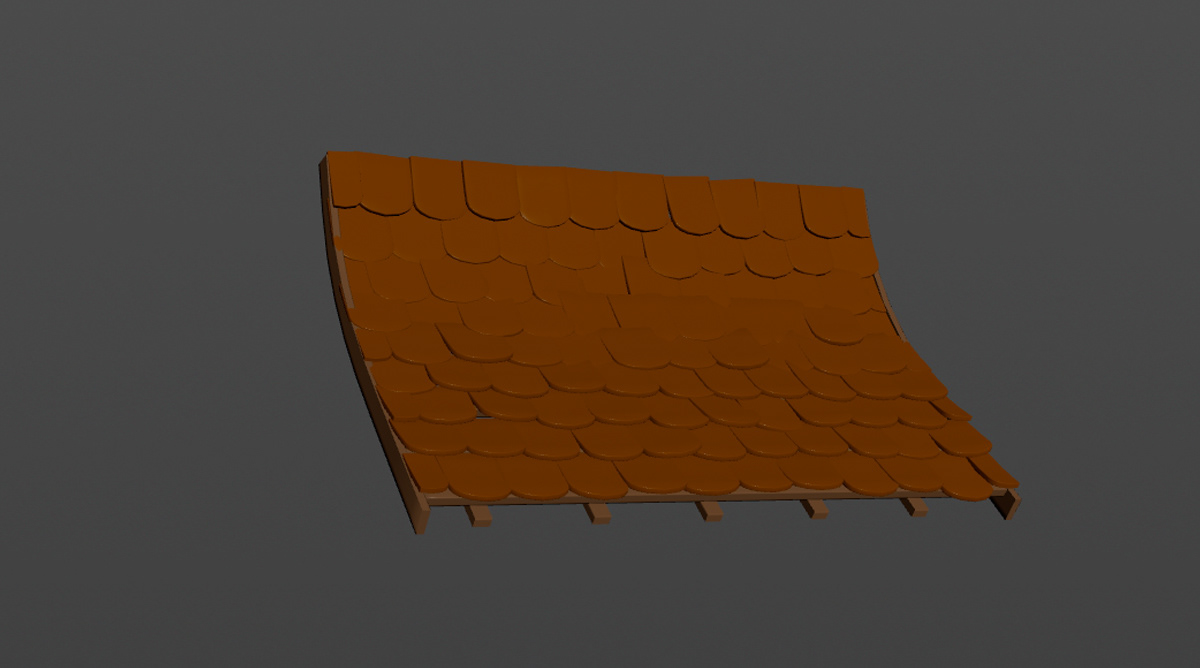
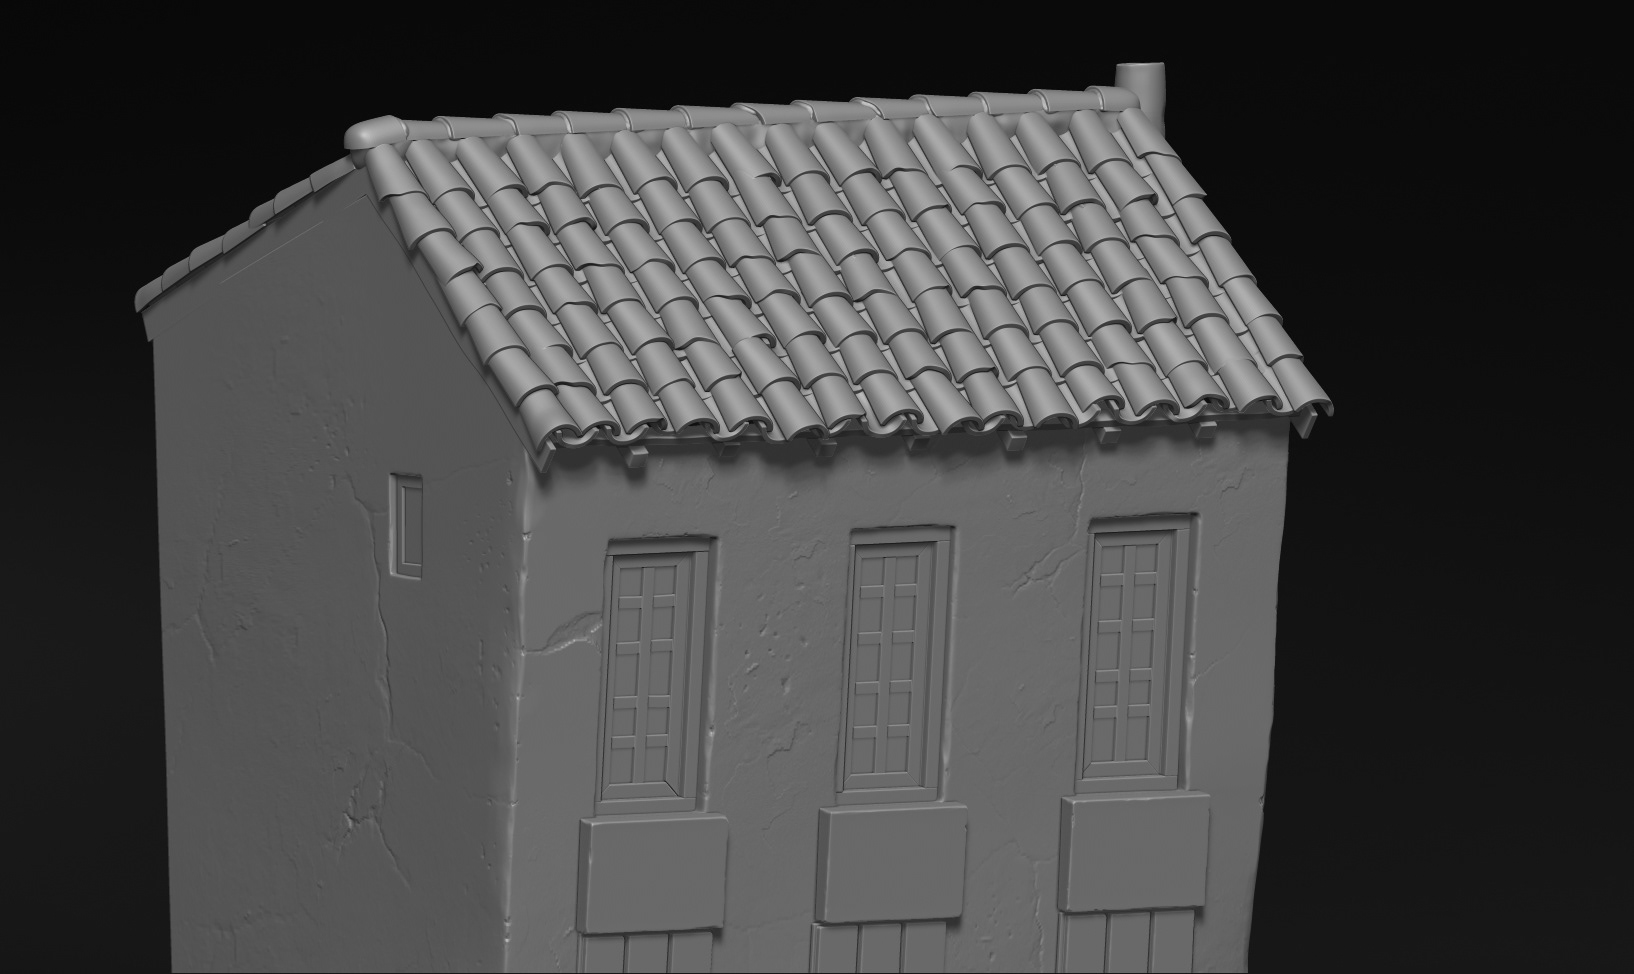
House Roofs
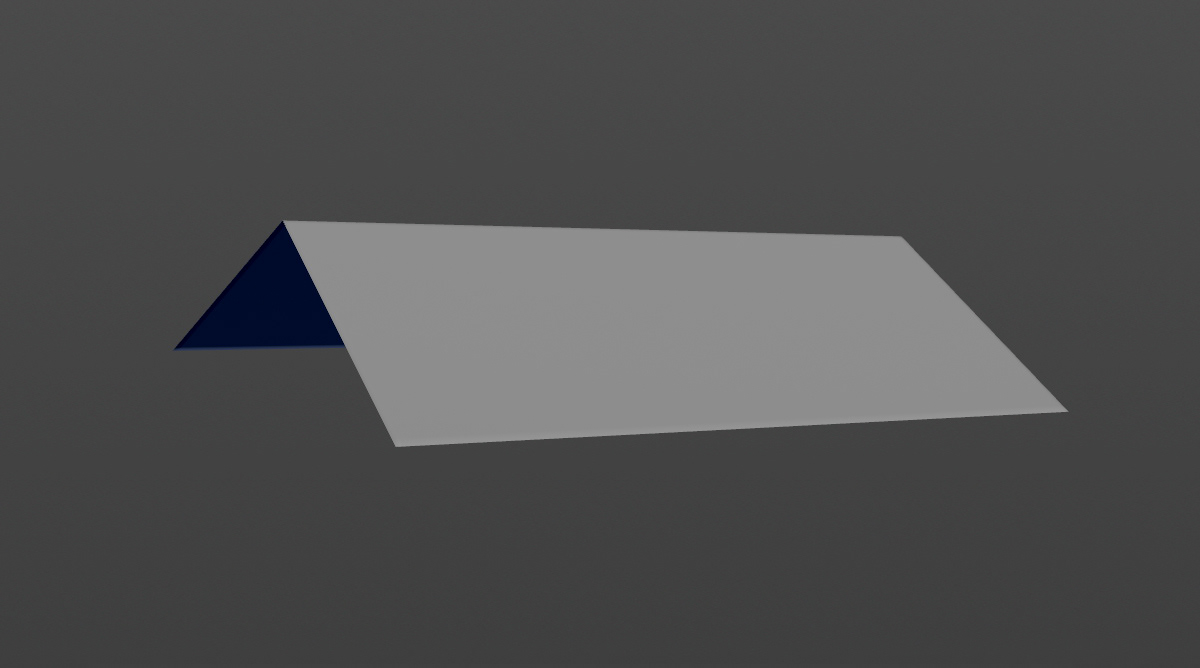
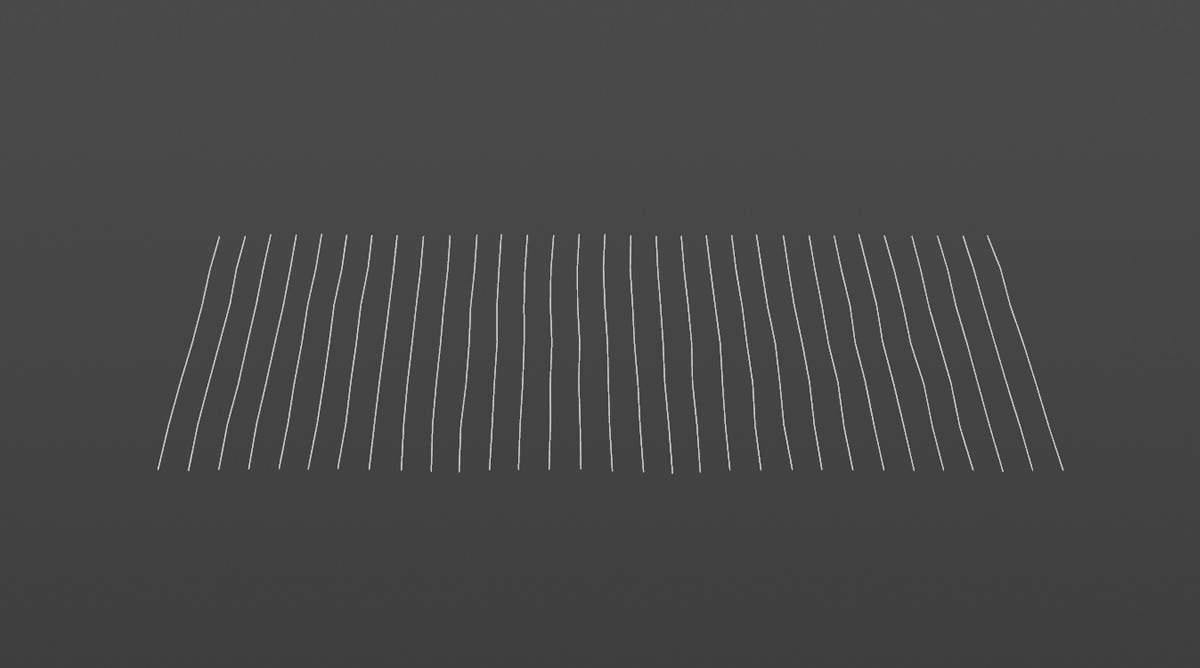
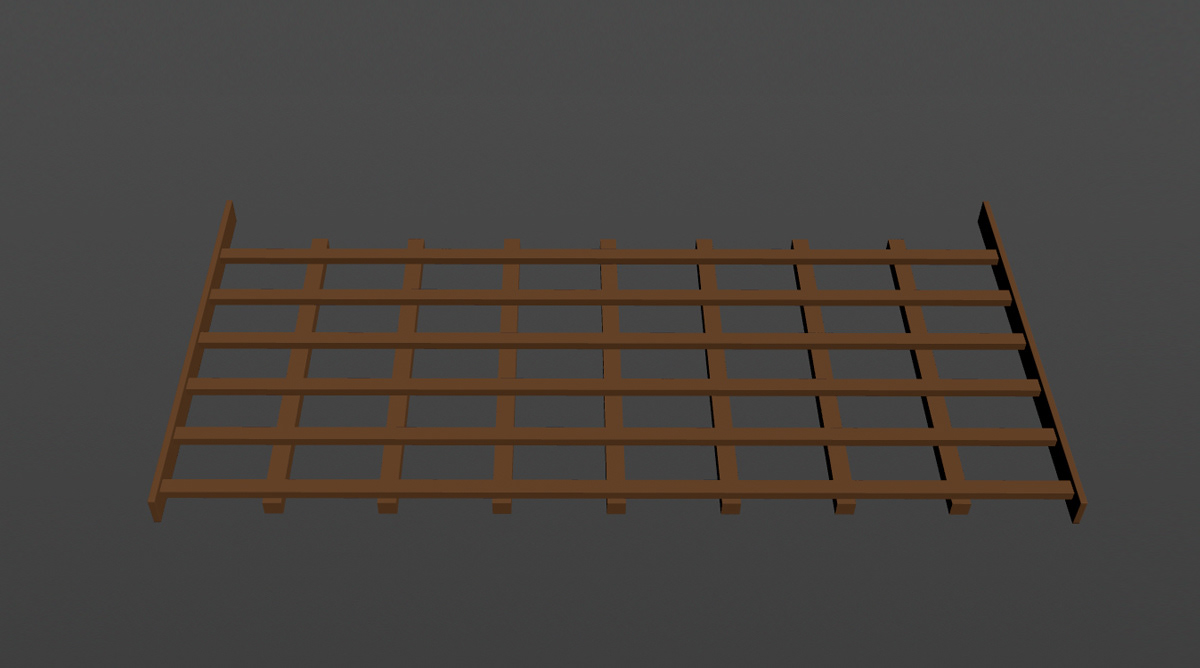
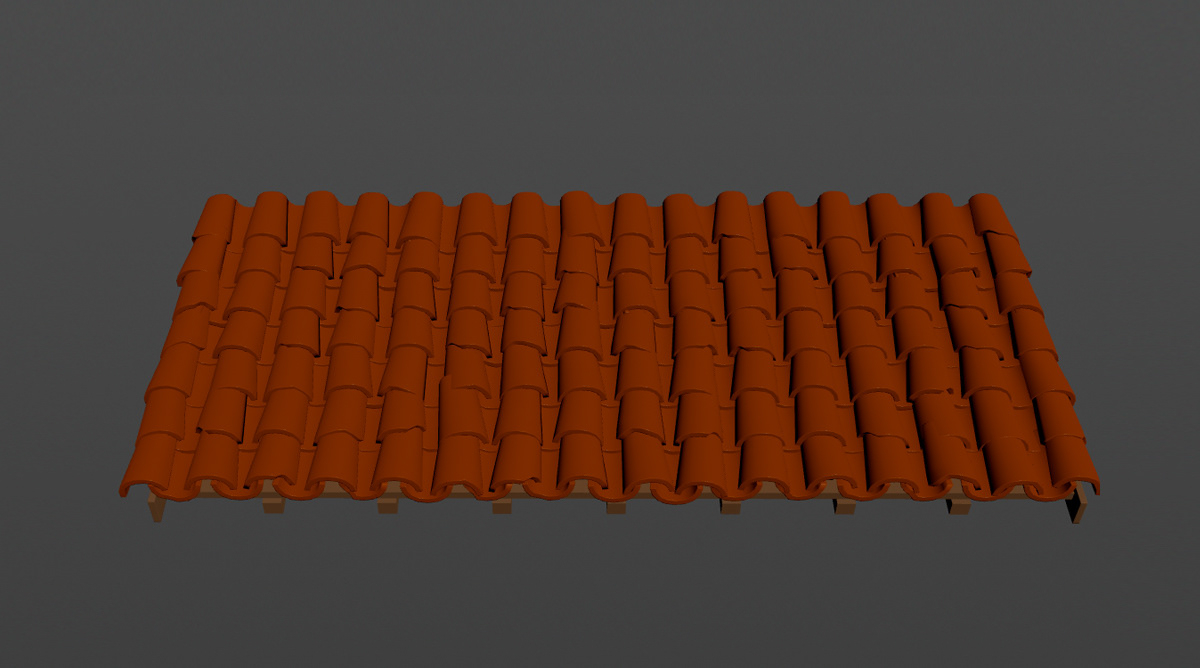
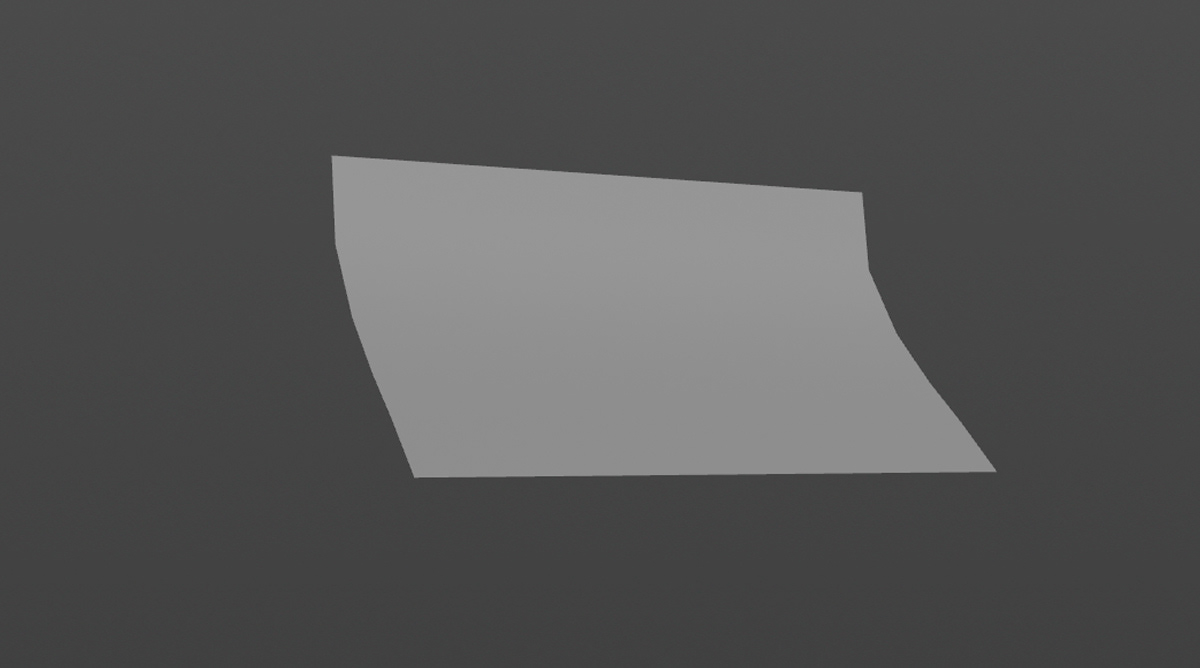
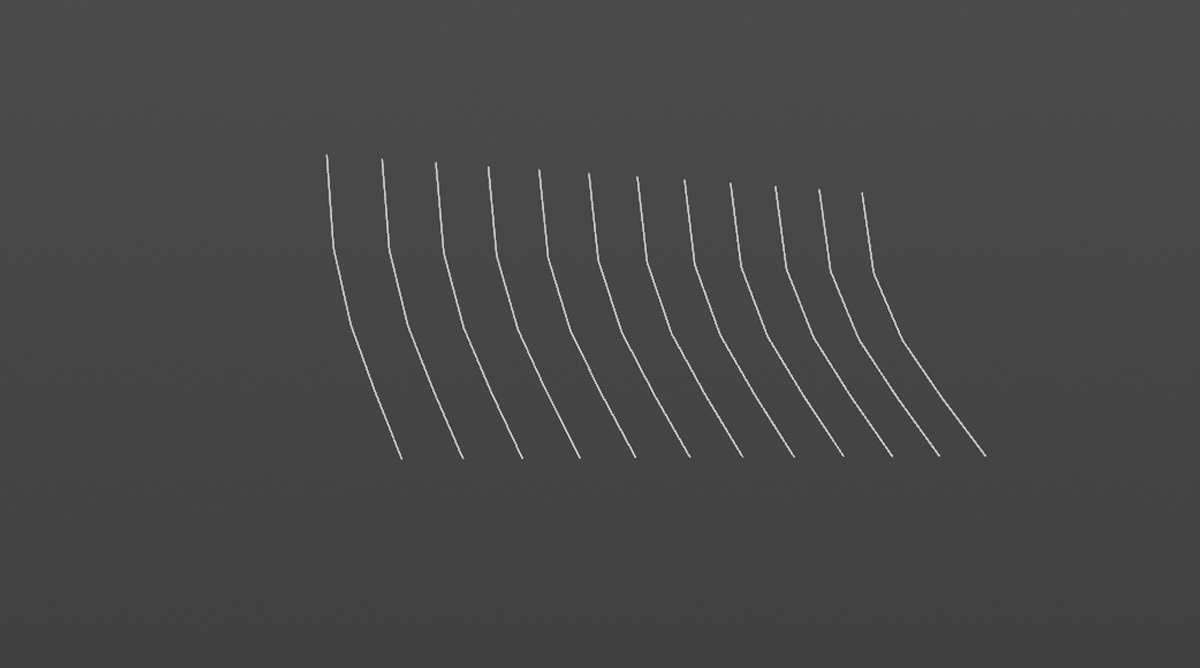
For the houses' roofs, I created a separate geometry in Maya specifically for the roof. I then converted it into splines to scatter elements along the roof and ridge. I also used the same splines to create the wooden supports.
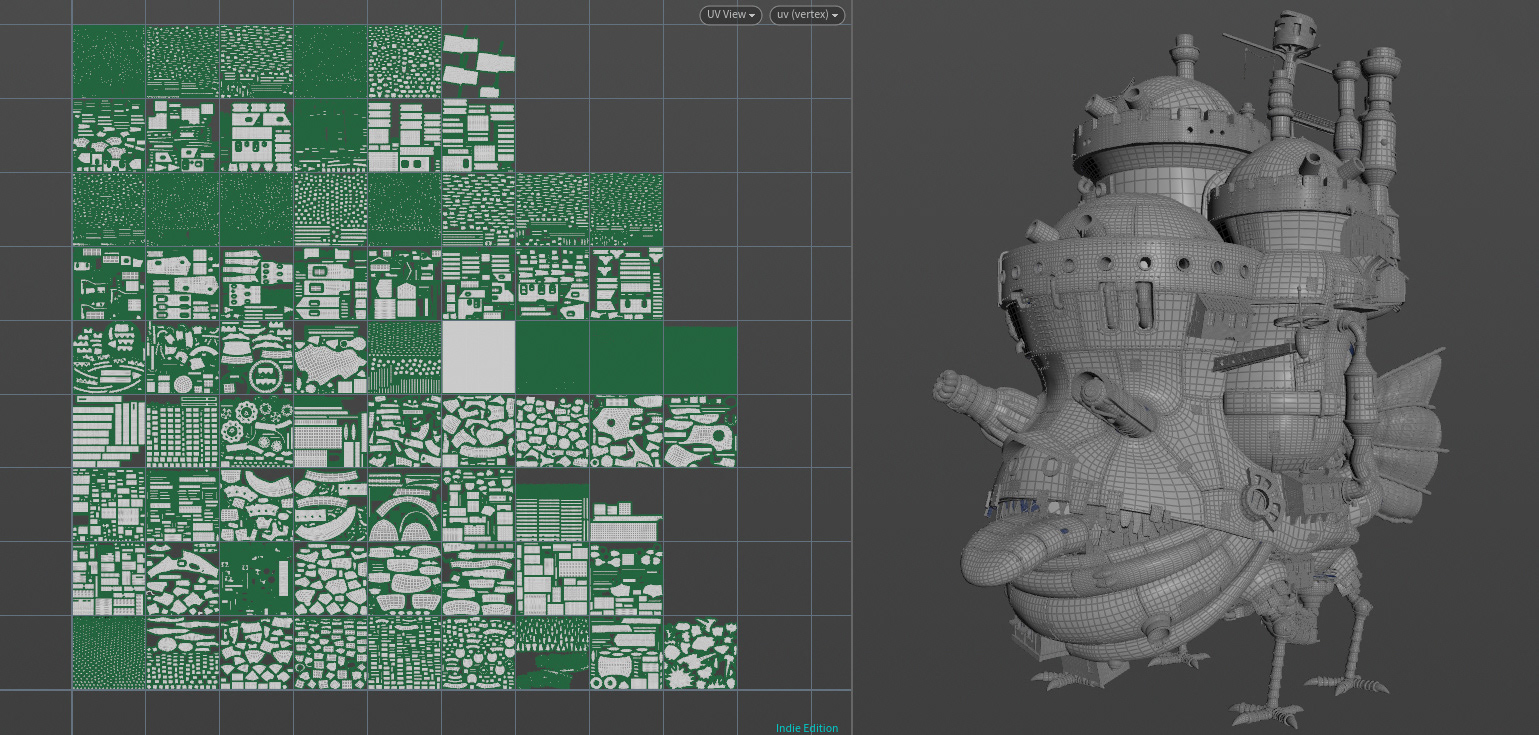
All the UVs in the scene were generated procedurally inside Houdini. I relied on a combination of automatic unwrapping techniques and custom attribute-driven logic to ensure the UVs were consistent and optimized across all assets. This approach allowed for greater flexibility during the lookdev phase and ensured that even last-minute geometry changes wouldn’t break the texturing process. It also made the pipeline more scalable and efficient, especially when dealing with a large number of scattered and procedural elements.
Sculping
To enhance the level of detail in the models, I brought several elements into ZBrush for sculpting. There, I added surface imperfections, damage, and subtle organic details that would be difficult to achieve through traditional modeling alone. This step was especially important for adding a handcrafted feel to the assets, staying true to the spirit of Ghibli's aesthetic. Once the sculpting was complete, I exported the high-resolution meshes or baked the necessary maps to use during the texturing phase, depending on the asset’s needs

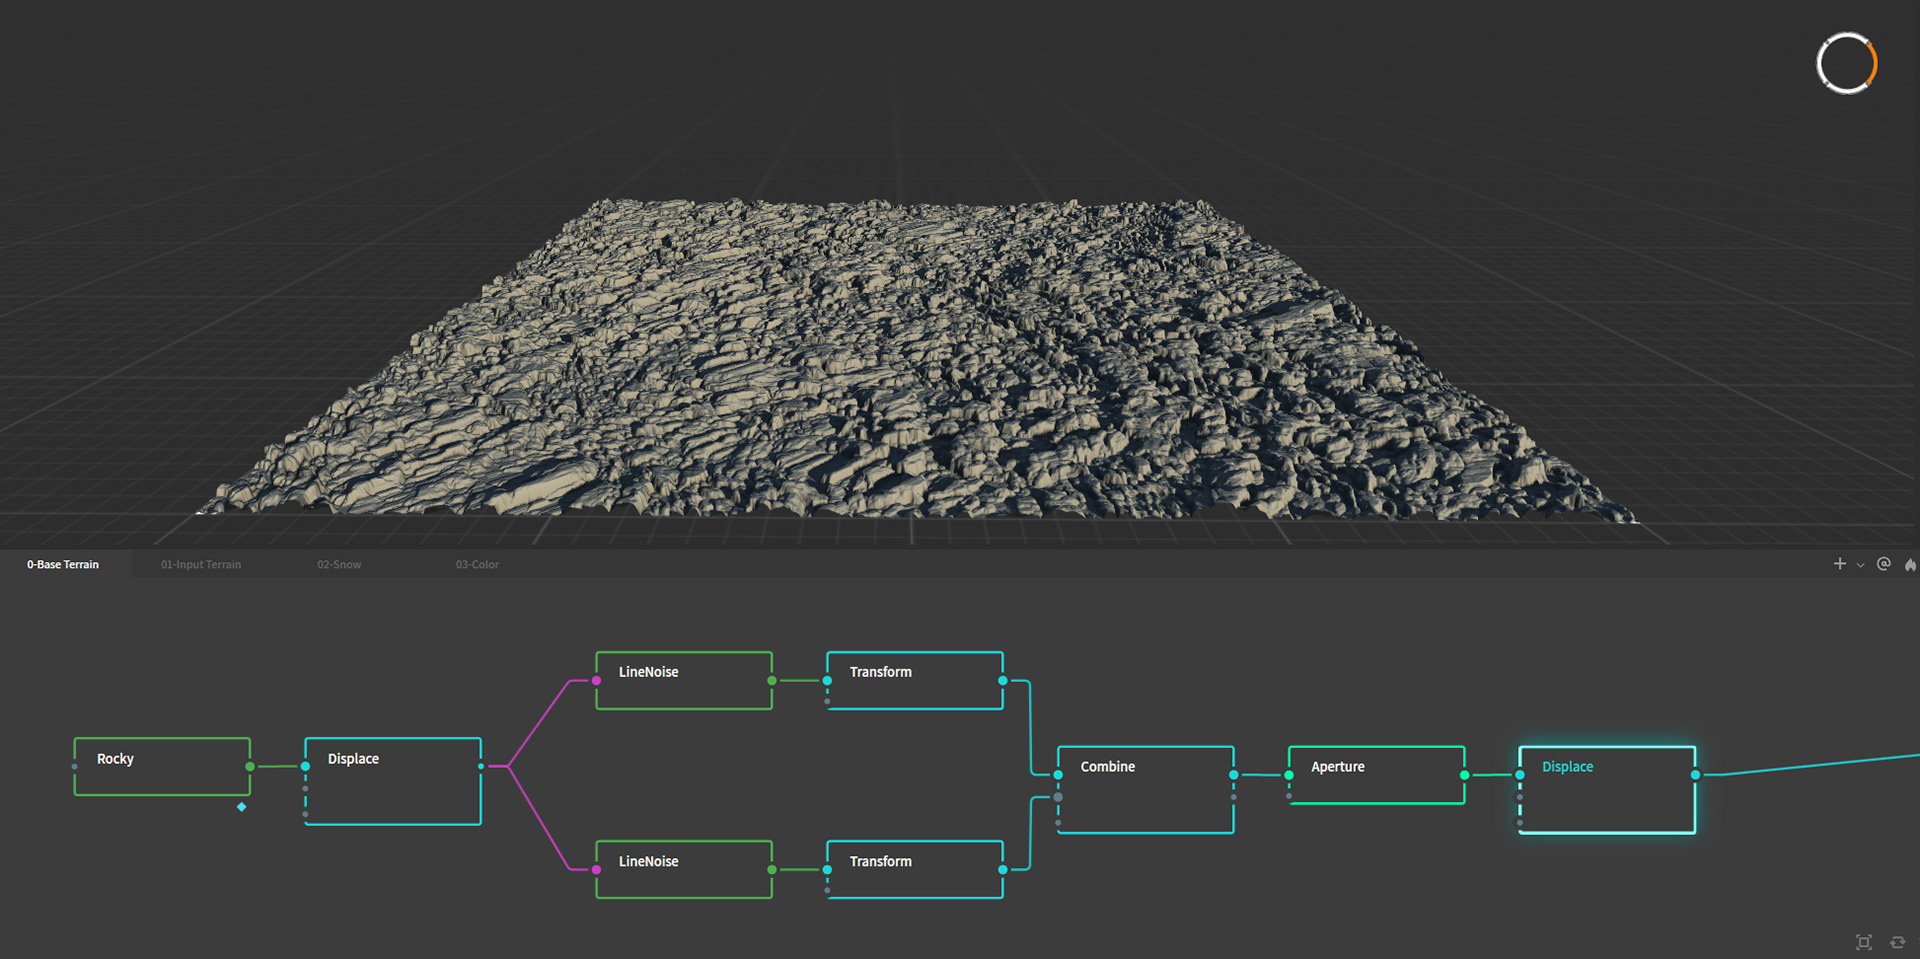
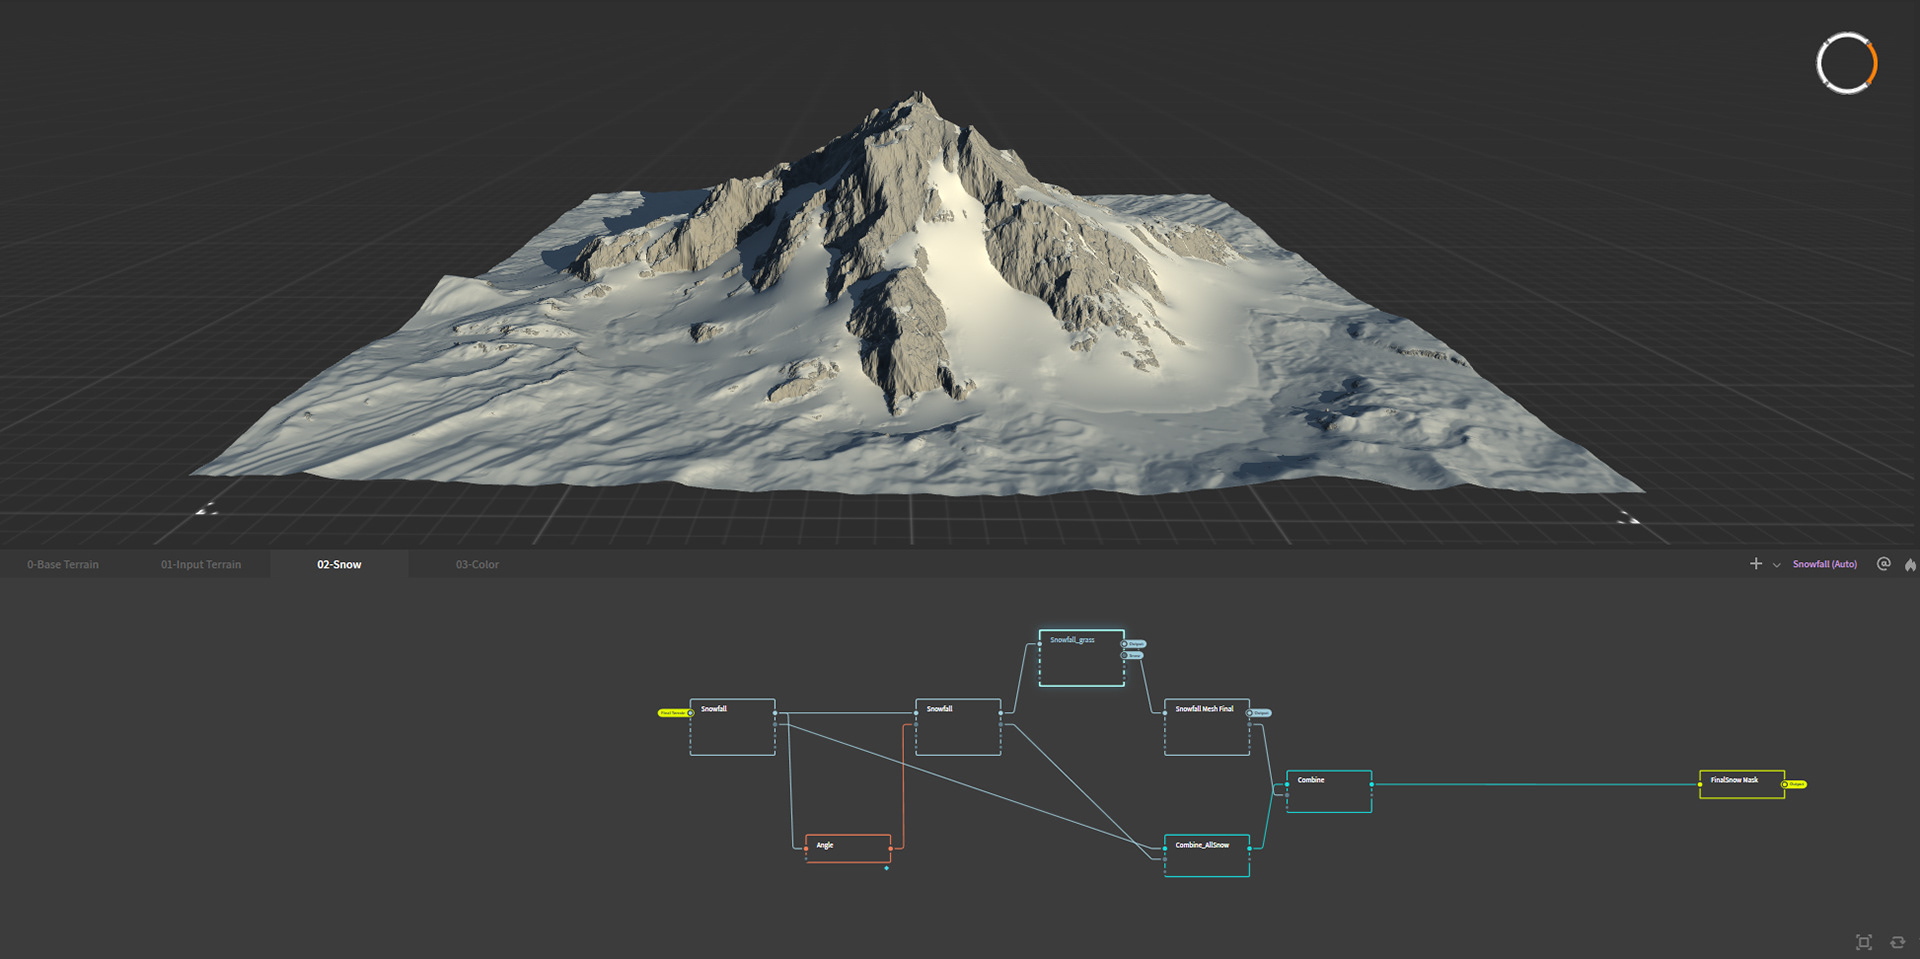
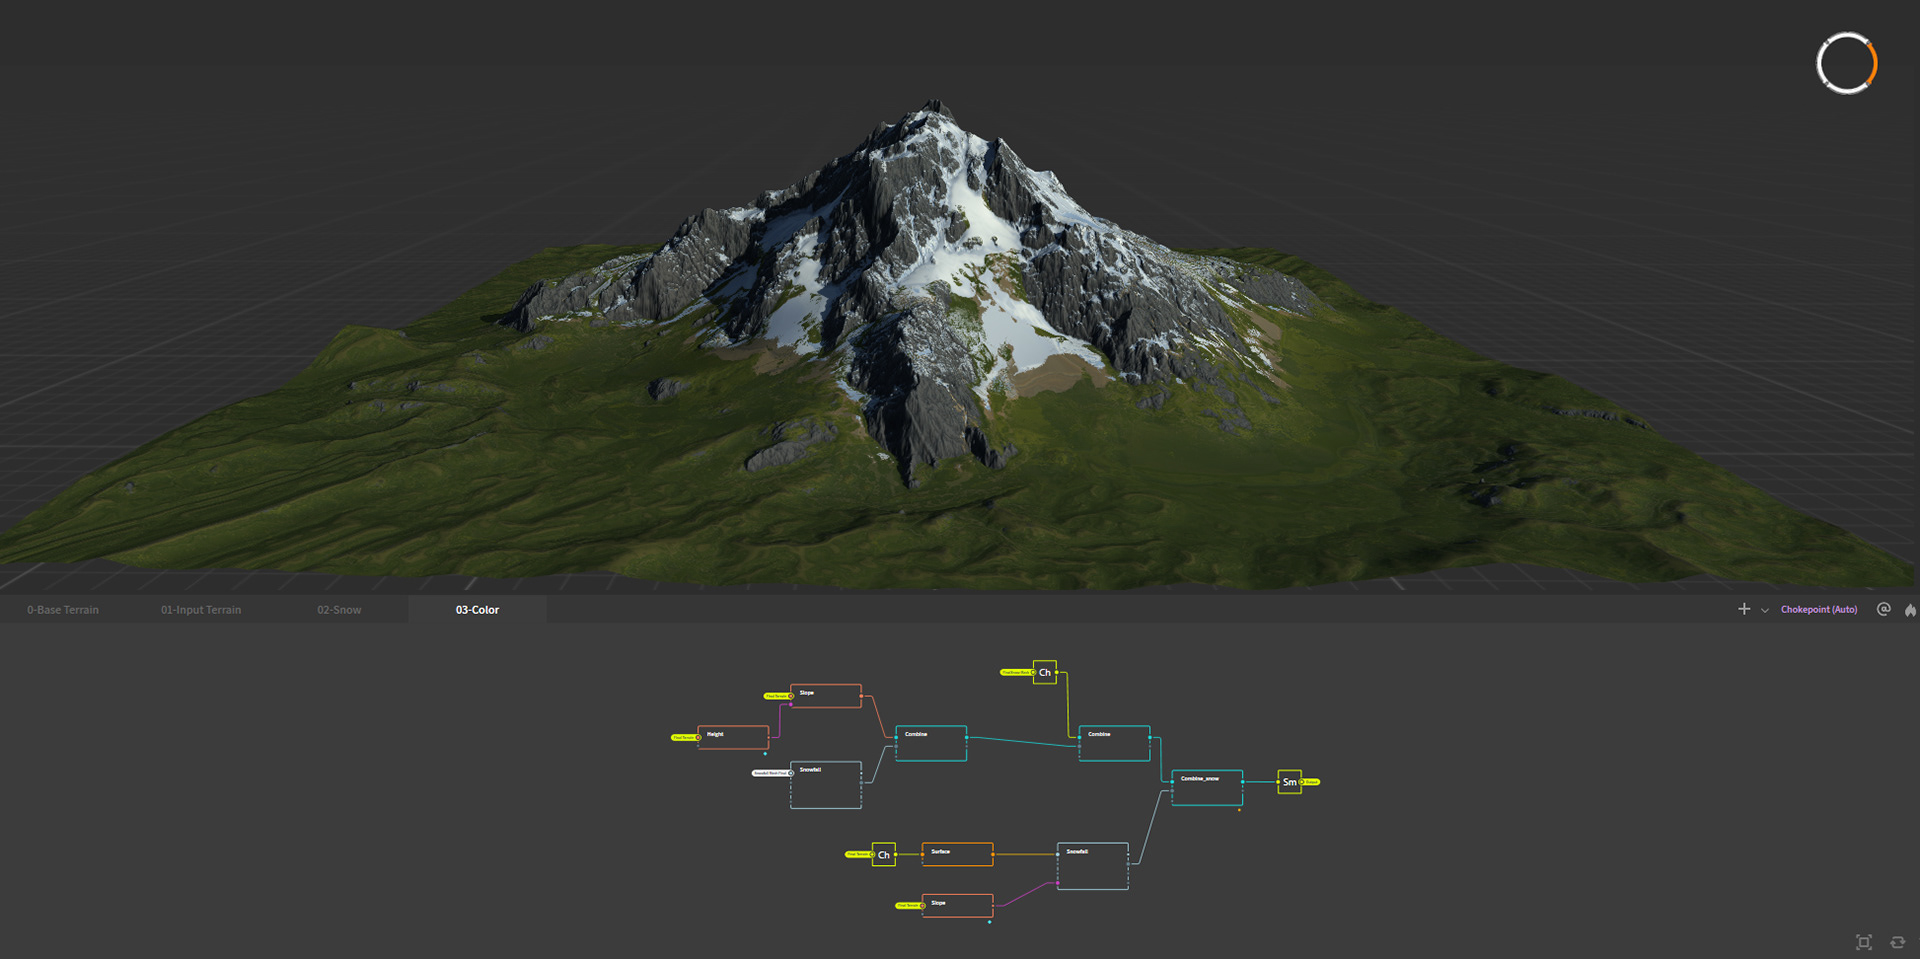
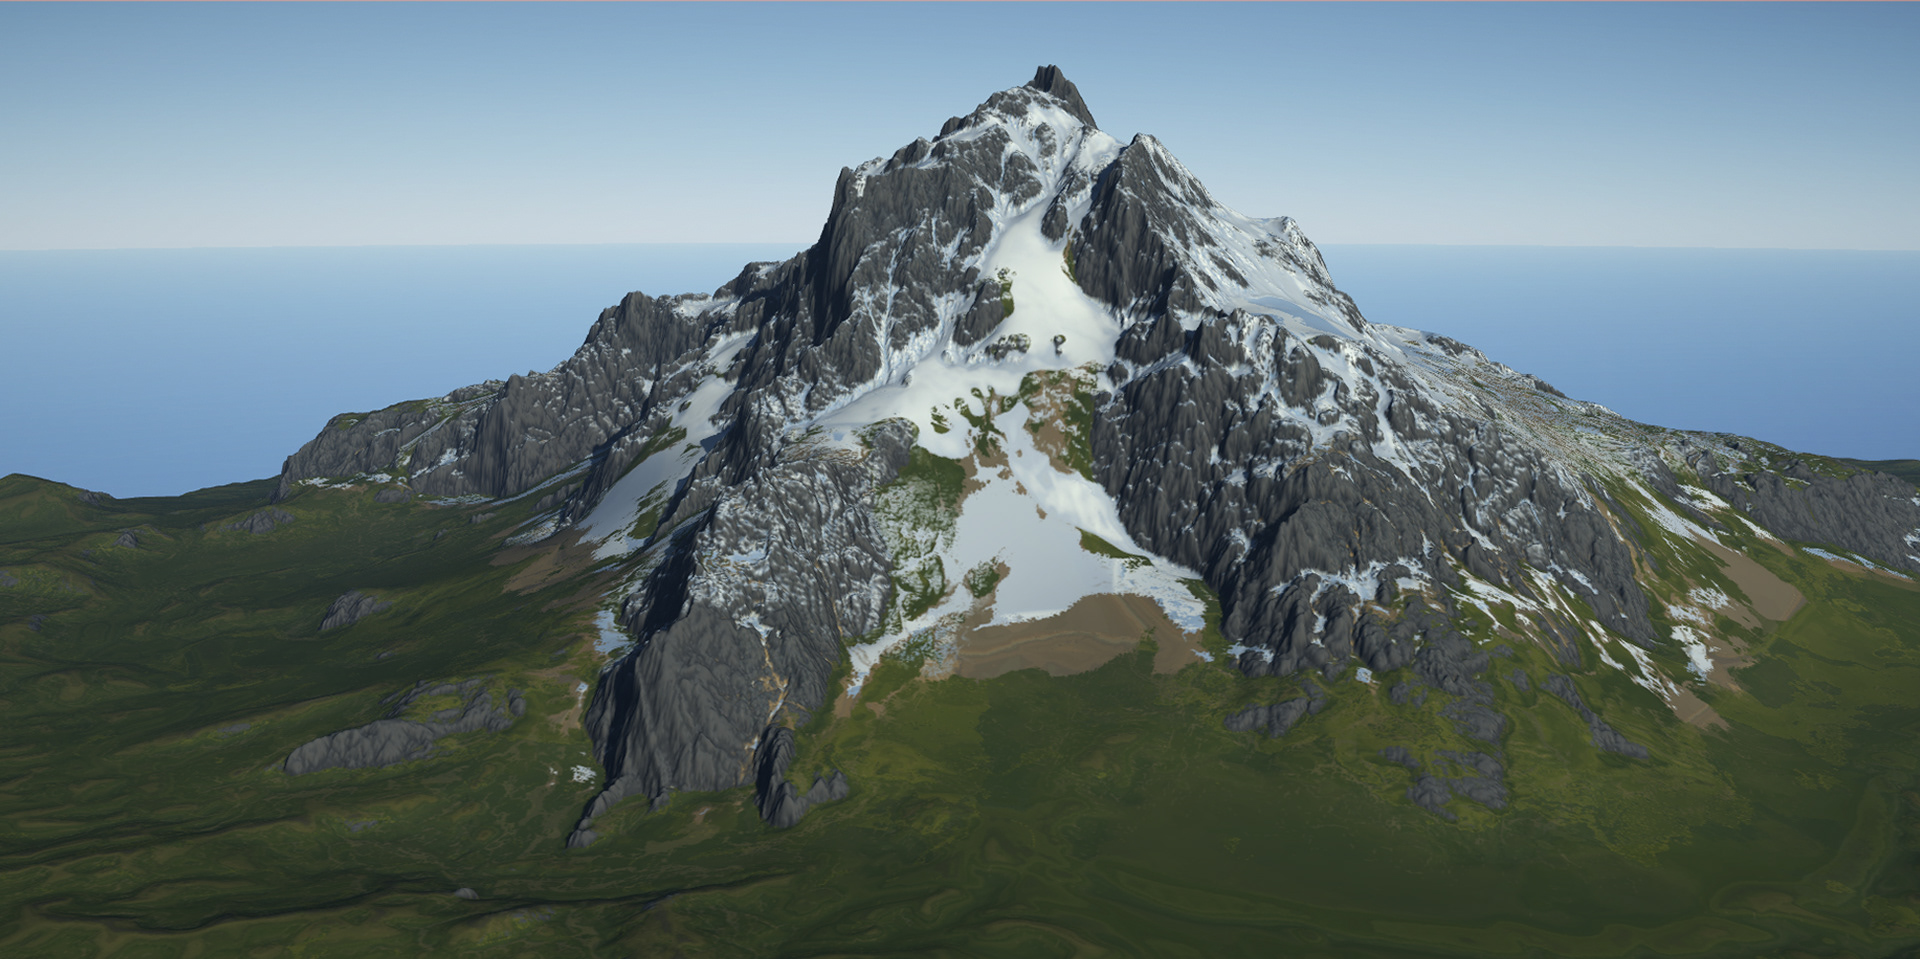
Terrain
The terrain was another area of heavy experimentation. I initially tried creating it entirely in Houdini, but I wasn’t fully happy with the results — not because Houdini isn’t capable (it’s incredibly powerful and people do amazing things with it), but because I took this as a chance to try Gaia, and I ended up loving the results. It allowed for fast iterations and helped me achieve the look I was aiming for.
ground

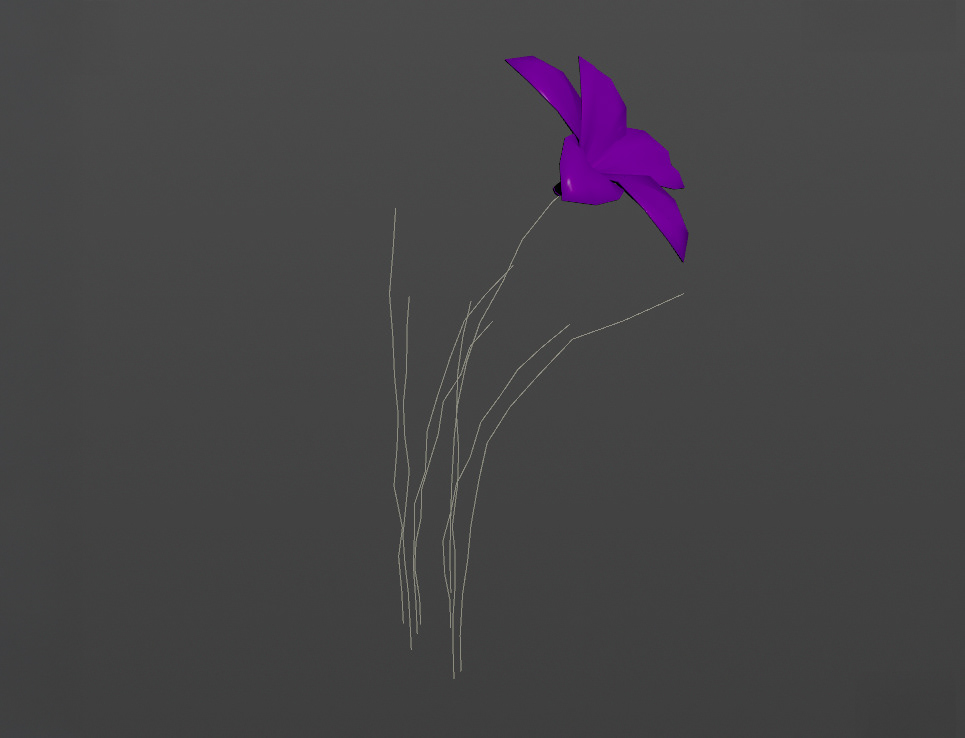
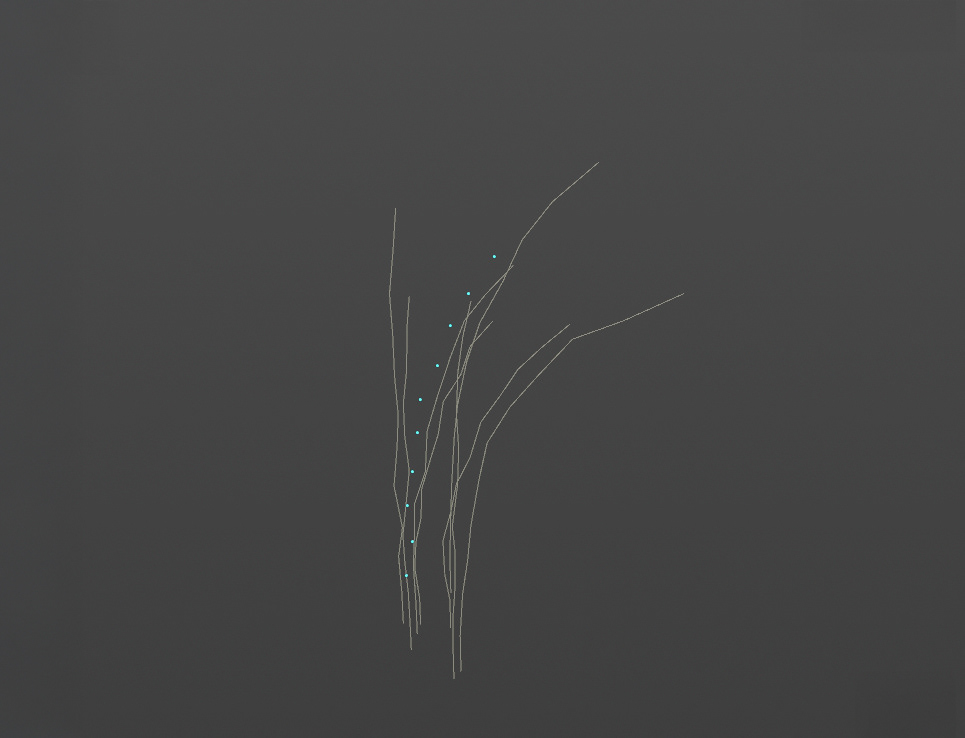
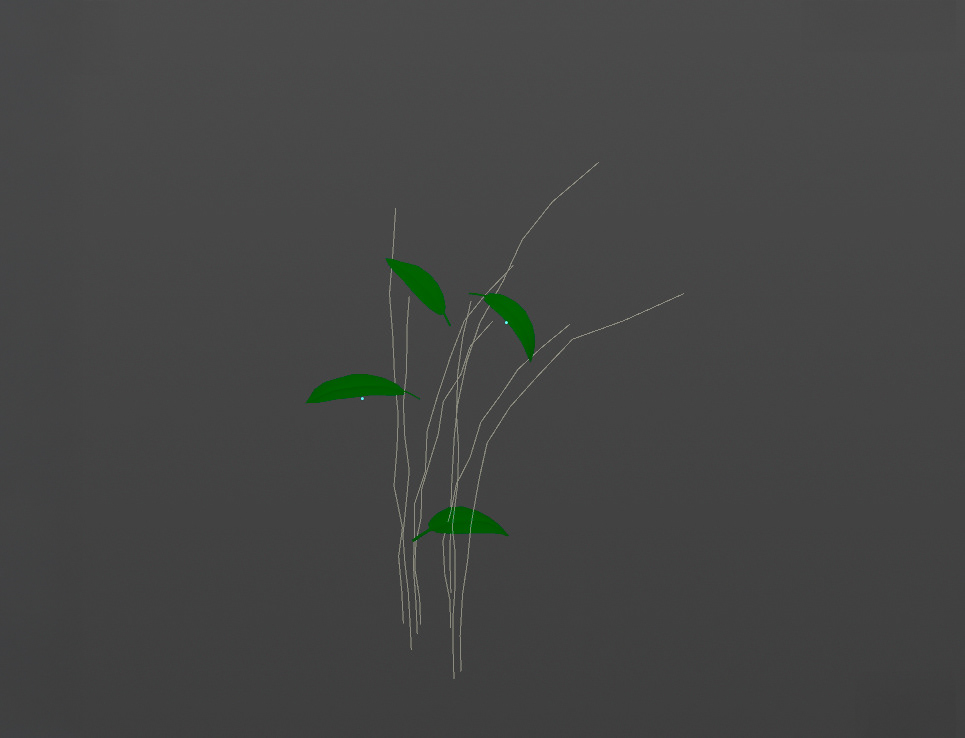
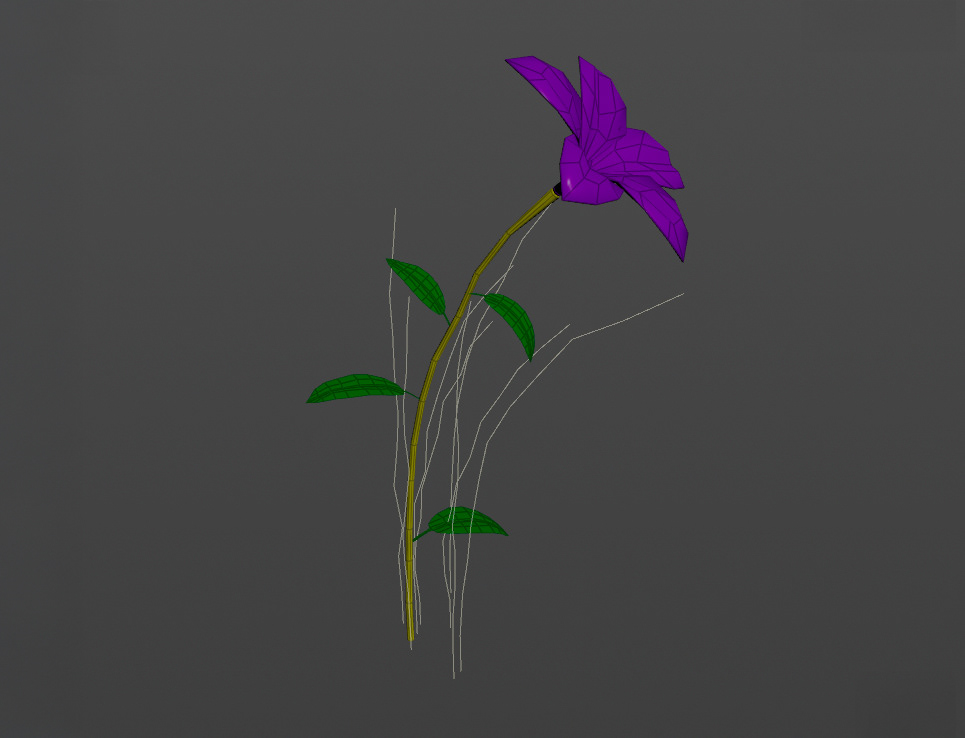
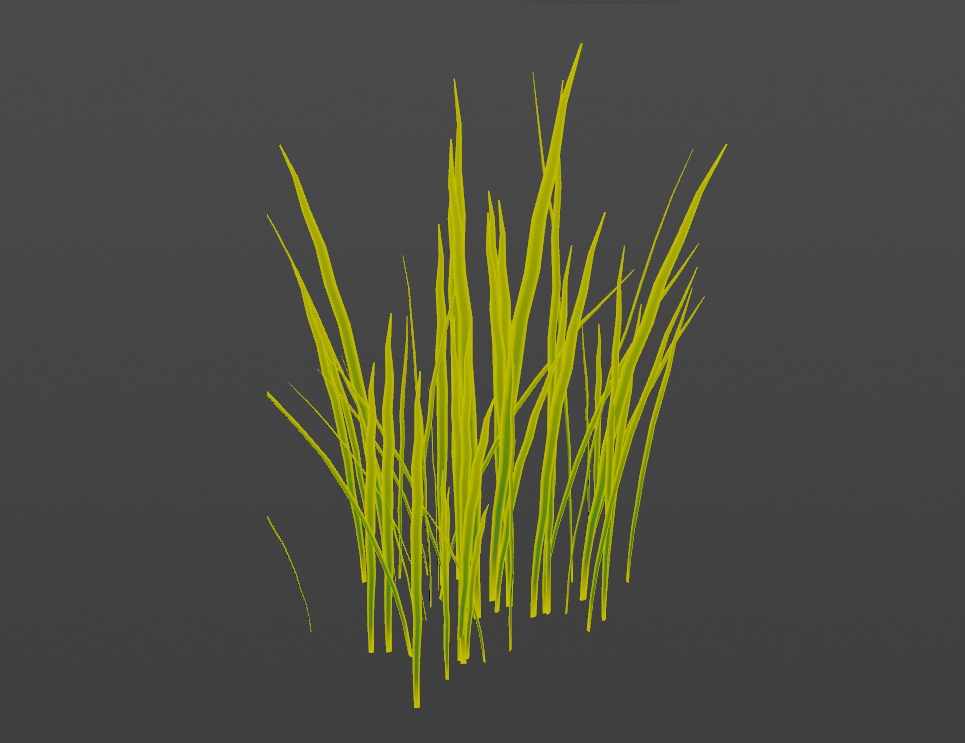
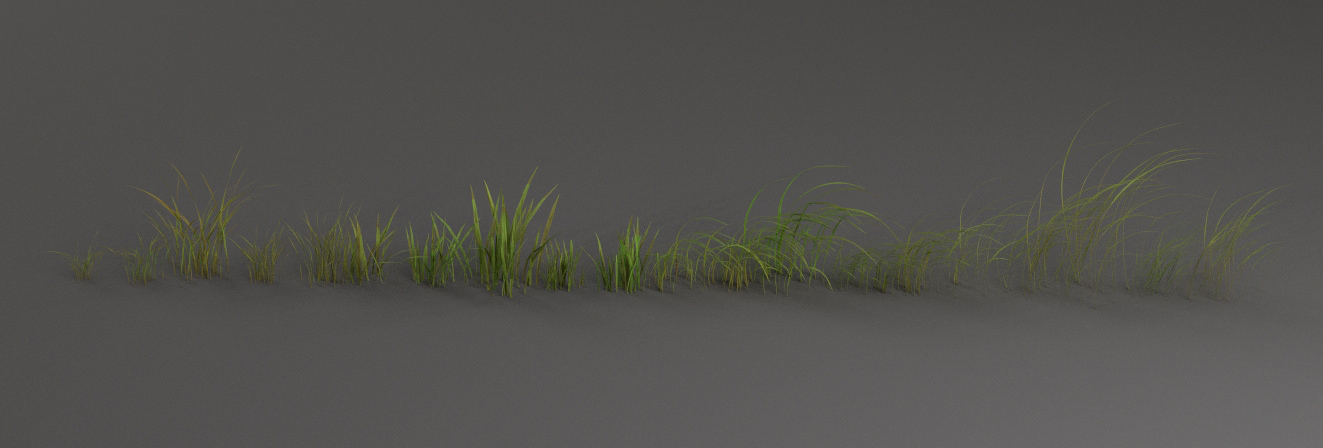
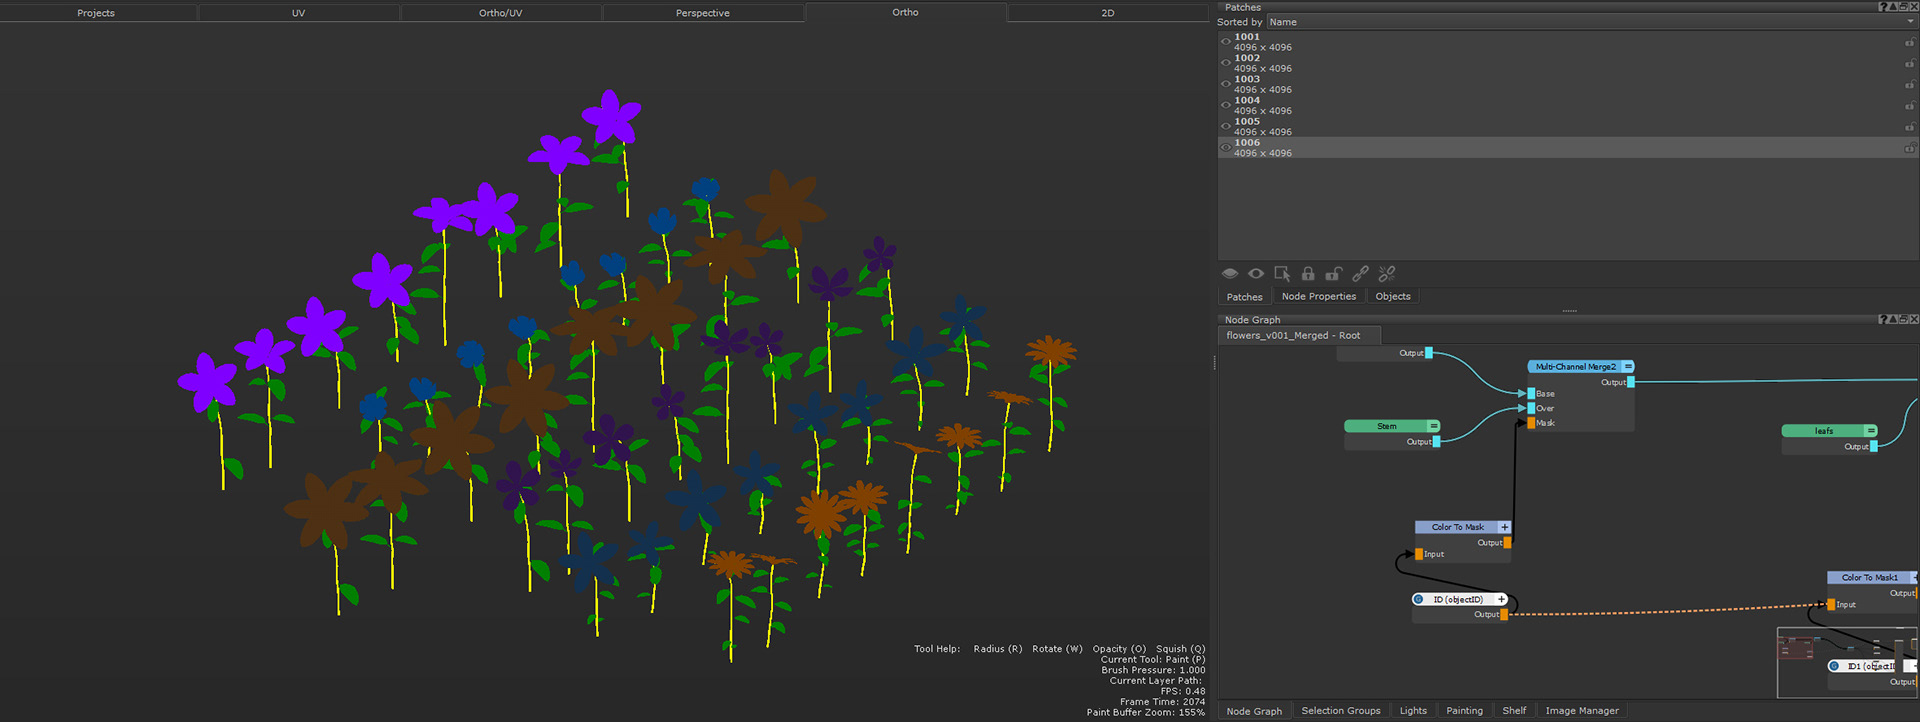
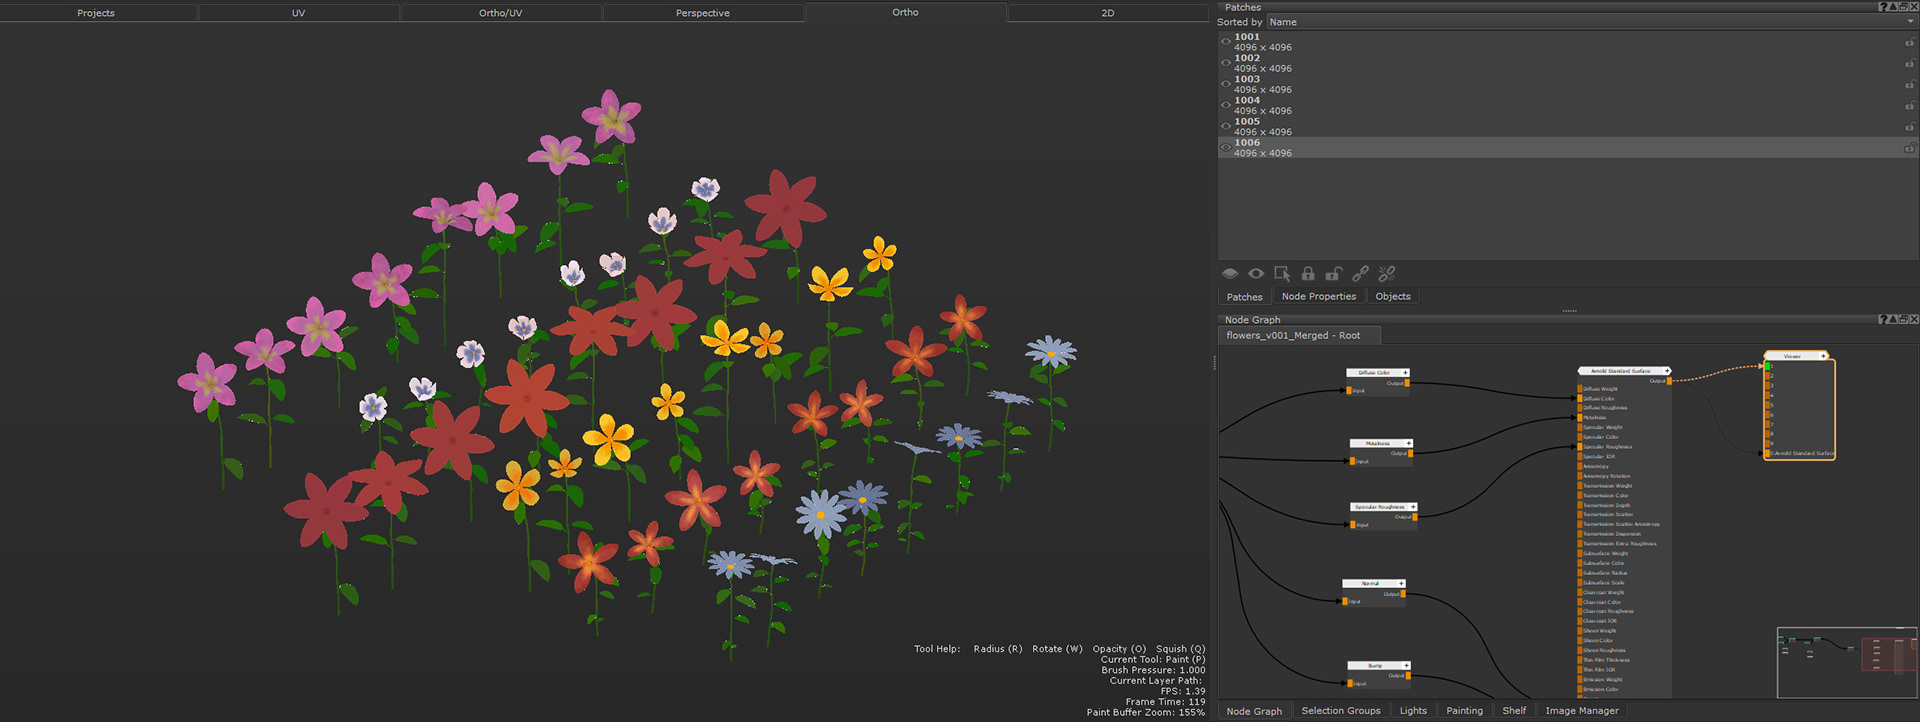
Flowers and Grass
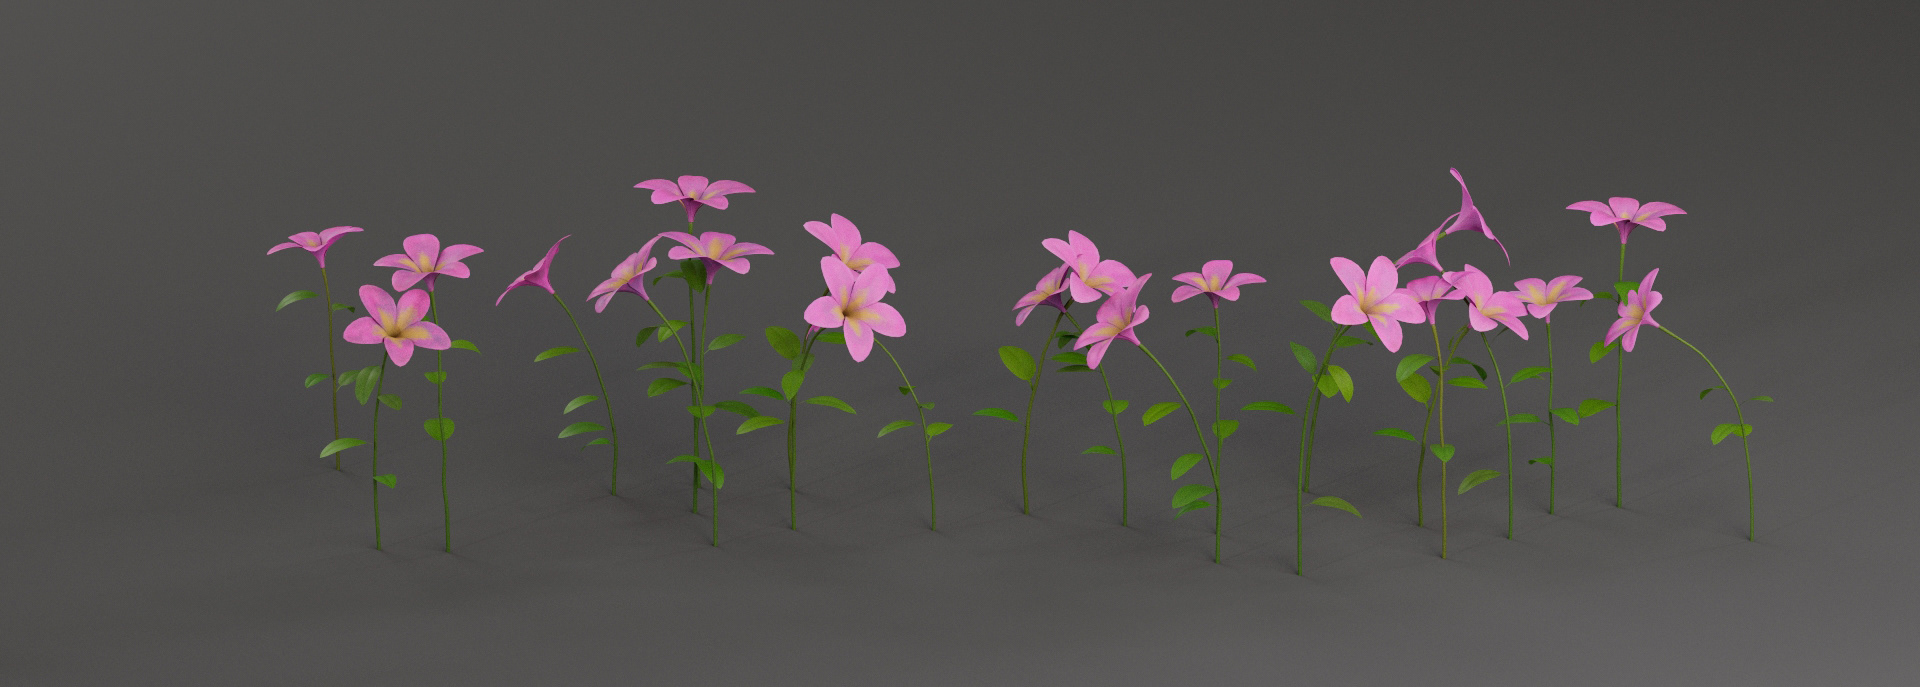
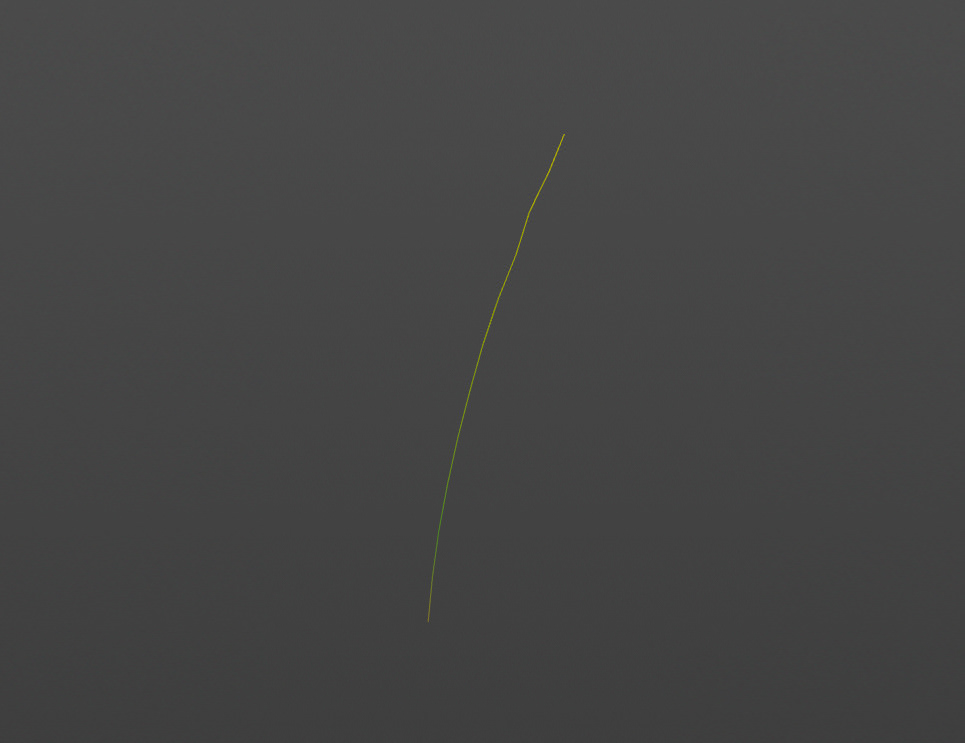
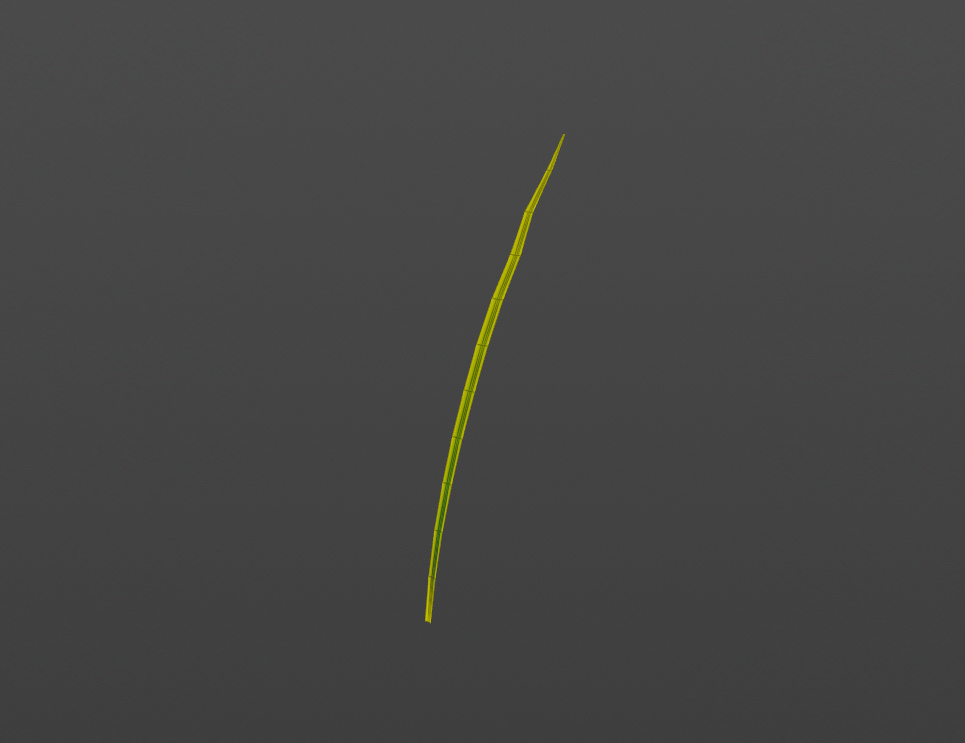
I modeled the base meshes for the flowers and leaves in Maya. Then, inside Houdini, I used randomly generated splines and created groups at the spline tips to drive variation and random placement. I also used custom attributes to control parameters like bend and size, giving the vegetation a more natural and organic look. After refining the individual assets, I converted each one into USD format. To complement the setup, I created an additional USD scatter system to generate clumps and increase the overall variety and density in the scene.
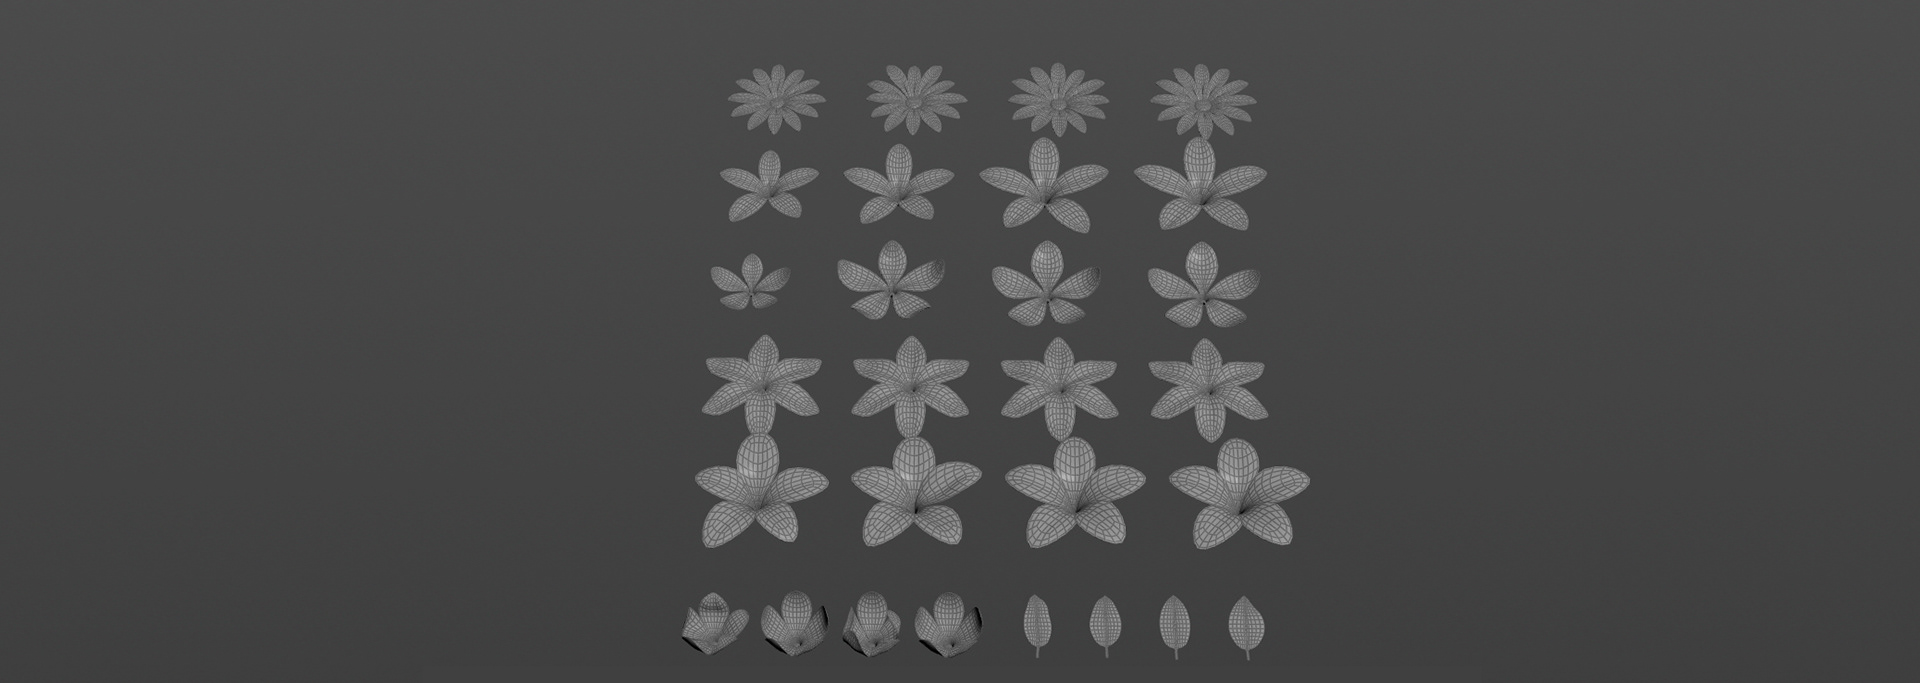
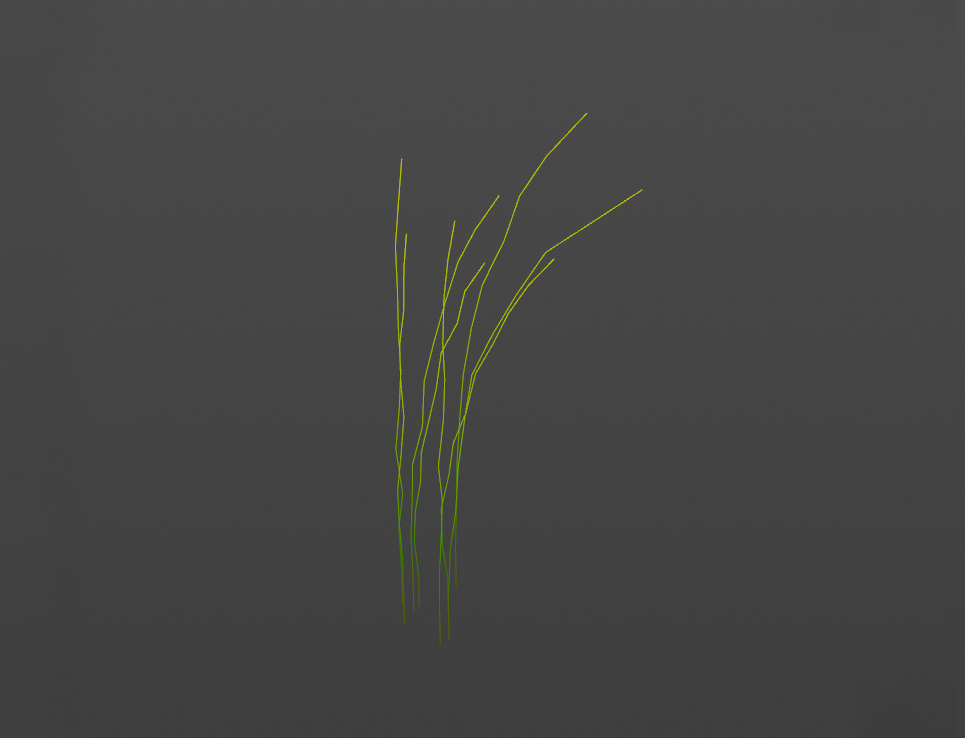
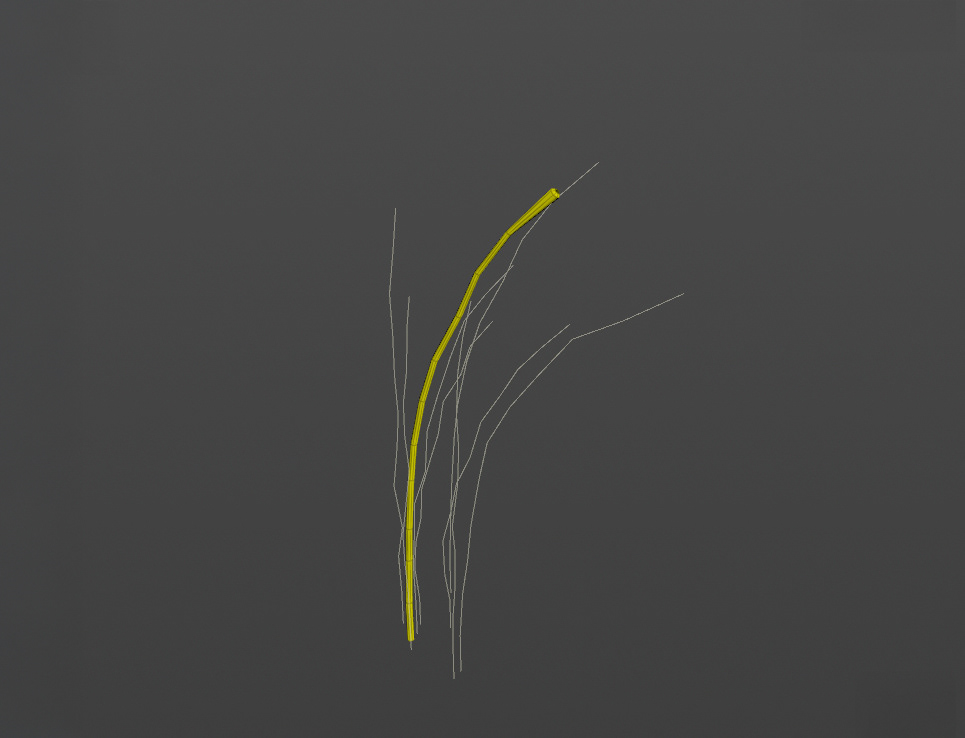

I used the same setup developed for the plant splines to generate the grass, with a few specific adjustments. The main difference was the addition of a sweep operation to control the thickness and shape of each grass blade. This allowed for a more refined silhouette and better visual variety across the grass patches, while still maintaining procedural flexibility throughout the scene.

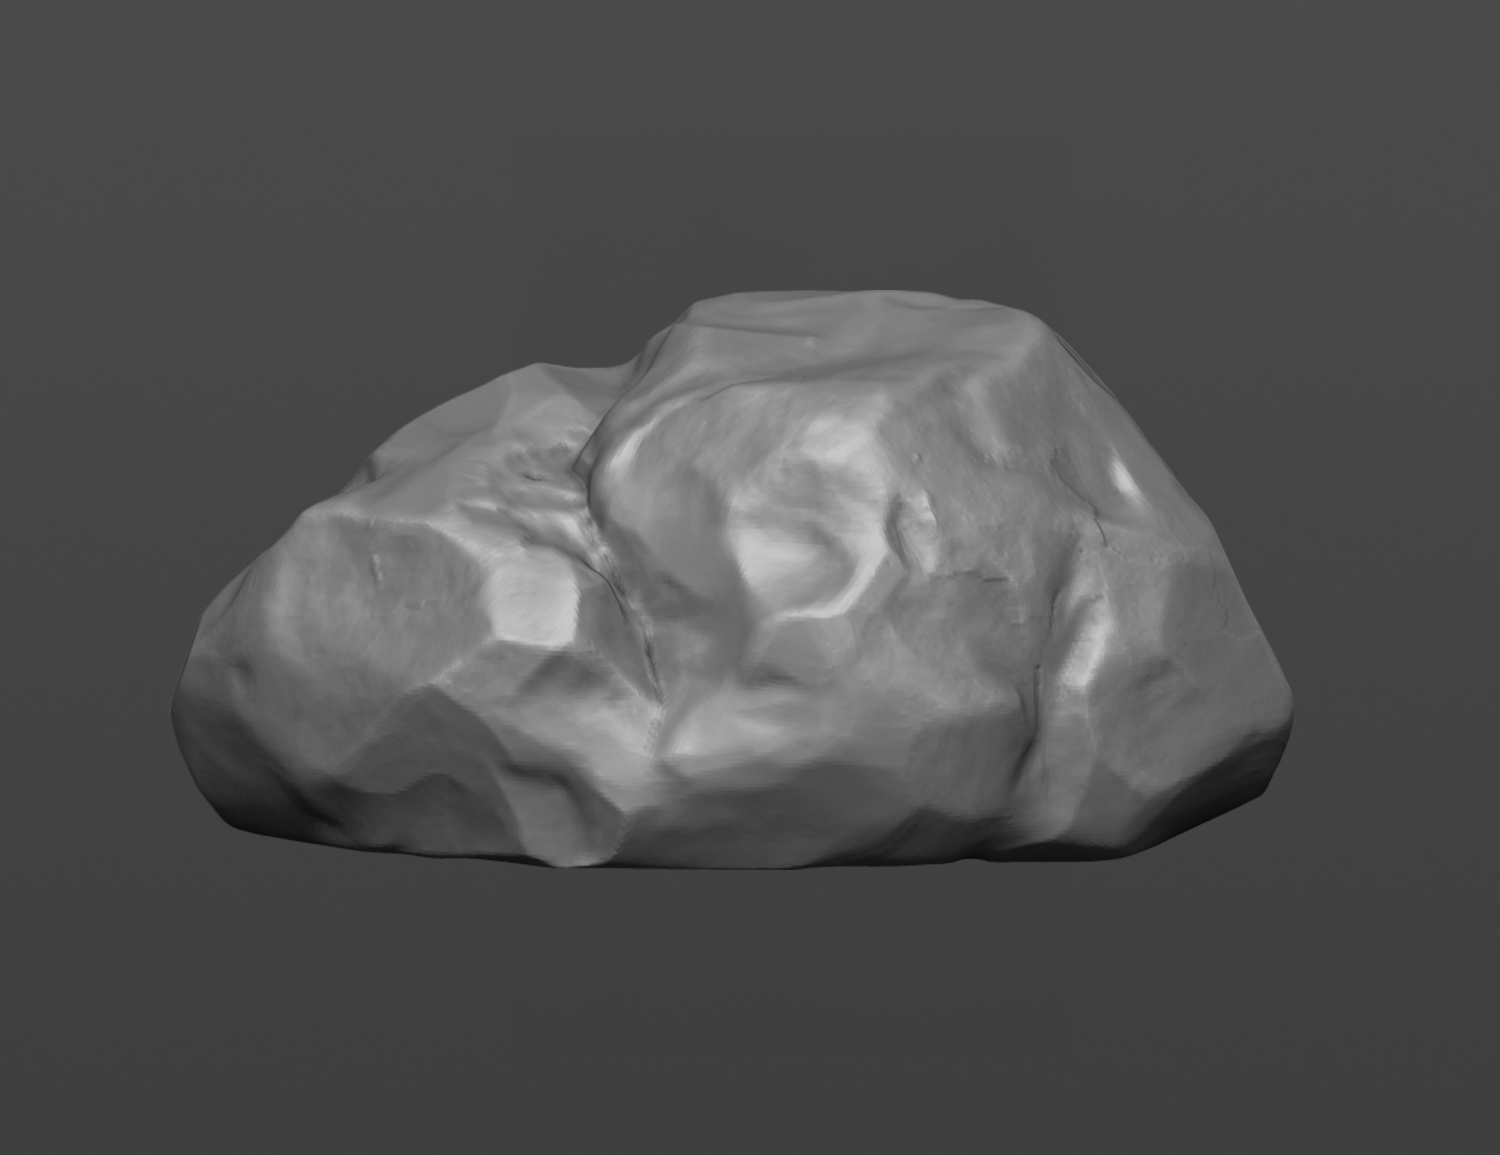
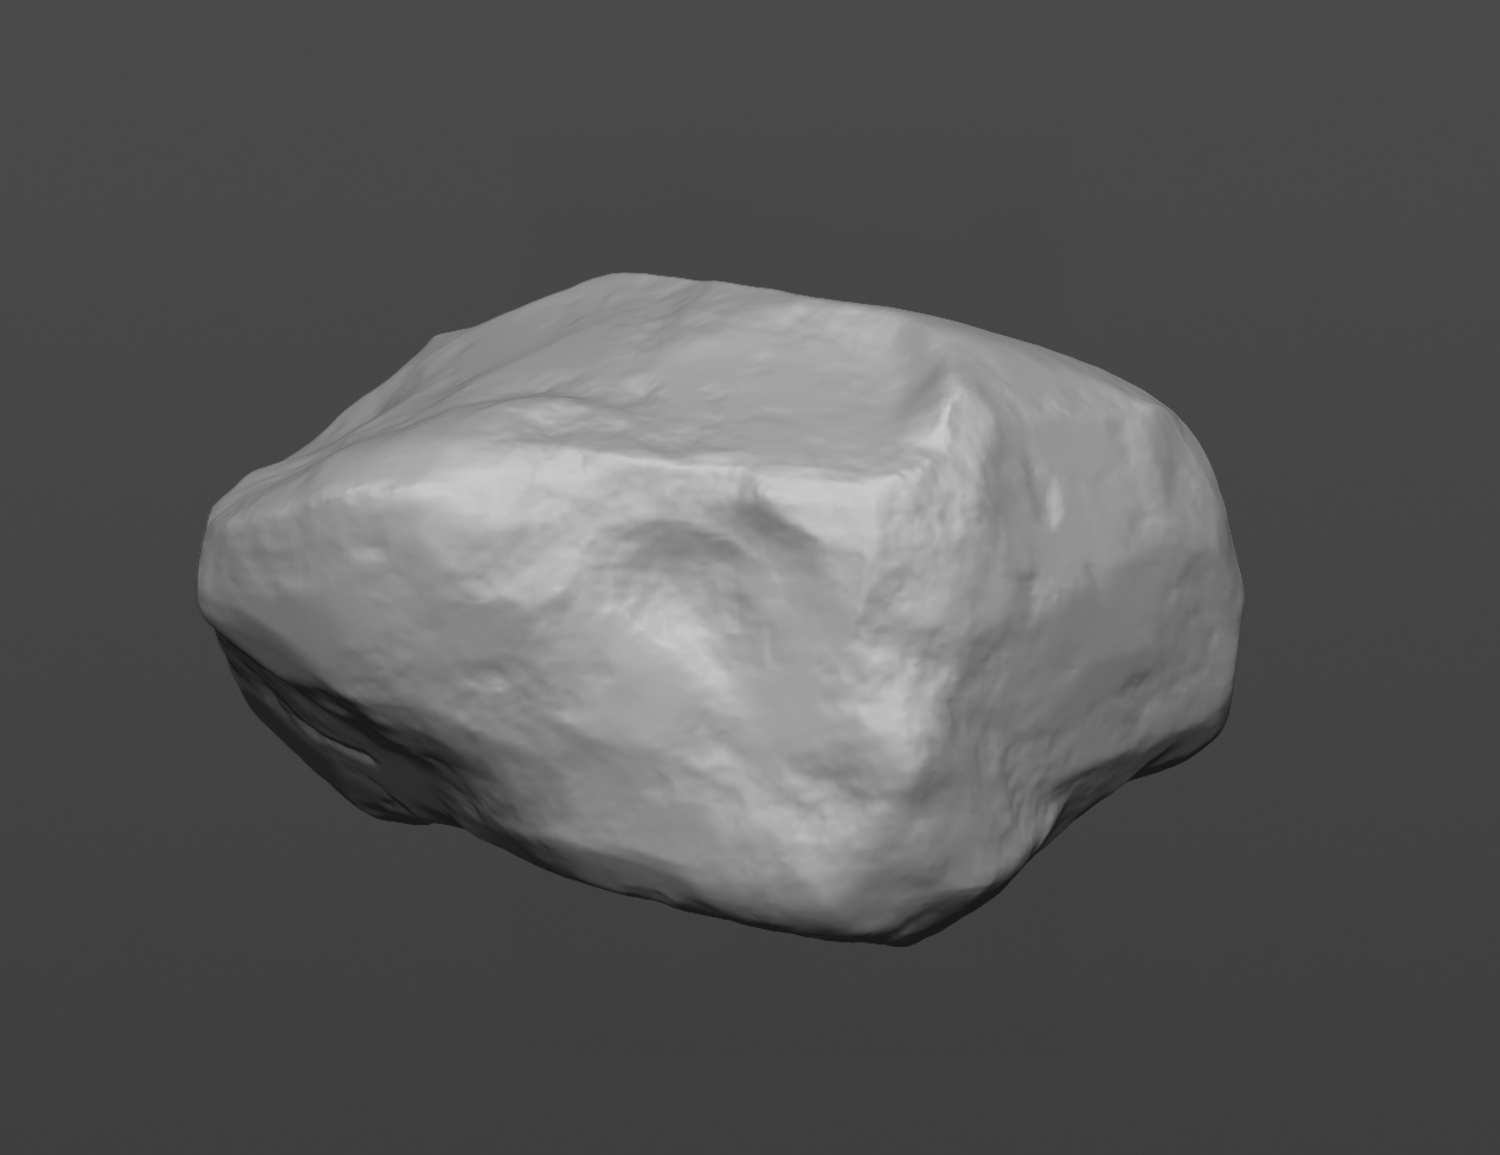
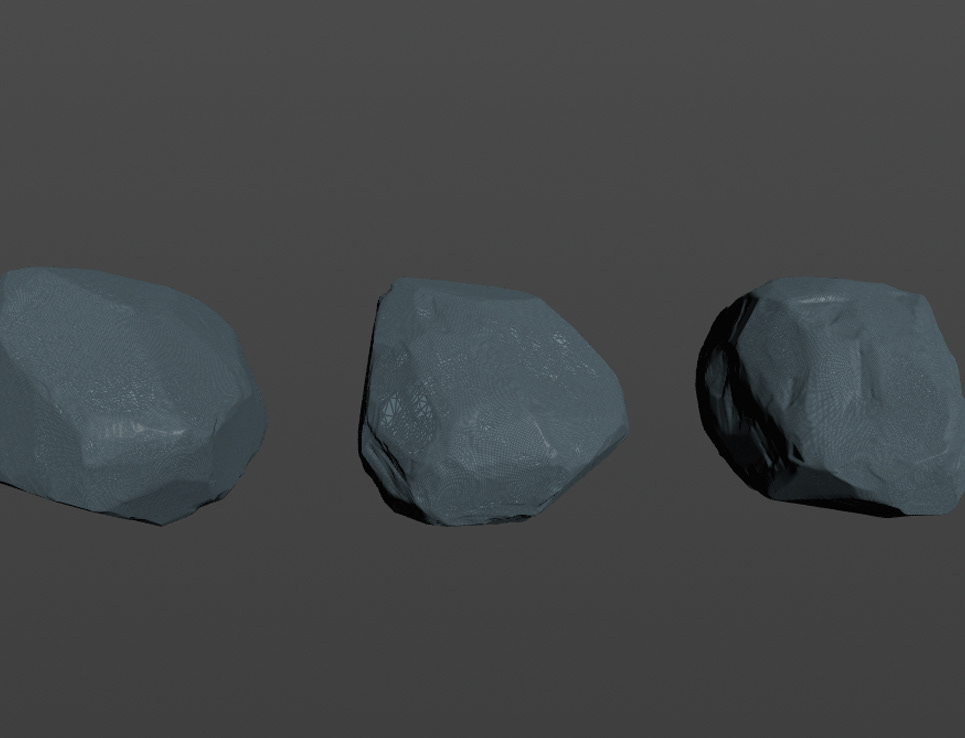
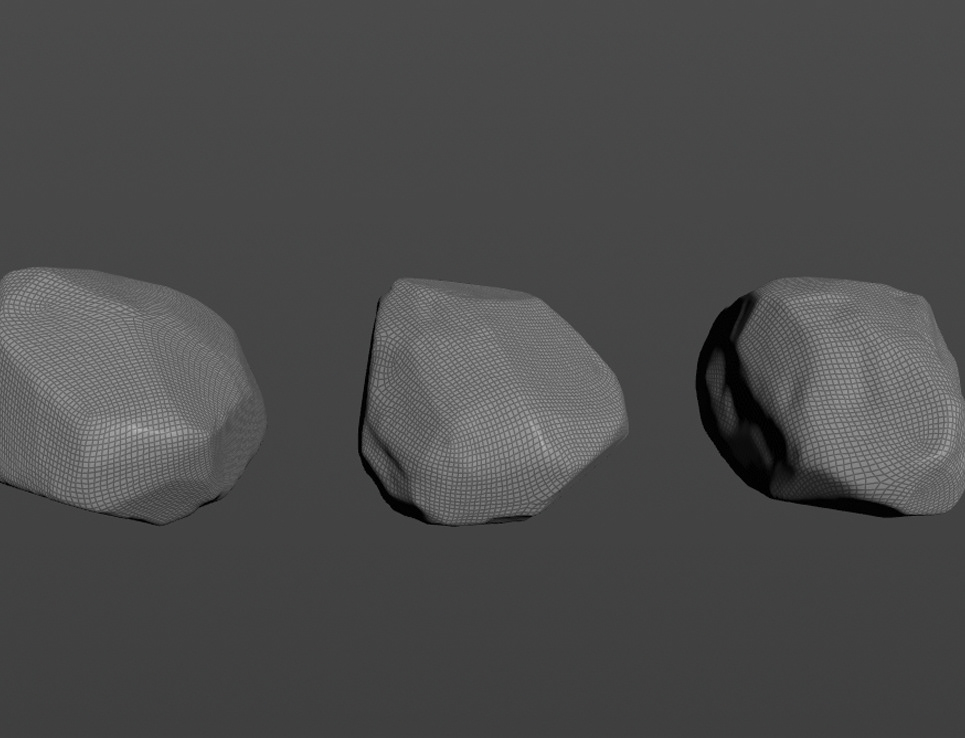
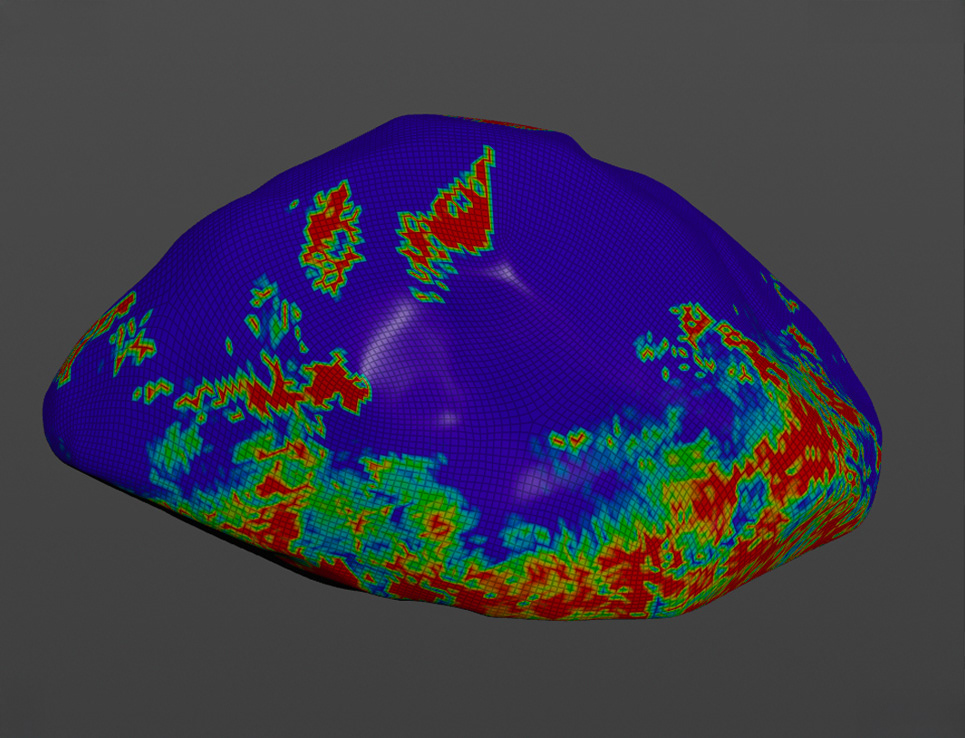
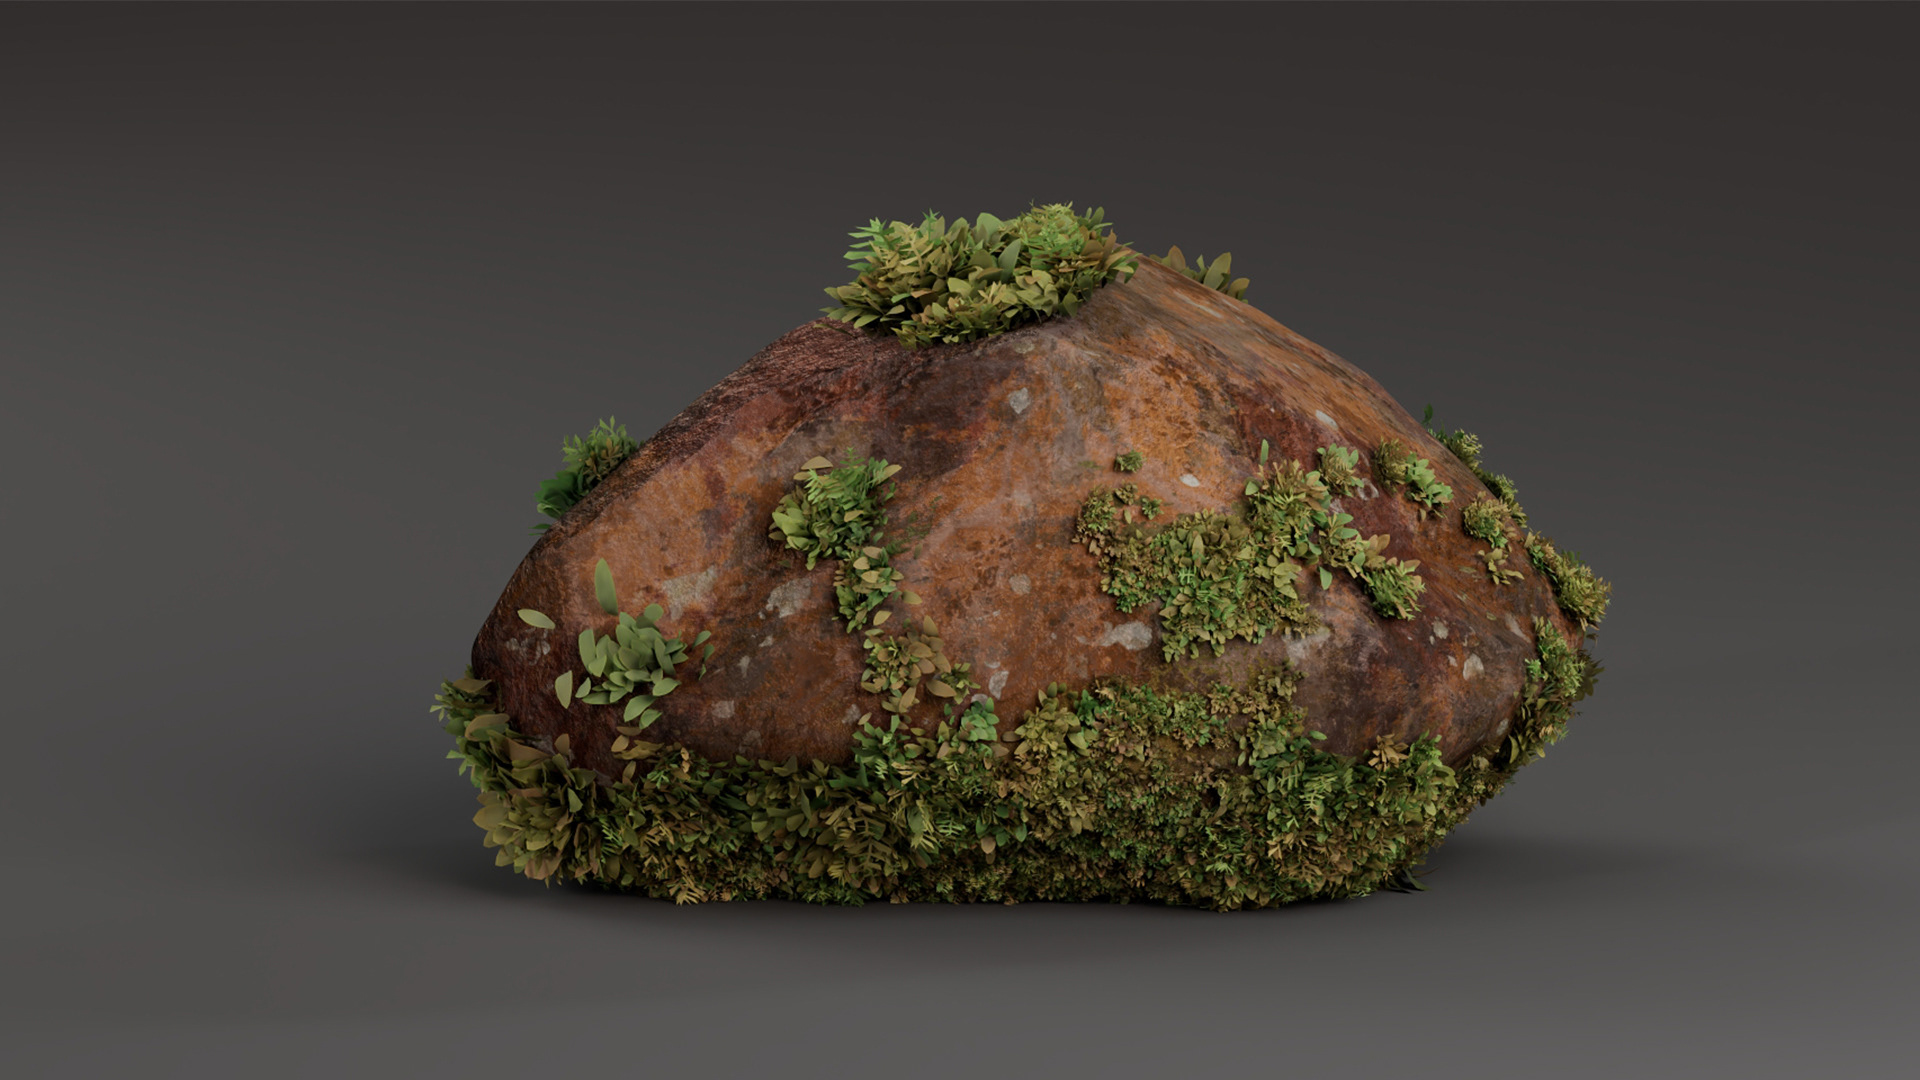
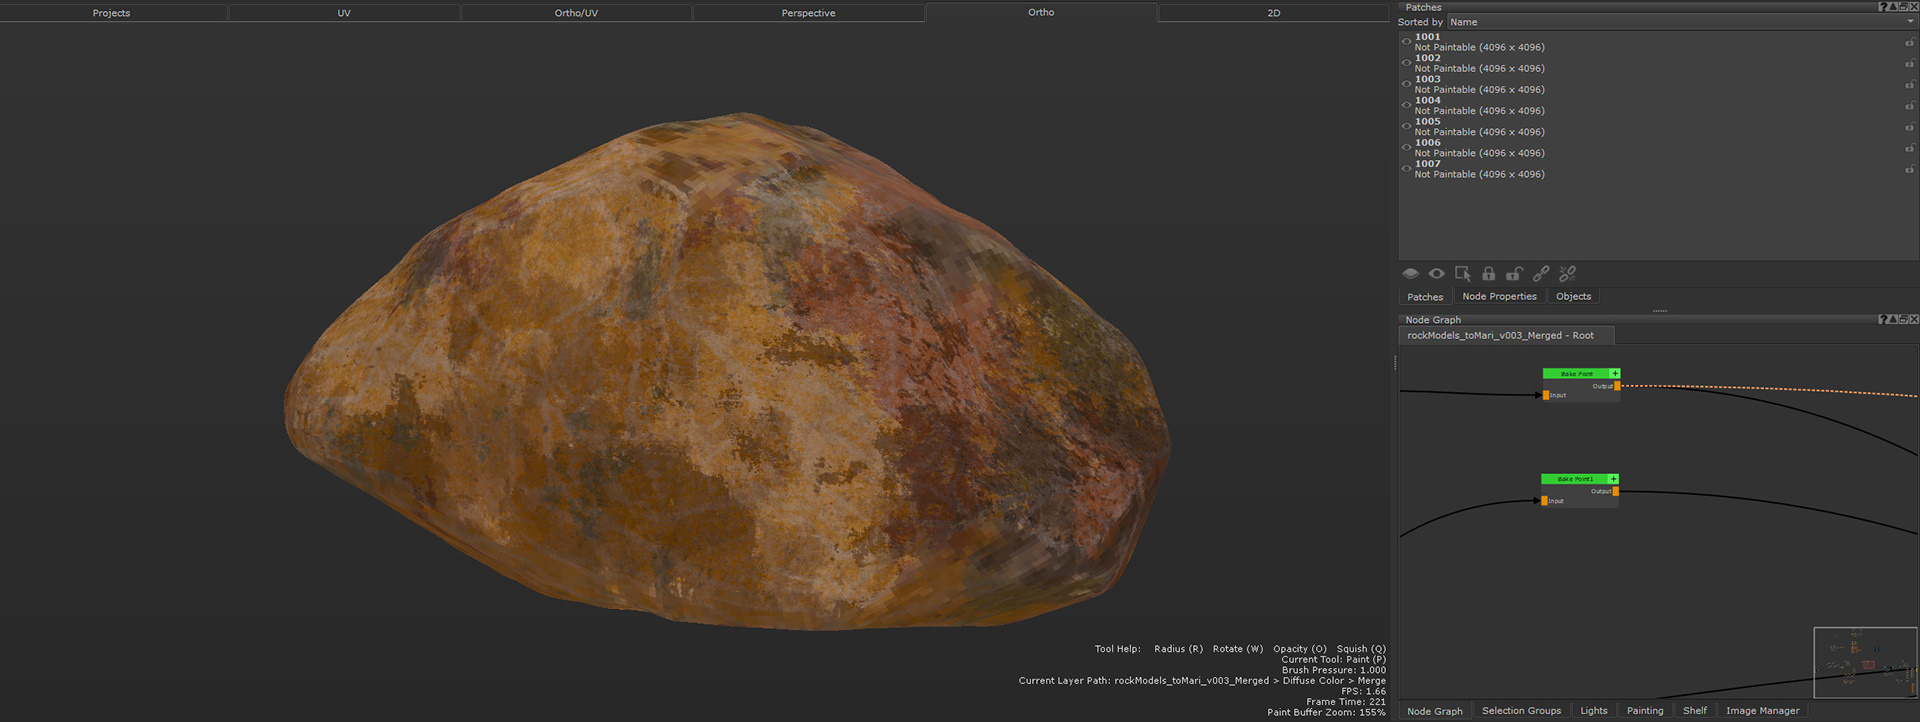
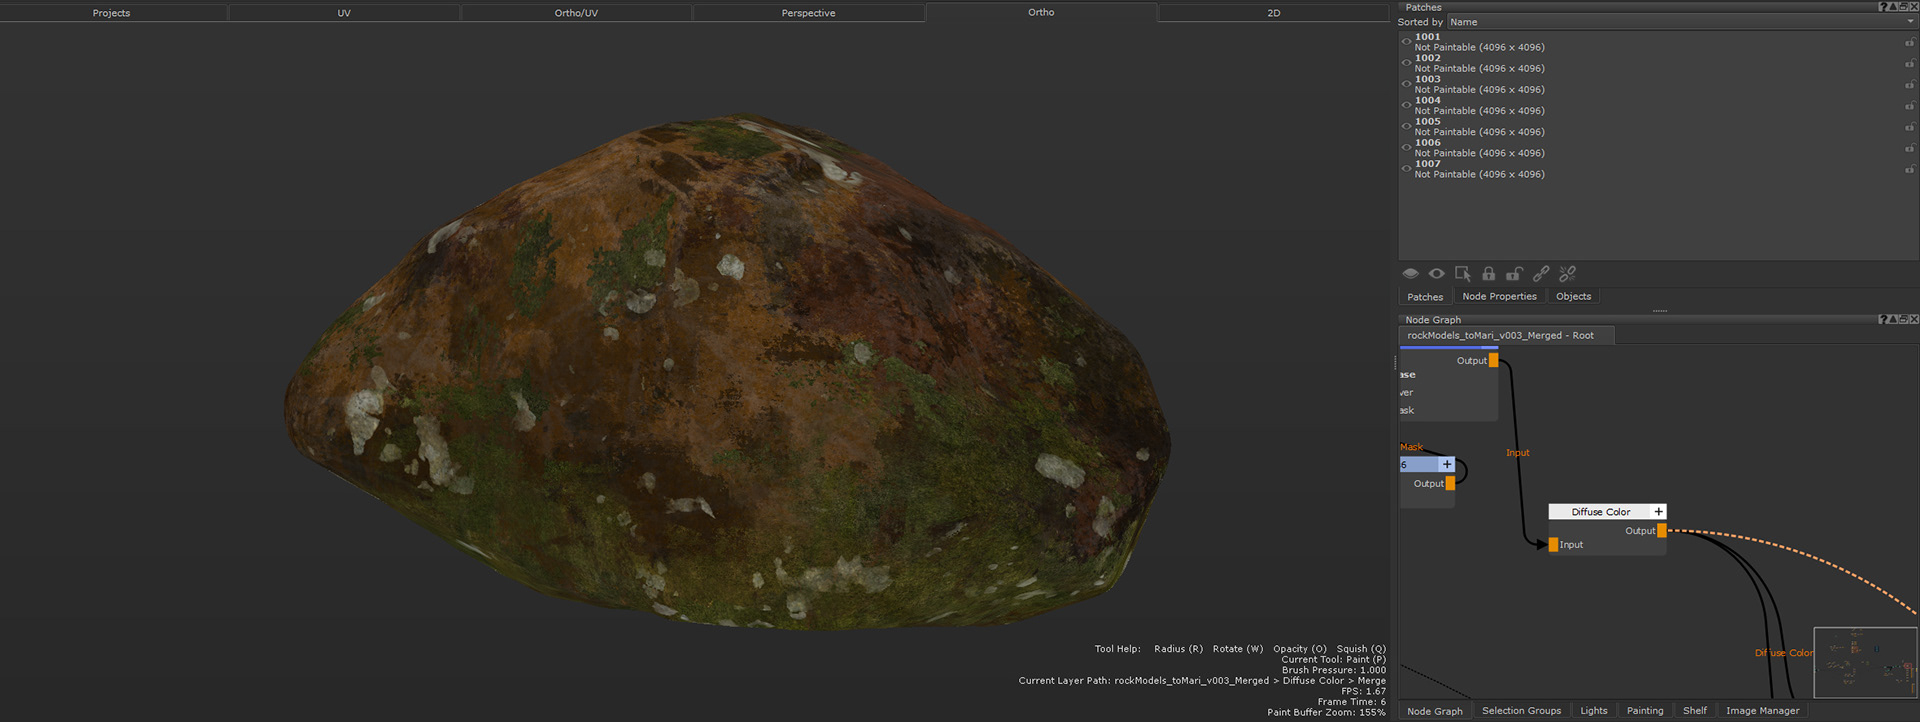
Rocks
I sculpted the rocks in ZBrush to achieve a natural, eroded look with detailed surface variation. Afterward, I performed retopology and generated AutoUVs in Houdini to streamline the texturing process. The resulting high-resolution maps were then imported into Mari, where I created the final texture passes. These textures were implemented back into the USD pipeline as attributes, for scattering.
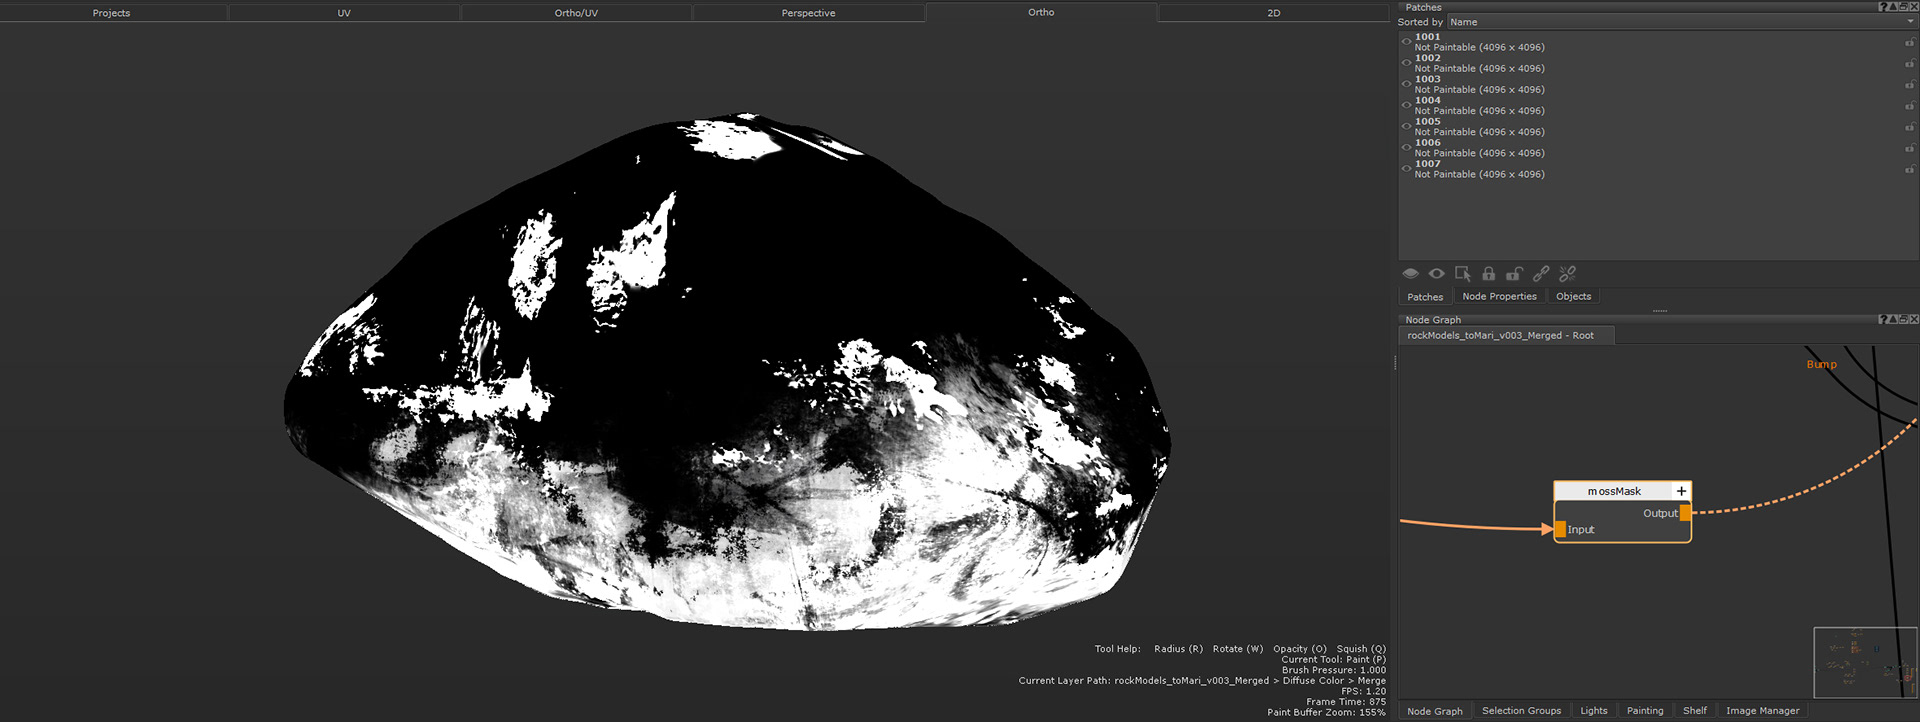

Moss modeled in Maya.
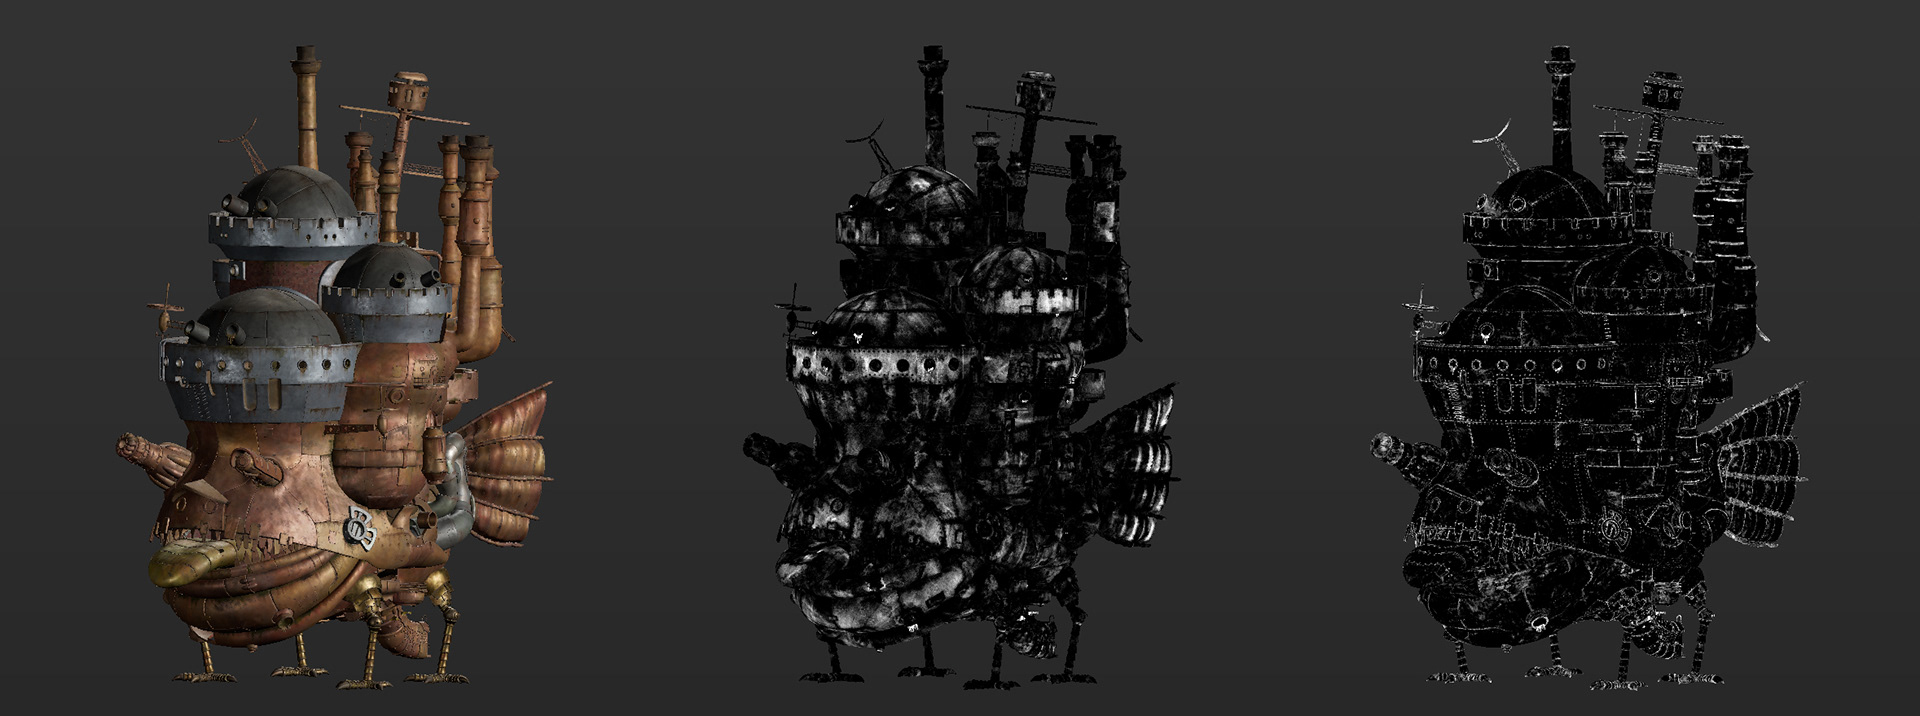
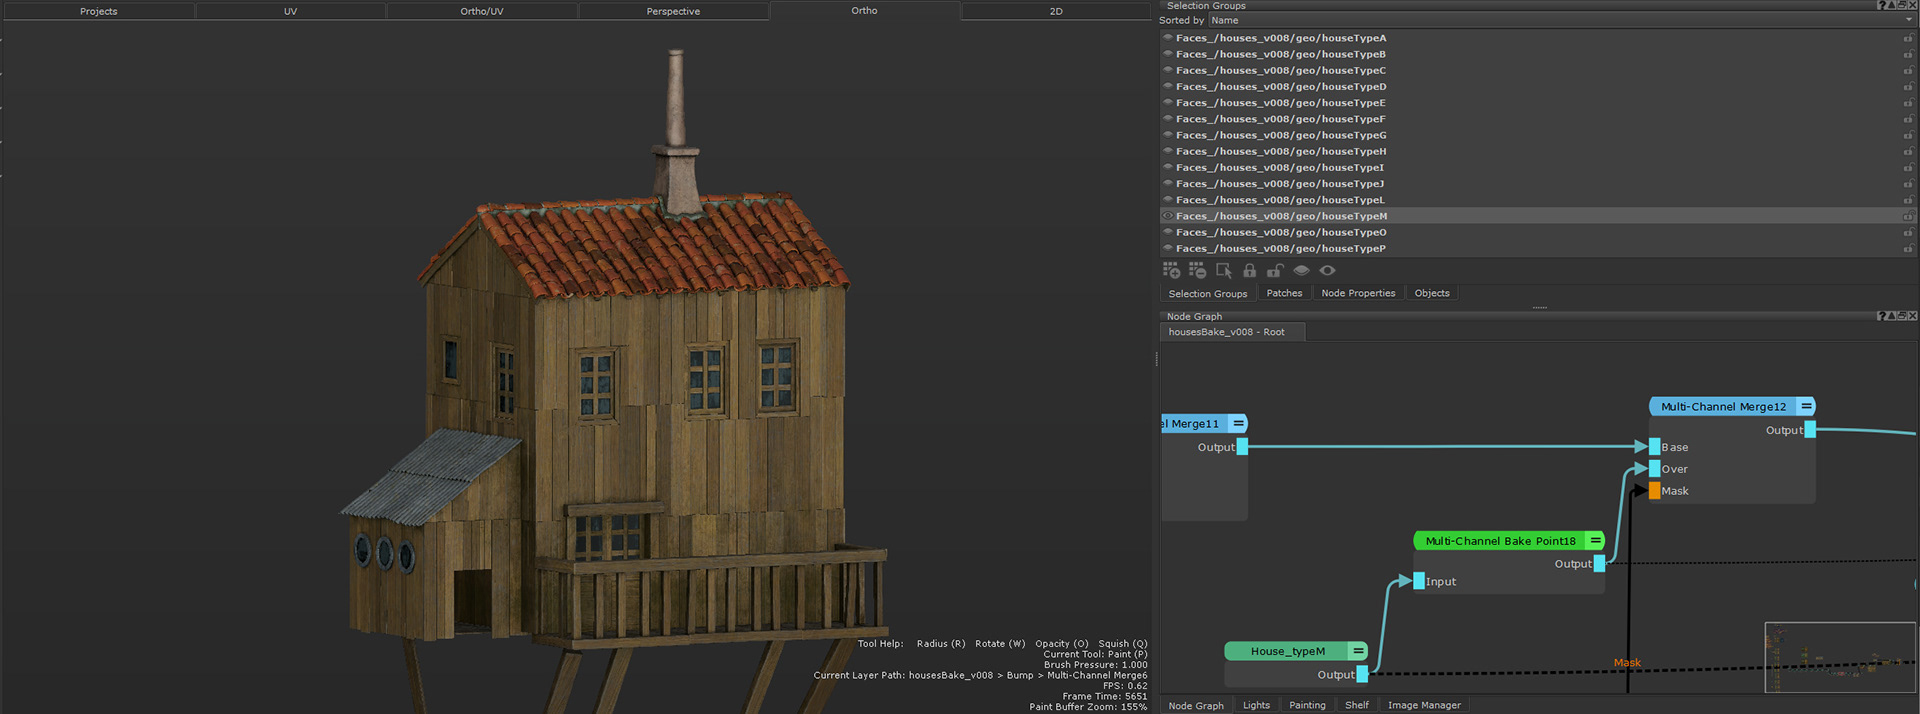
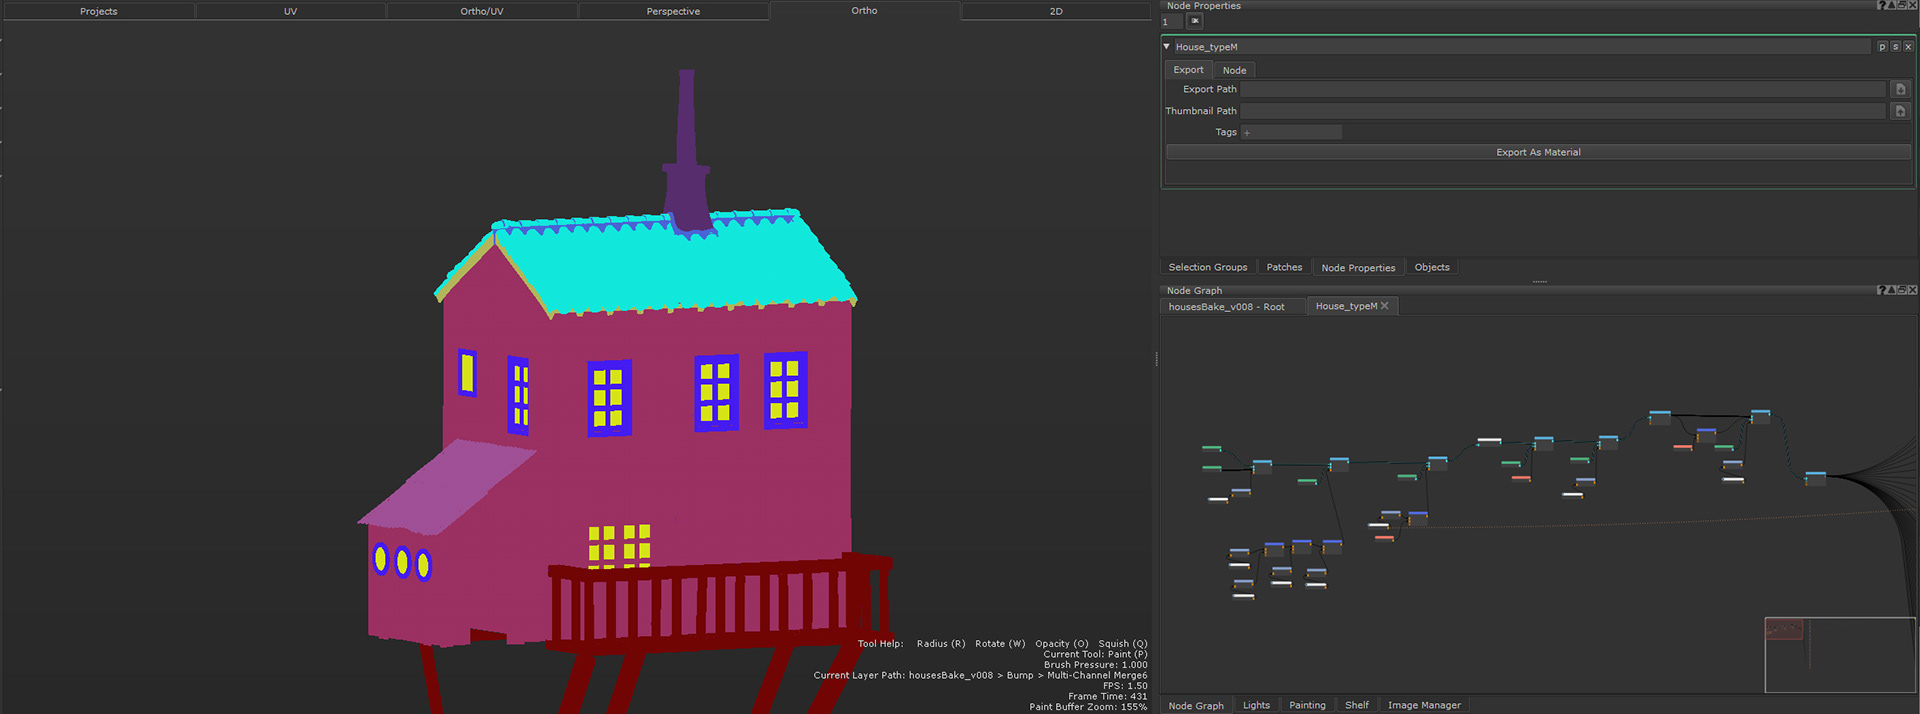
Texturing
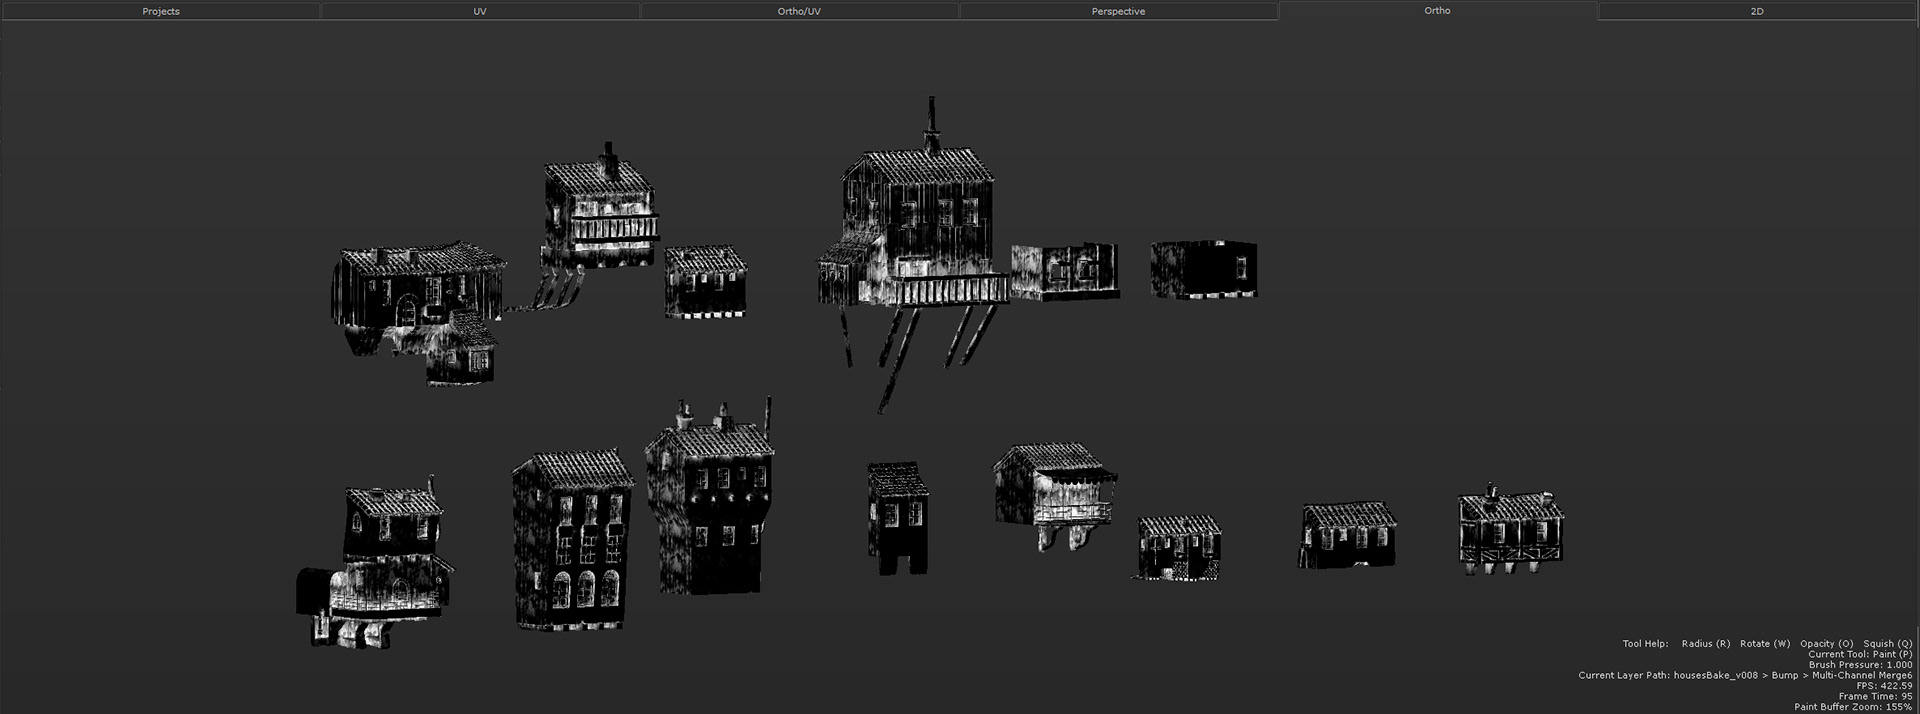
I split the castle and the houses into separate assets to keep the scene lighter. I generated some masks in Substance Painter to use them in the geometry channels in Mari. I also created a few ID maps in Houdini.
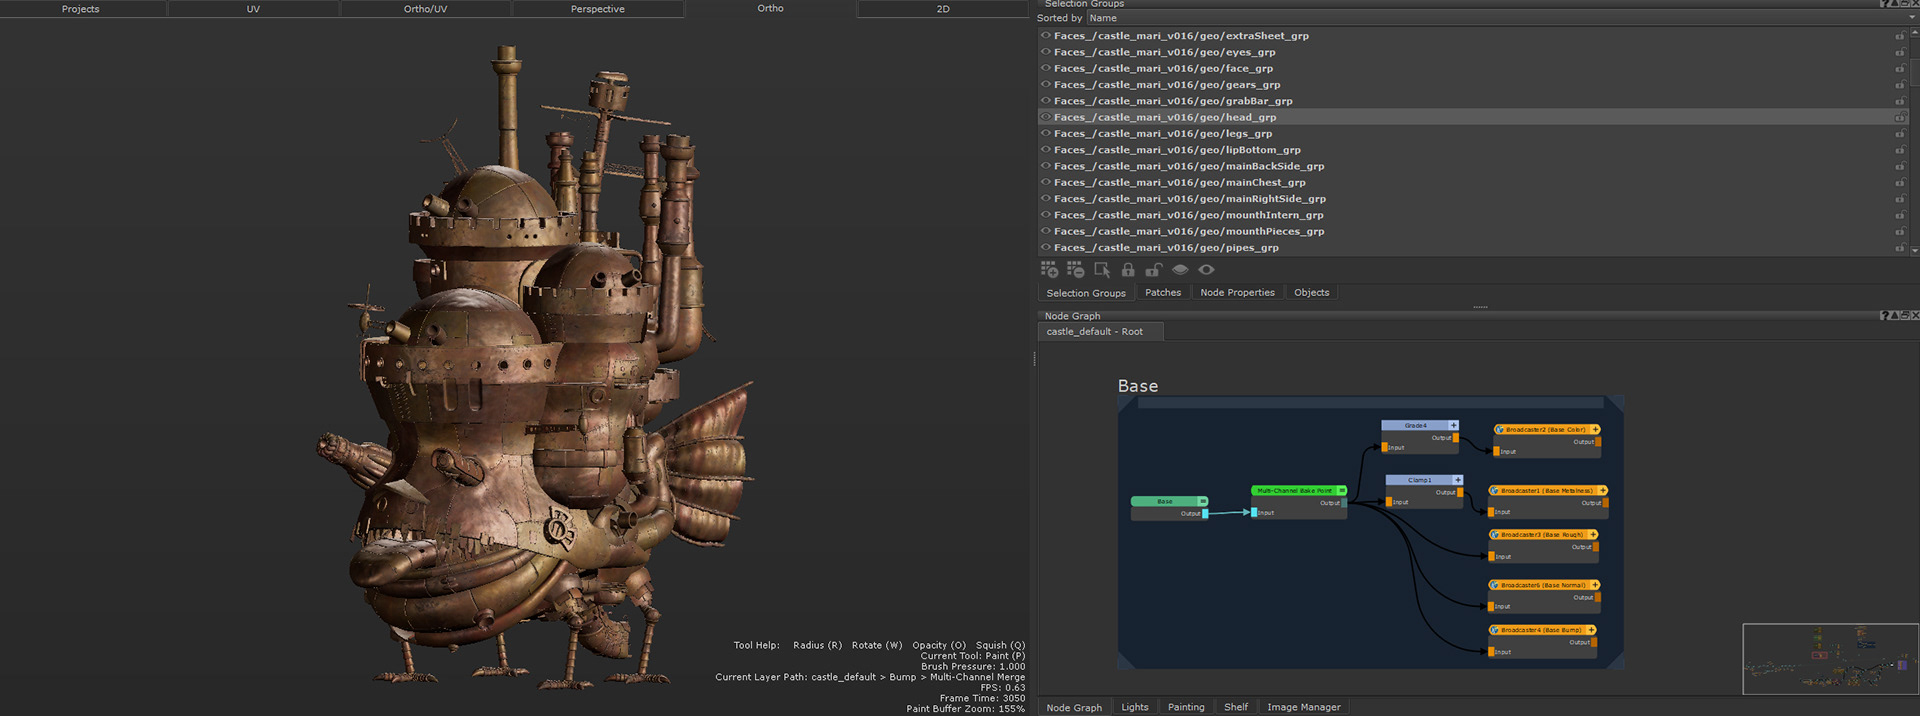
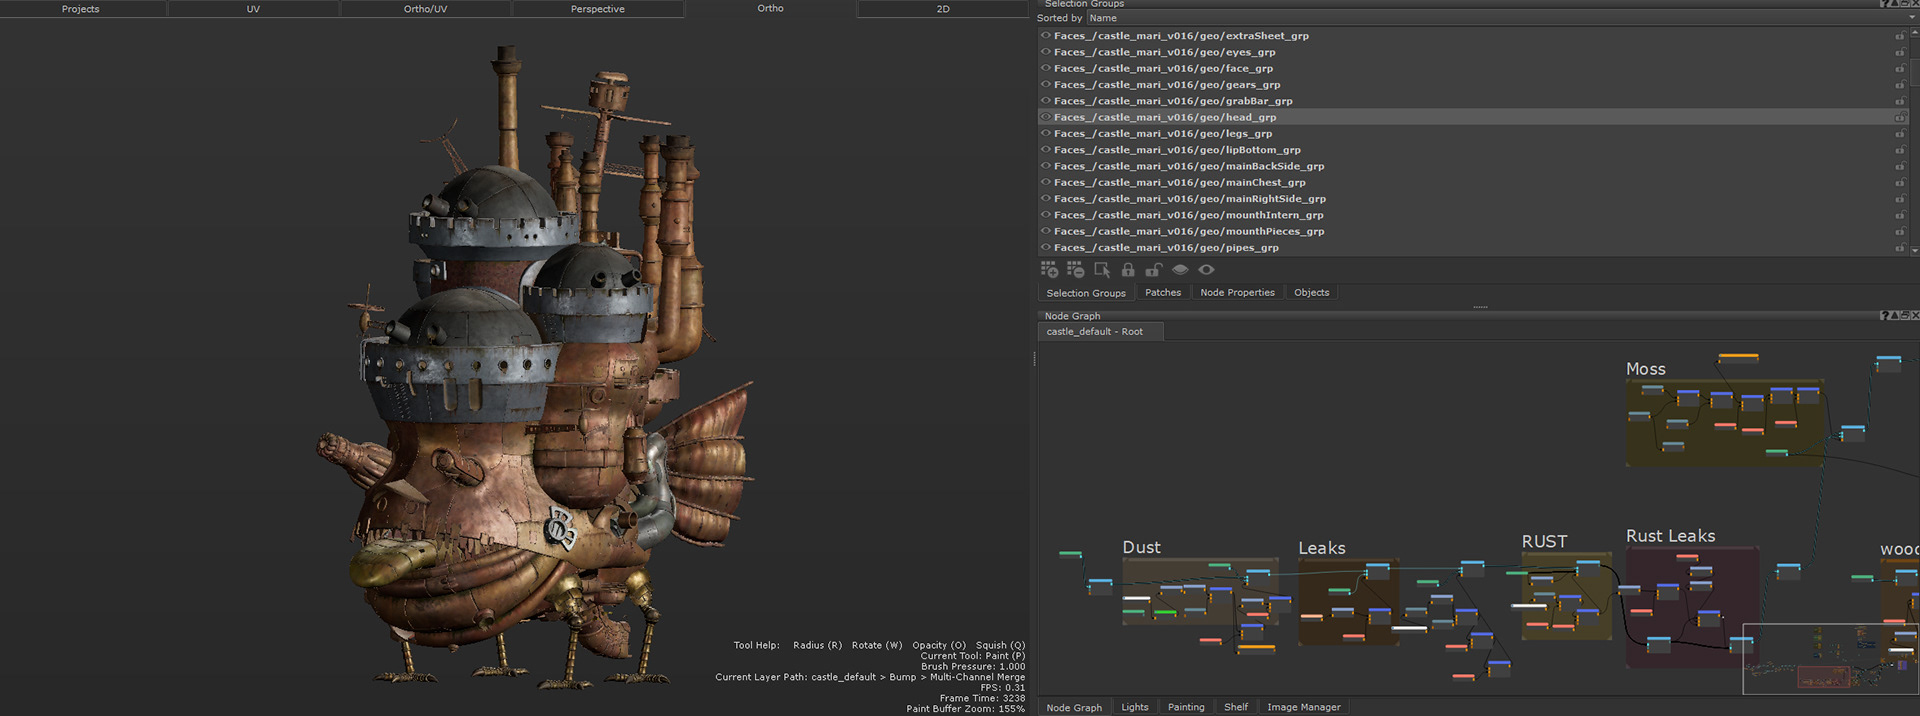
For the houses, I created a base material for each one, and within that, I used masks to separate and control different material types such as wood, concrete, roof tiles, etc.
Layout and Render
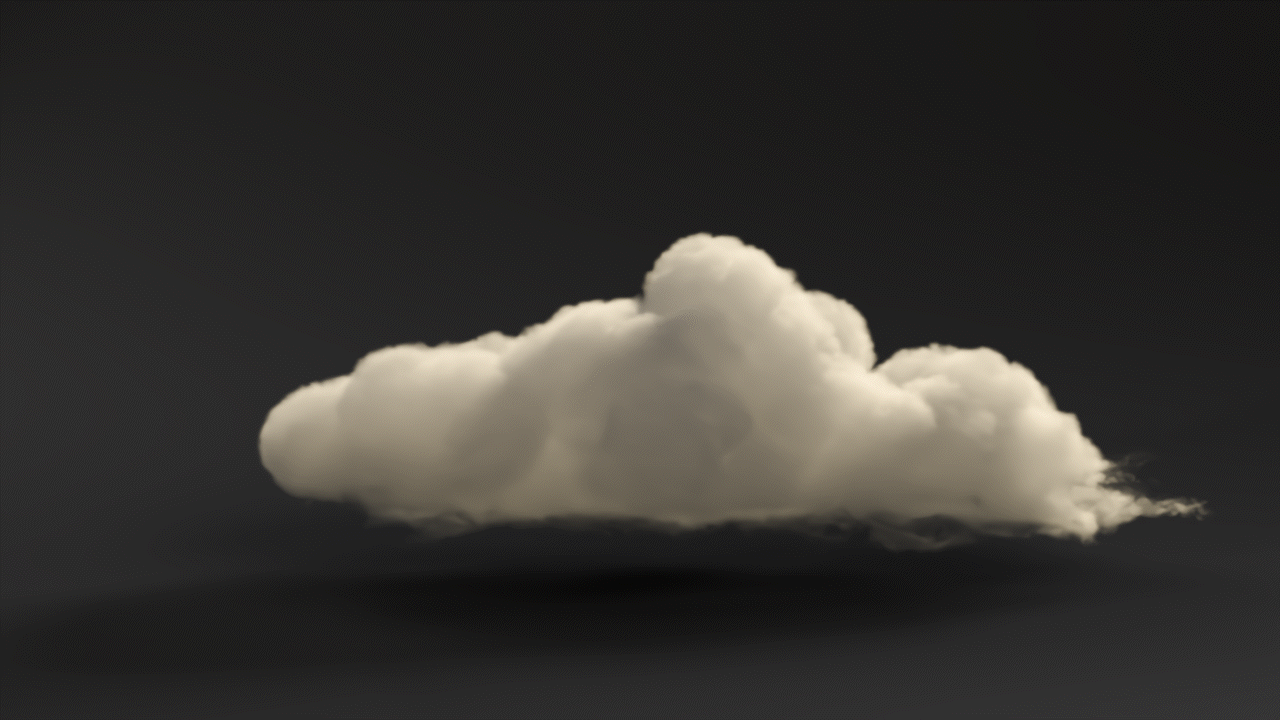
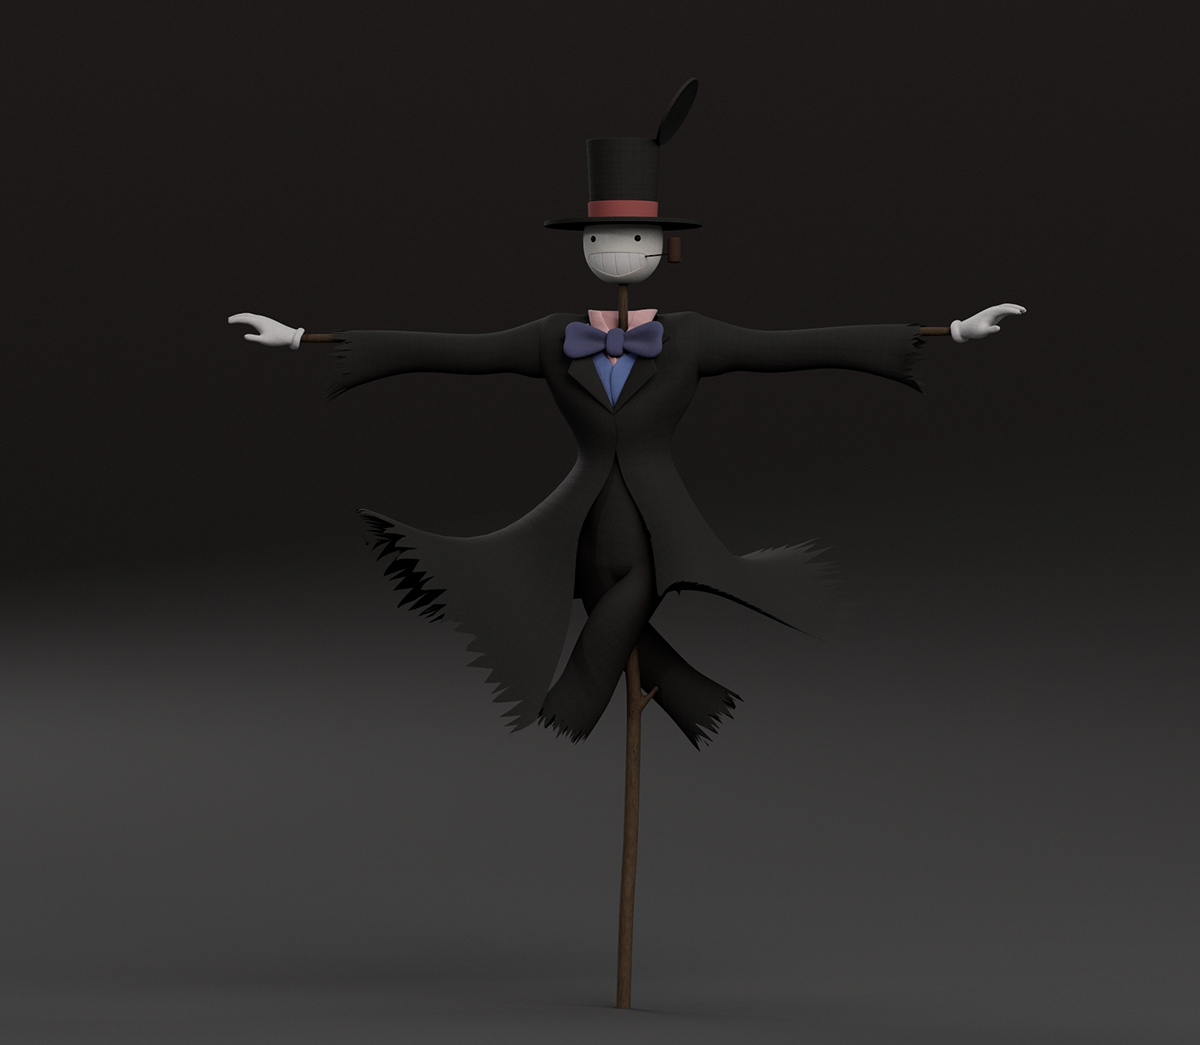
After the model was finalized, I set up a basic rig to move it around the scene and adjust the camera, all within Maya. I exported the ground model and cameras to Houdini, where I converted the terrain into a heightfield and performed the scattering operations. Finally, I rendered everything using Arnold, while the clouds were rendered with Karma.
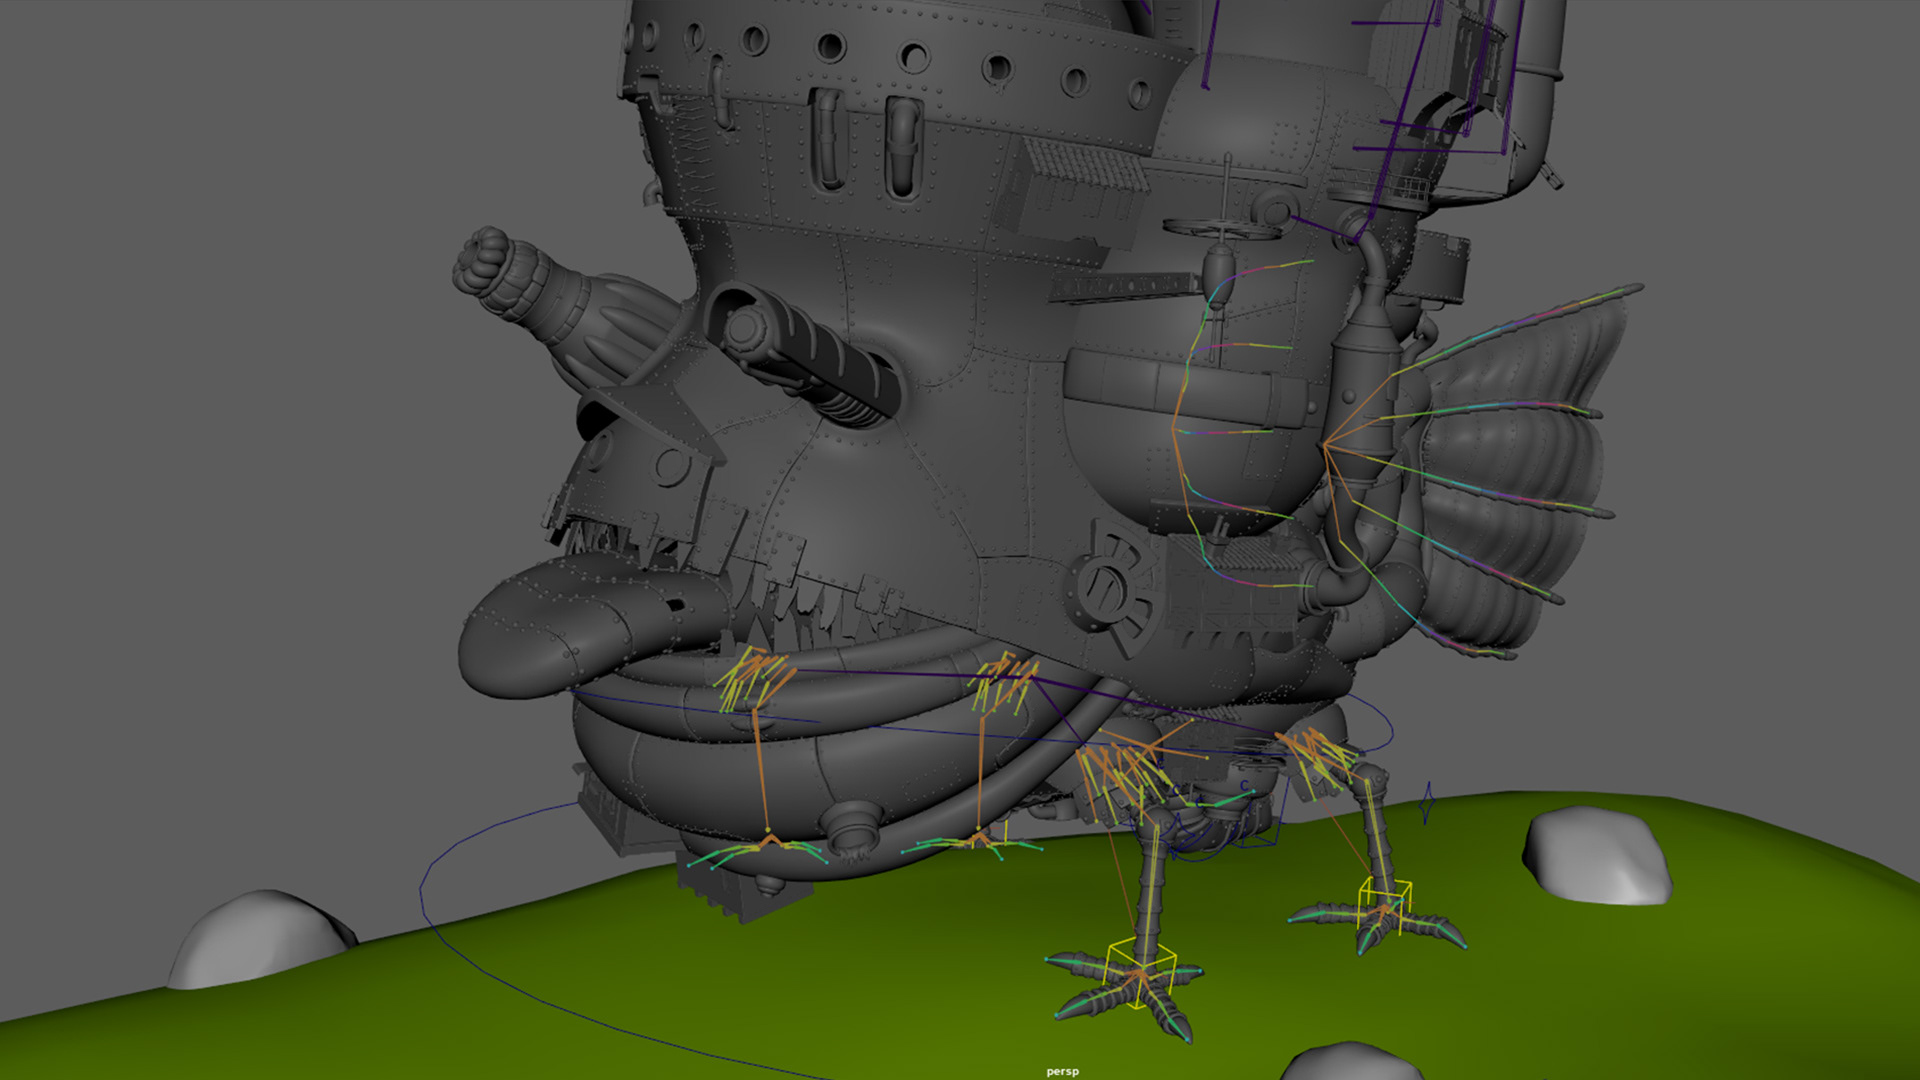
Rig done in maya.